I needed a root touch up product that is not too messy to apply and will help with my style in between salon appointments. And I heard about this product from a fellow blogger and shopping on Amazon is so easy that I could not resist trying it out.
The main reason for me to use it is because I do have a lot of zoom meetings, and my roots grow pretty fast and look bad in close ups. Plus, because I have black hair overall, the contrast becomes pretty evident and its hard to miss.
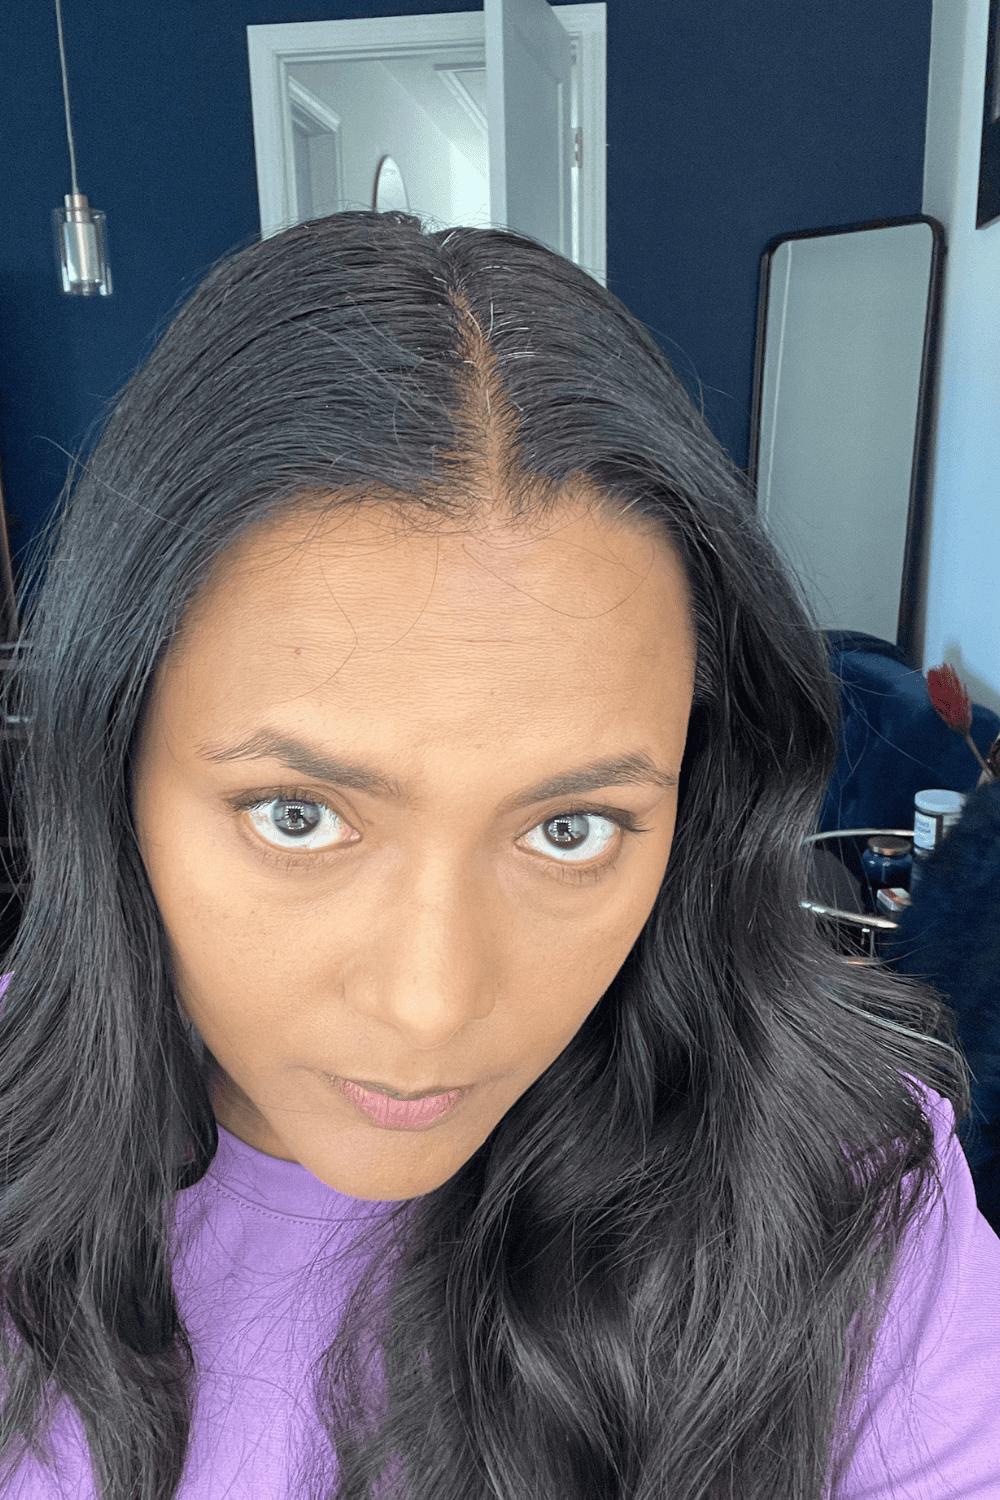
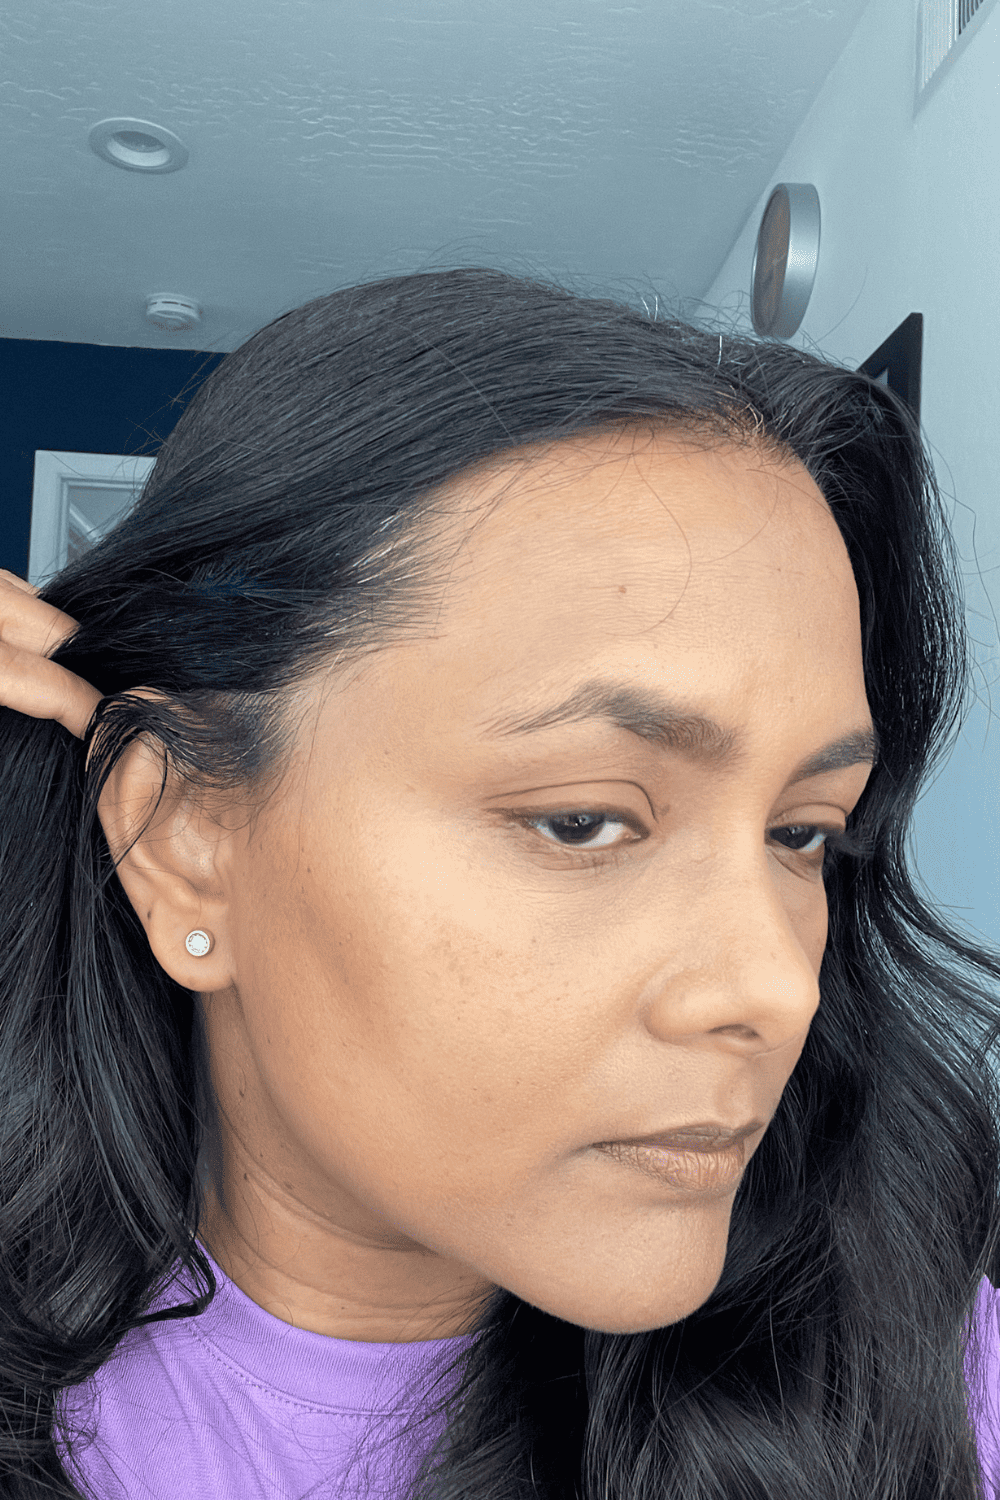
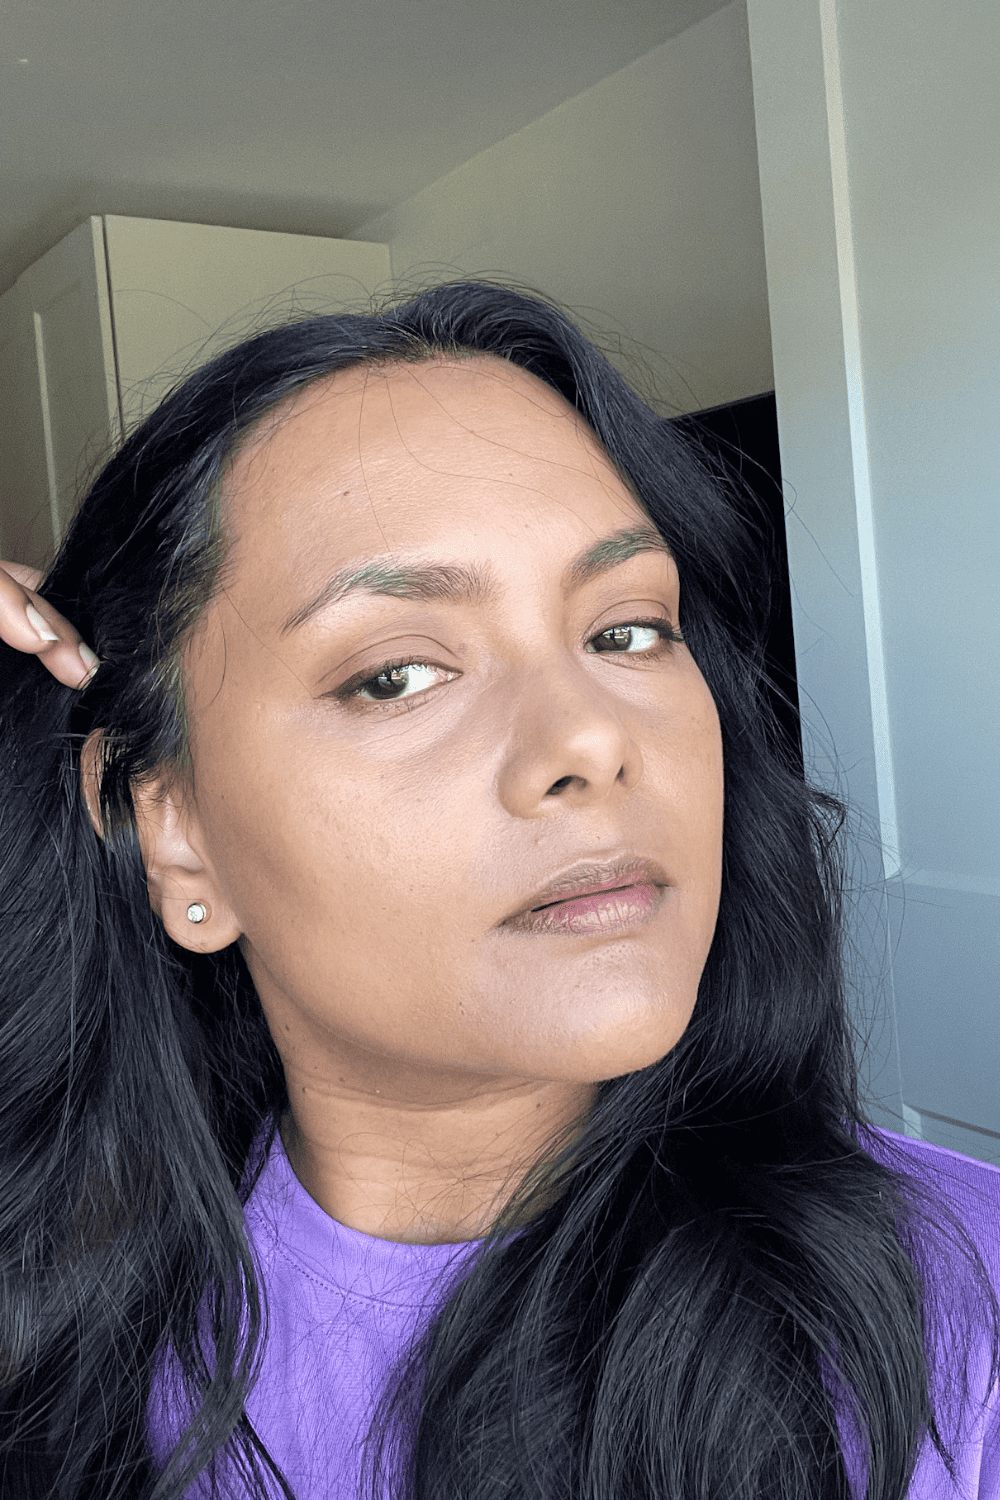
I color my roots at home every 2-3 weeks, because my roots grow pretty fast. And this is how they look in between sessions. It looks worse in person actually because all of them show up around my hairline and sides which are around my face.
I almost had an inch of gray/white hair growth on my hair partition line as well as my sides.
The Product
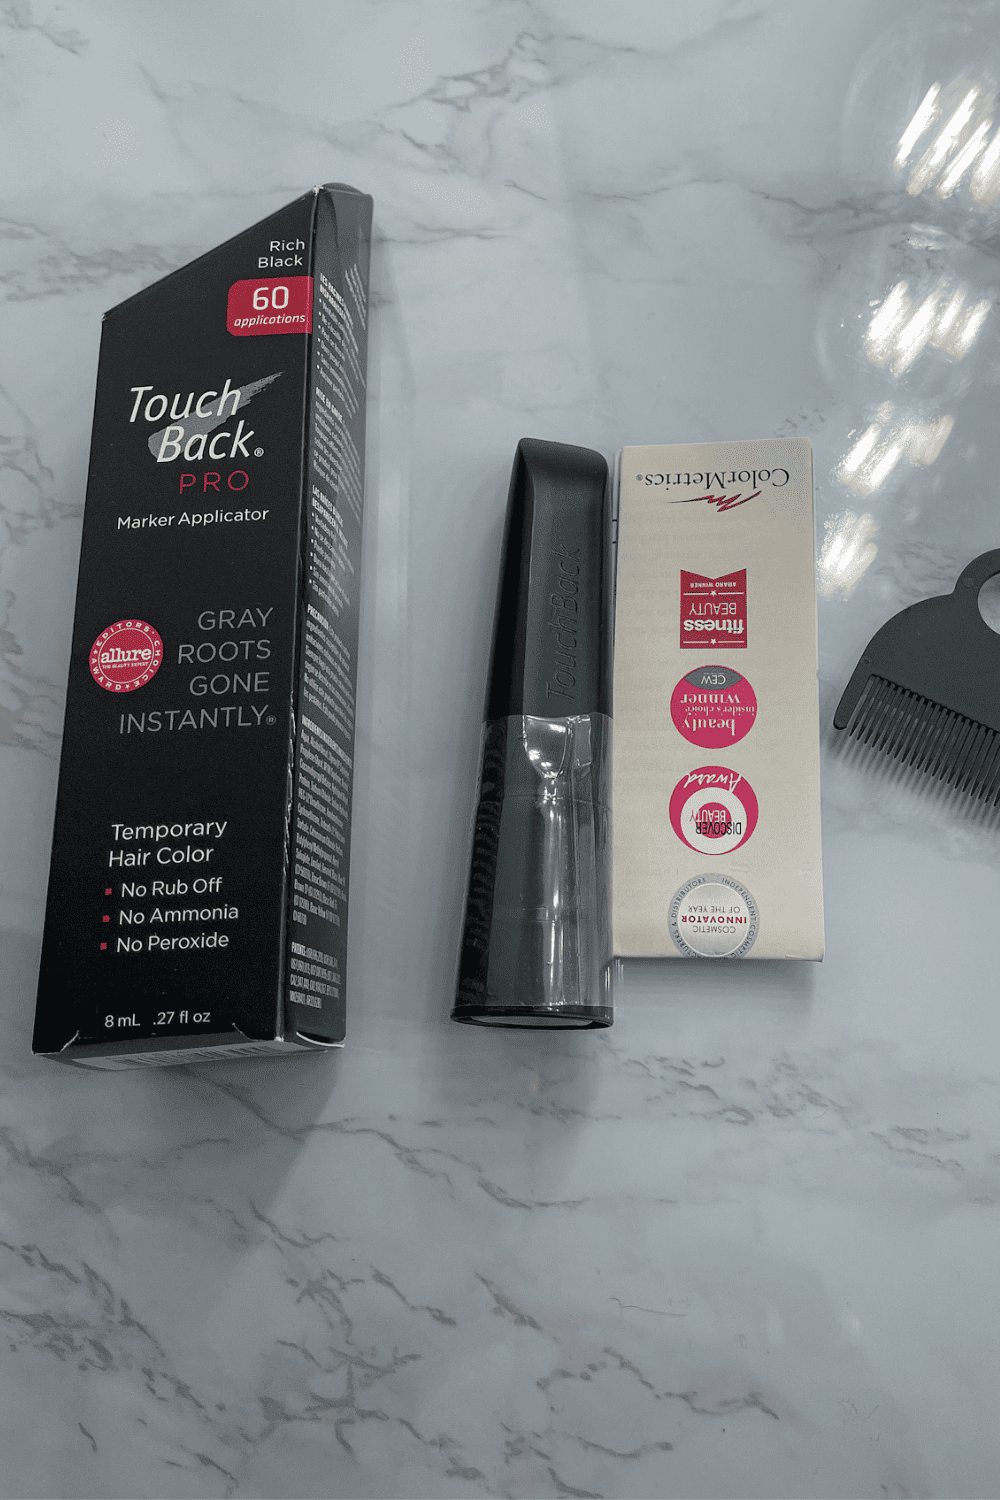
The TouchBack pro marker is priced for $24.95 which is pretty decent price even if does not feel like that. Most good quality instant root touch up products are sold for over $30. And as you can see the pack is pretty big.
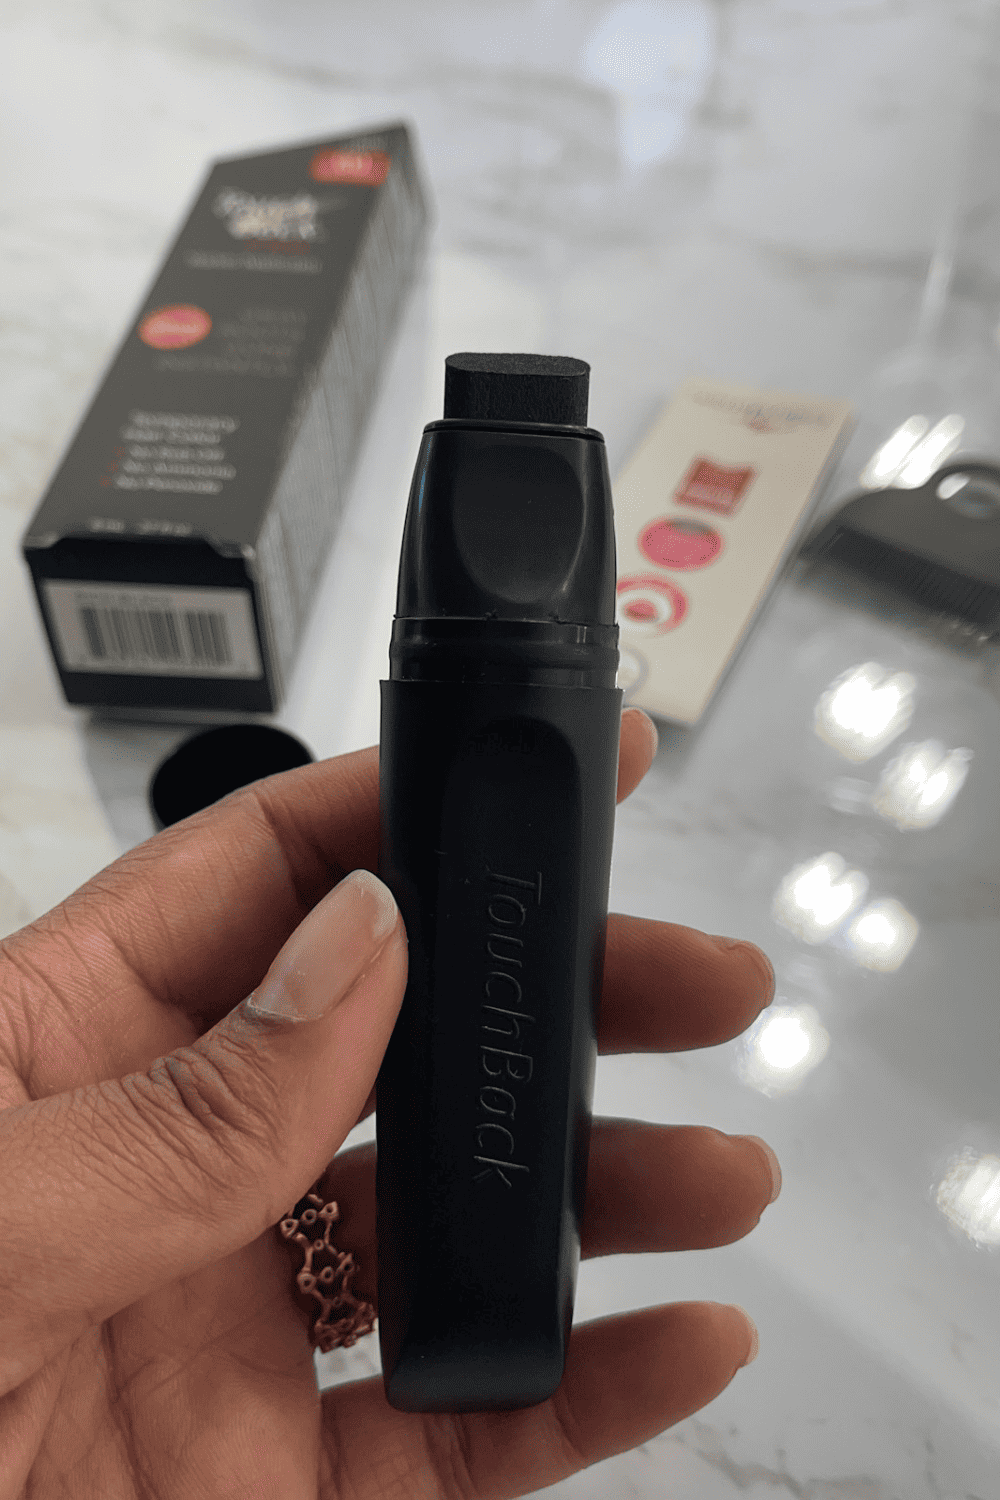
But the best part is that, its not a brush, or a spray or powder. Its a gel and applicator is a sponge. And its s sturdy sponge too, so no dripping or leaks of any sort.
I also like the wide brush/sponge tip, which makes the application faster because who has time for this.
It also comes with a fine tooth comb (a really tiny one) which you will use to brush the hair post application. Now, I bought both Rich black color and dark brown color because I was not sure which color will be closer to my hair color.
And I tried the dark brown color first as it seemed closer to my hair color.
Application Process
Step 1
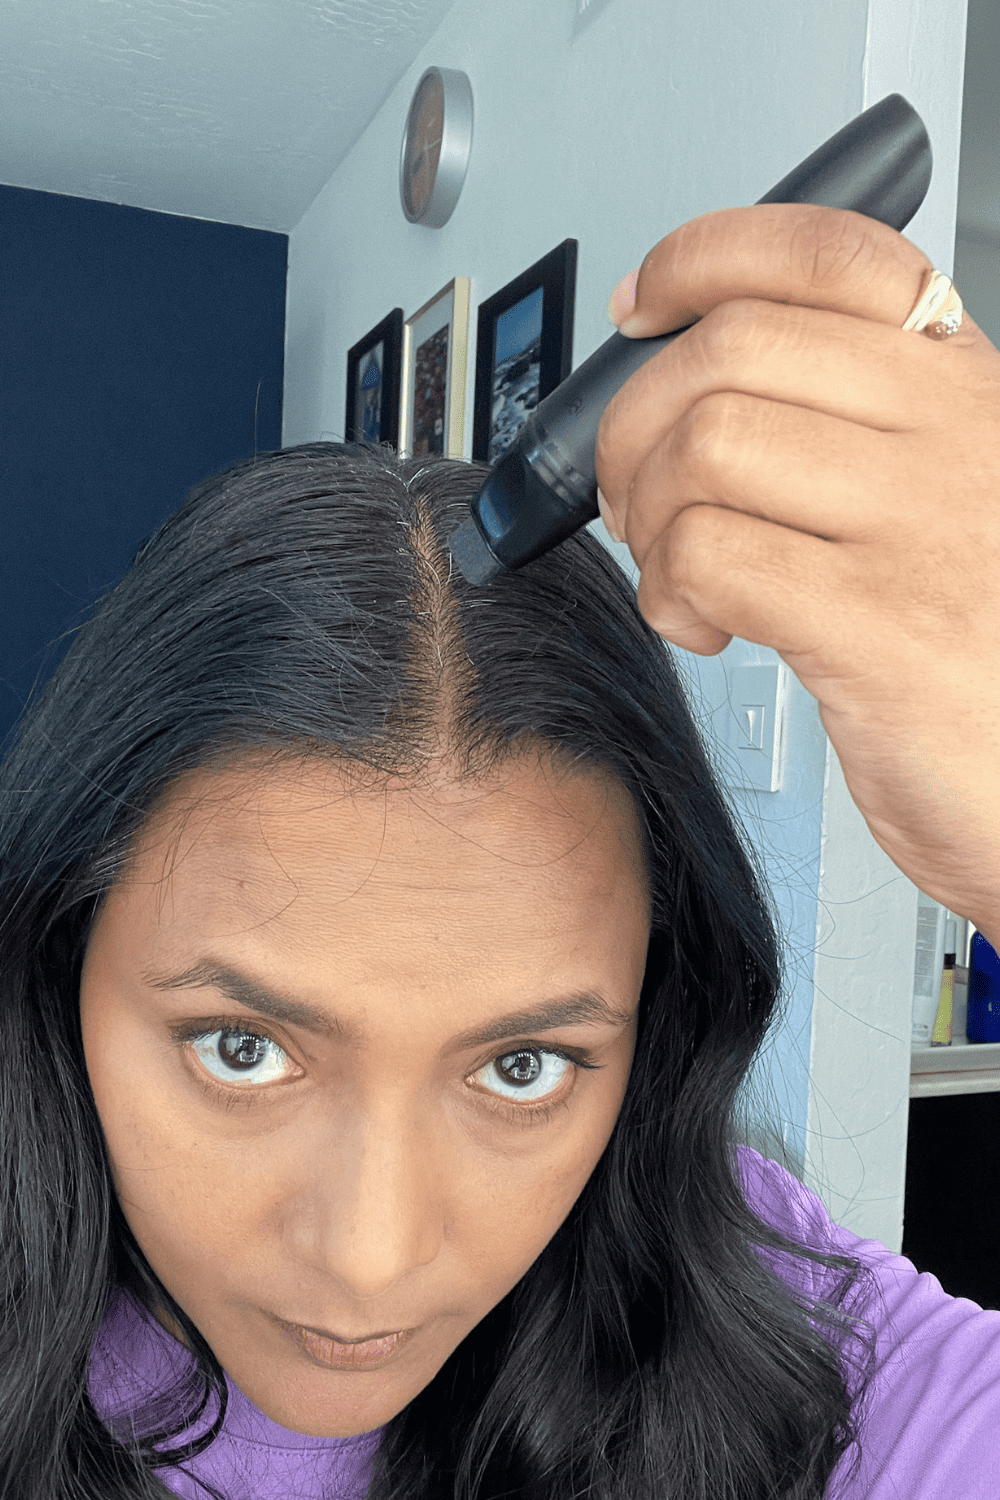
I started with the middle part area first because that was the easiest to apply and had the most hair as well. It took me two applications to cover all my grays in that area. The liquid felt thicker yet smooth just like gel, so there was no residue on the hair itself. It felt like using a marker.
And that is exactly how the the tip of the applicator is made out of. After applying the desired coats on my hair, I just let is dry for a few seconds and worked on my other areas.
I have to say I was pretty impressed with this, it was instant and I did not see any residue on my fingers after the gel dried. But I noticed a little bit of shininess on my roots.
Step 2
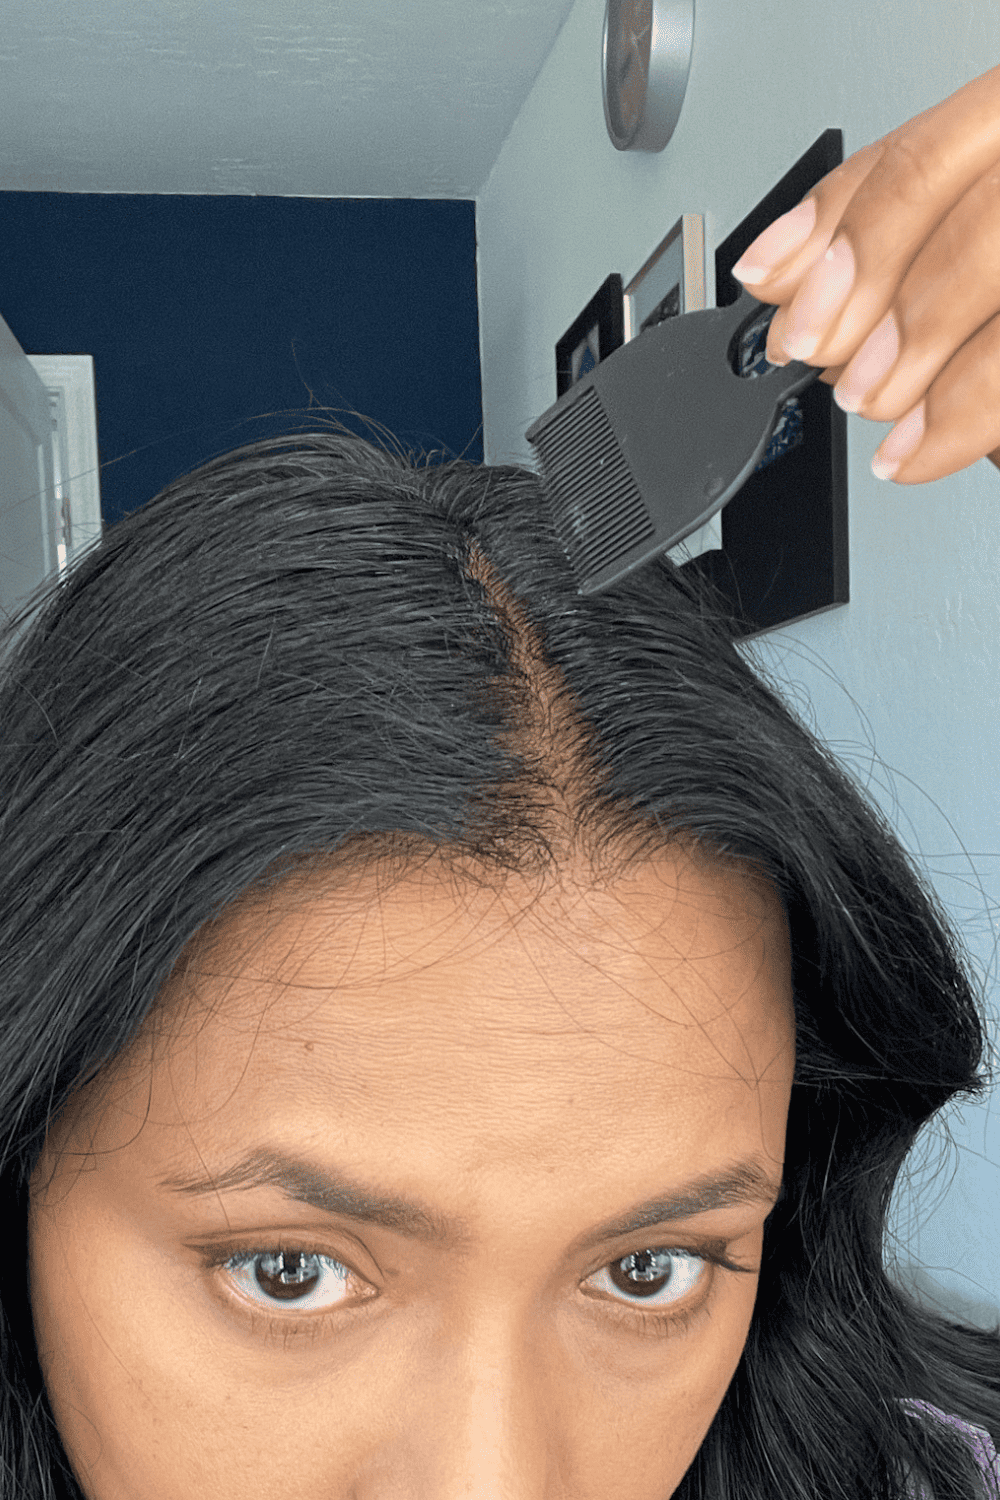
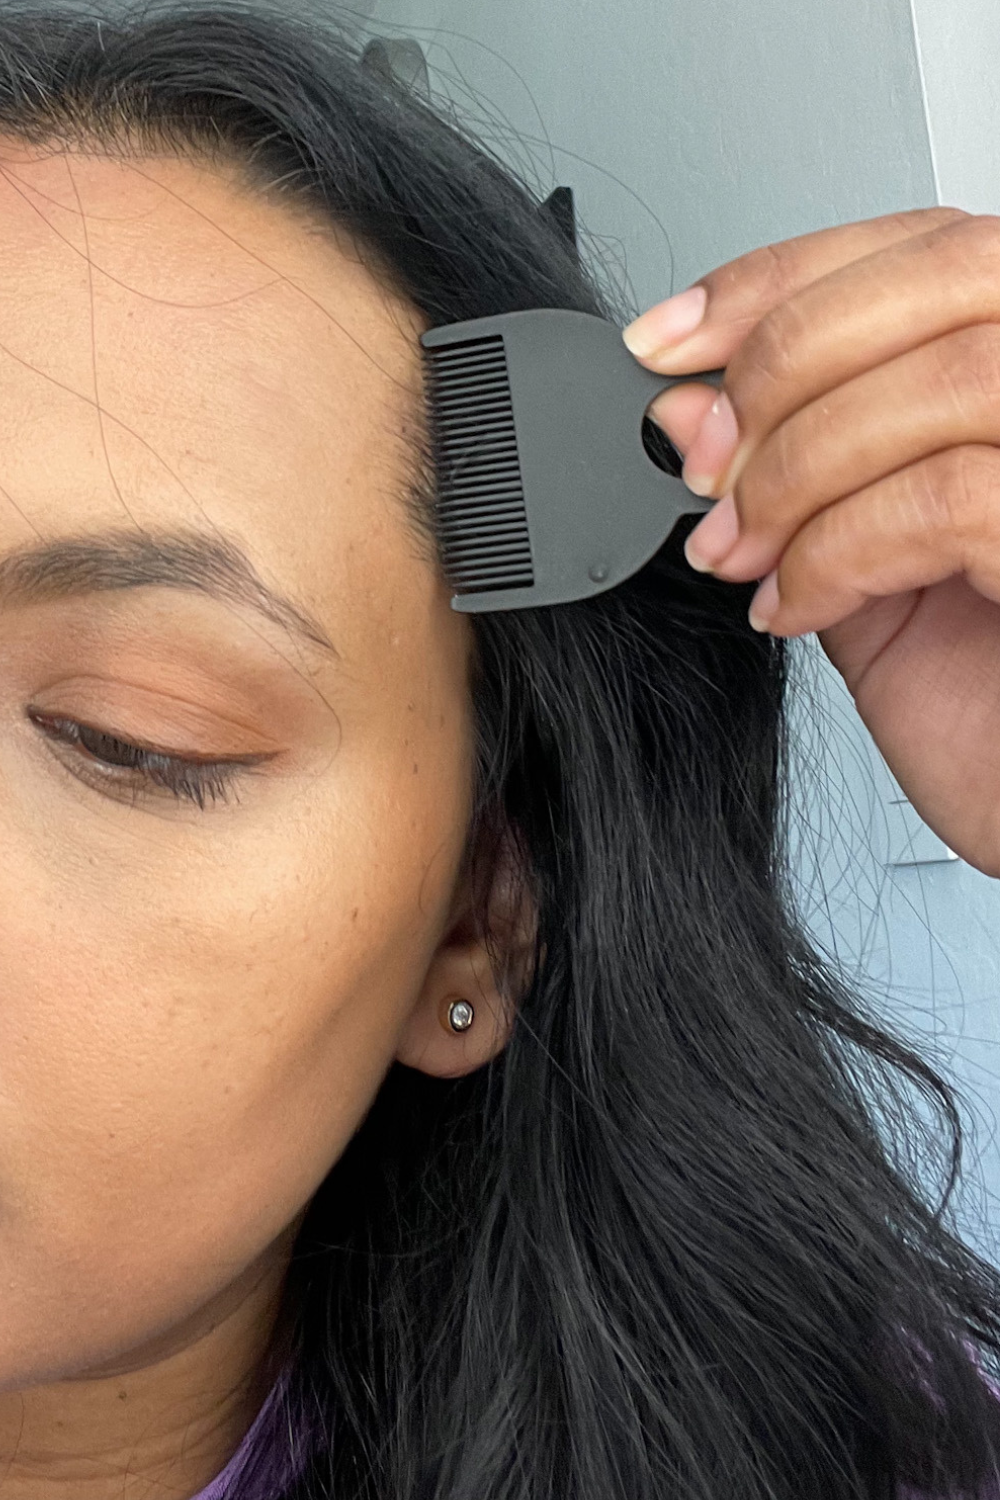
After applying the gel and letting it dry, I used the mini comb to brush my hair. If you have really thick hair, you might not need to do this step, because none of the gel will get into your hair. But if you have fine hair, or if you are applying this around your side burn area, you will need to use the comb to brush out the gel from your skin.
Otherwise you will have a marker like gel line around that area and it just looks pretty obvious.
Overall Thoughts
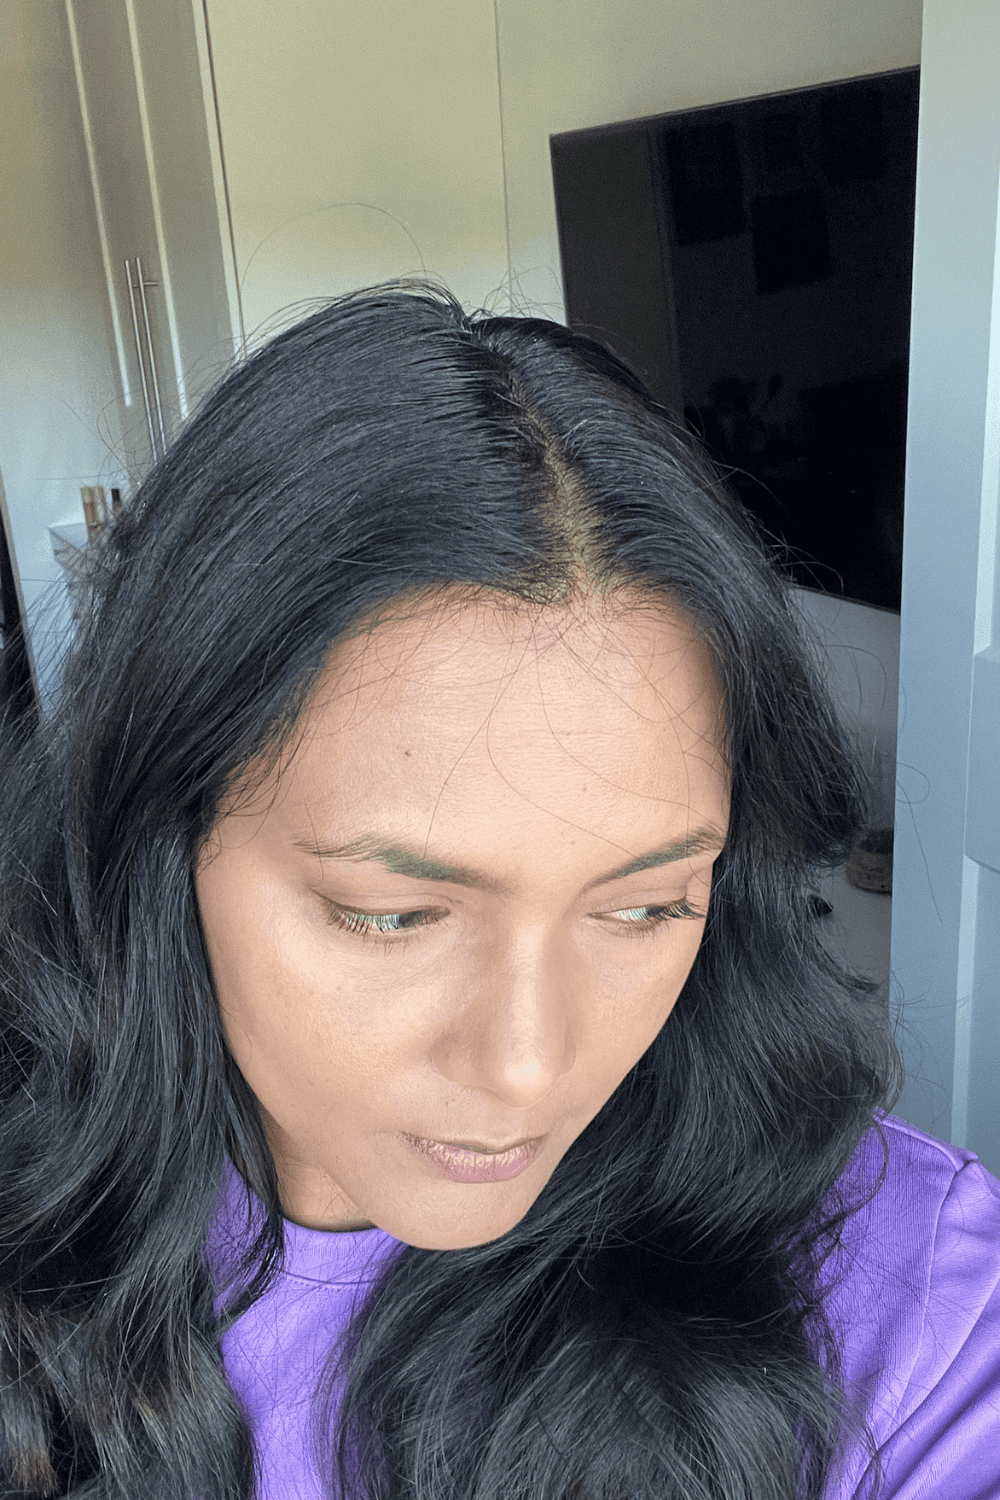
I was really impressed how quick this whole process was. All I did it use the marker on the area I wanted to hide the white hair, wait a few seconds to comb the area and that’s it. It just took minutes and I it stayed like this till I washed my hair.
I also love how lightweight the packaging is which makes it easy for traveling when you know you will get into these situations and you don’t have a solution. And because of the stiff sponge tip, its also leak proof.
Now, I think the dark brown matched my color because of my fine hair. But if you have thicker hair, you should use the black one. I decided to hold on to that one as well, in case, I needed to use something darker down the line.
I also saw that you don’t need a lot, and there is not much wastage, because of which this product will last for a long time and so worth your money.
Color Options
The TouchBack pro comes in 8 shades including Blonde hair colors – Ash Blonde, Dark Auburn, DarkBrown, Golden Blonde, Light Auburn, Light Brown, Medium Brown, Rich Black.