

If you are looking for a quick makeup routine for full face, but want to skip the foundation because either you are at home and don’t want the cull coverage, or you want a more naturally everyday look that also looks more put together, then this step by step tutorial is for you. I also have a video at the end of the series showing you how I got this done. You can click the video link in the table of contents.
Covered In This Article
I have to say that my makeup routine has somewhat changed completely since spring, part of it might be the lockdown situation and not having to commute to work. But I think the major reason is that I prefer to keep my makeup to the minimal in summer. I love the perspiration that the heat brings (Its because I was born in a tropical climate, I like the humidity in way). Though a lot of you might cringe with that idea, I find that its the best time to let our skin breathe and feel fresh and get the natural air and sun as much as it could.
Because we do sweat in the summer, I prefer to skip foundation, it kind of adds more problem to the heat and often clogs our pores. So, in this post, I am sharing all the details and all the products that I use to get a no foundation fresh makeup look that I do everyday. Its super easy and does not take a lot of time and everyone can easily do it.
What I am Using
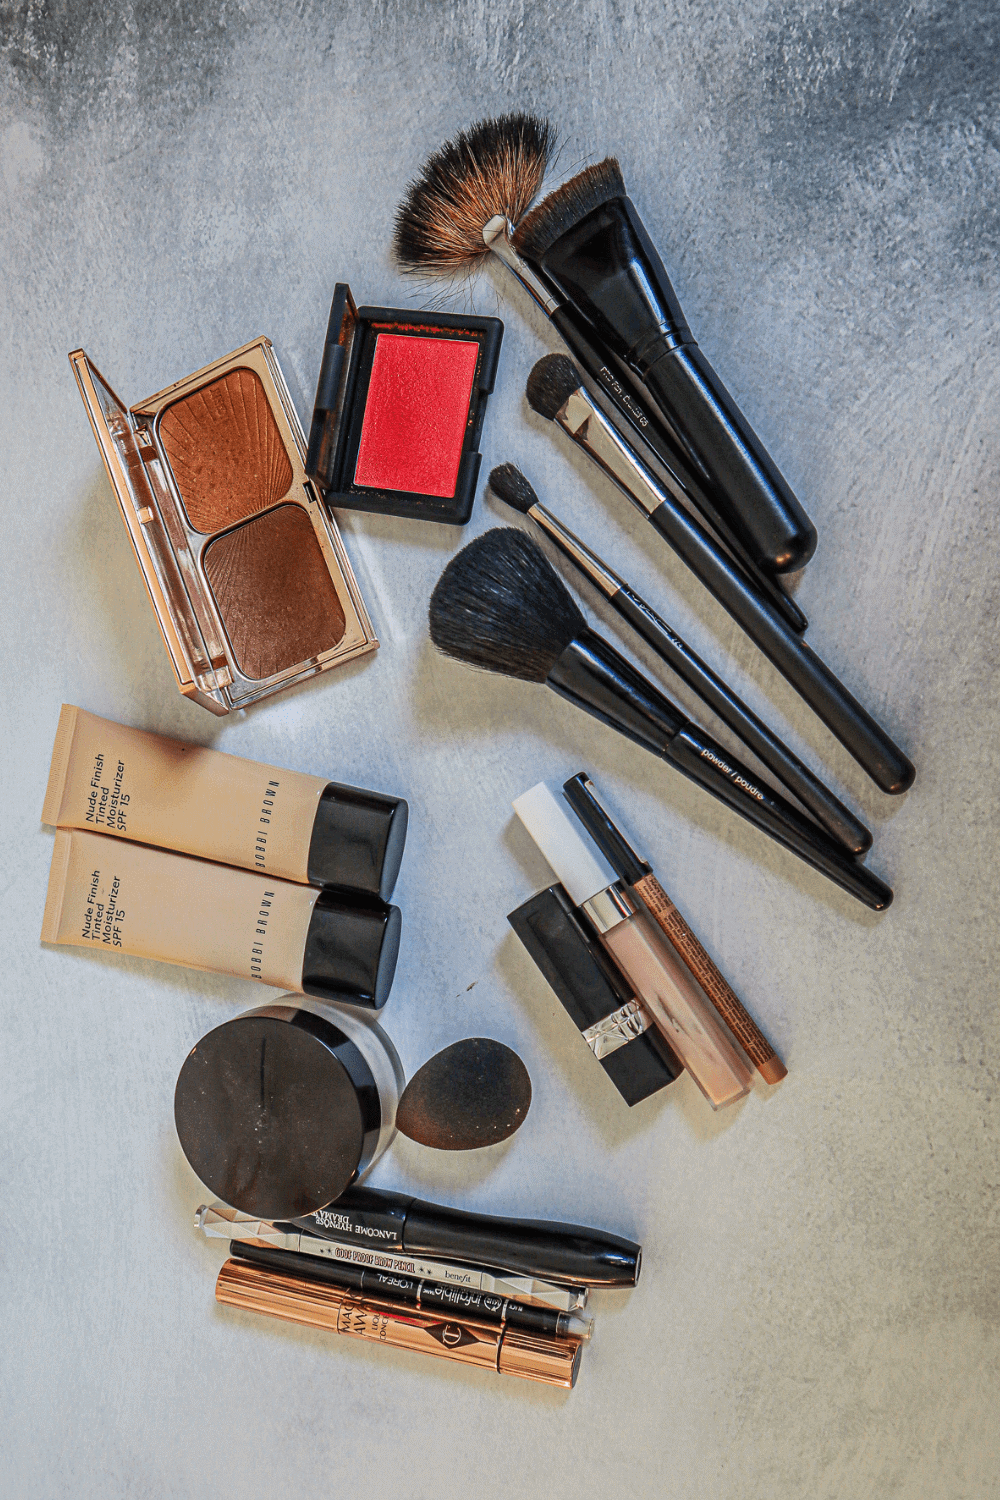
Here is a list of makeup items I am using. You can pick pieces that you already have and are similar to them and follow along. I highly recommend this for the video part.
Primers:
For Eyes:
Face:
(Alternative) Nudestix Concealer Pencil
(Alternative) Sigma Beauty F77 Chisel And Trim Contour Brush
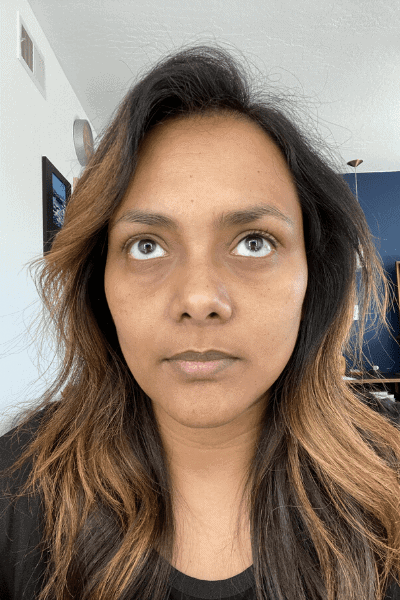
Step 1: Prepping The Face
This step is optional if you have smoother skin, but I have big pores and so I really need a primer that can balance my skin out. But somedays I also skip it, depending on my skin’s condition that day.
I am using the No Poreblem Primer from Touch in Sol which is really lightweight and feels amazing on the skin. I am also looking for a serum style primer, if you guys know any good ones, please share.
I used to skip the eye primer, but now I use it religiously and honestly it takes just a few seconds because I use my hands to blend it on my eye lid.
I am also using my Chanel Eye Primer since my eyelids get sweaty and I also have a bit of darkness, This is again optional, but I also find that with primers, my makeup no matter how light it is, stays for most of the day.
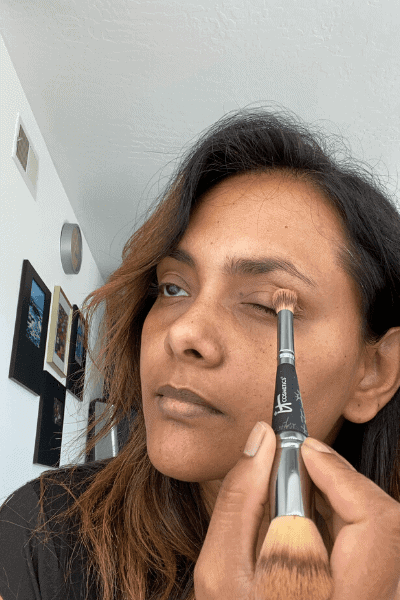
Step 2: Setting the Eye Lids
I mattified or set the primer using an eyeshadow color that is closest to my skin tone, so that I don’t have any creases and my eye lids don’t look oily at the end of the day. This also helps keep any eyeliner or eye pencil for lining your eyes which we are doing later to stay intact.
I am using my Eyeshadow blending brush and used Mac transition color that matches my skin tone (Sandstone) and blended it.
And, I used the bronzer from my Charlotte Tilbury Bronze & Glow palette and applied it to my eyelids with a eyeshadow buffing brush. This adds a bit of bronze glow to your eyelids and wakes it up. This step is totally optional if you are in a hurry, but if you want to look a bit put together and create more depth to your eyes, this will definitely help.
Step 3: Finishing Touches To the Eyes
I took my Loreal eye pencil and applied it to the underline of my eyelids to wake them up and your eyes also look bigger and fresh after this. This is a great way to add more definition to the lashes as well, if you have not so thick eye lashes. Now, I am also adding it to just around my lash line because I am going to skipping eyeliner, but if you are applying eyeliner you can totally skip this. Don’t forget to smudge it. I did that by adding a little bit more of the bronzer on the eyelid.

Step 4: Applying The Base
Rather than using a foundation, you can always use a tinted moisturizer or a CC cream, which adds a slight even base but its very light weight. I am using my favorite one from Bobbi Brown which is perfect for these summer days where you still want that coverage but dont want the heaviness of a foundation.
Now, since I am a bit tanned, I am mixing two shades from the collection medium dark and dark tint, using a little bit of the darker shade and that is the magic of a moisturizer, you can blend it in very easily. And I am applying just like a moisturizer with my hands, which is the fastest way of application and so easy too. If your skin is on the drier side, I recommend, adding a bit of your serum or your normal moisturizer to this mix so that you have an even application. But if you really prefer a brush, that will work fine as well.
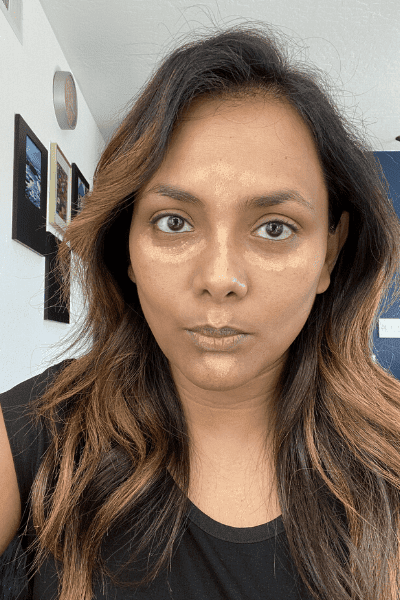
Step 5: Concealer
Applying a concealer has become a part of my life now, specially with a bit of dark circles, but if you dont have that, you can completely skip this. I really use the concealer as a highlighter which means that I use a lighter shade of the concealer to work as a highlighter and it adds a bit of glow to my face.
I am using my favorite one from Charlotte Tilbury which is actually pretty lightweight. I am new to the beauty blender, but this has helped me keep the highlighter on my skin since I anyways apply very little of it and really smoothens it out completely. Hence, I love it so much now, and really didnt know why I didnt try it before.
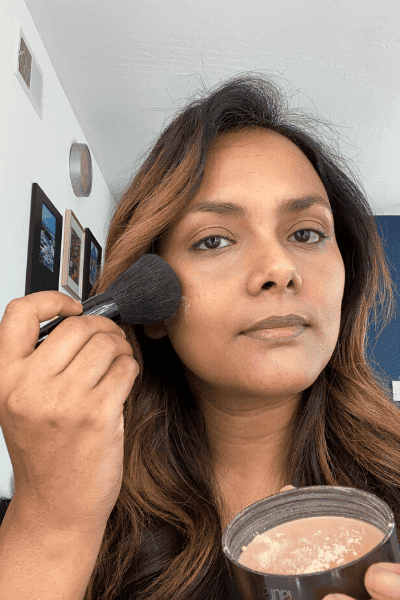
Step 6: Setting The Makeup
I am going to set everything with my Laura Mercier setting powder which I have always talked about and is my best friend for years now. I cannot step out without it. For days when I have literally no makeup, I just powder it on top of my face and apply Mascara, its that good.
I really only take a little bit, because we are trying to achieve a bit of glow and this powder is magnifying. I would recommend going for the translucent color instead of tinted one because then you dont have to worry about getting a new one every time you tan or get lighter and this thing lasts.
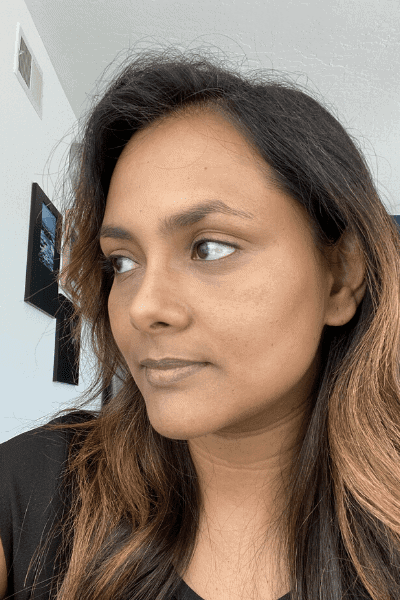
Step 7: Contouring & Blush
I love a little bit of contouring, It always highlights our feature, and with the Charlotte Tilbury palette, its really easy, the color is not that different than my skin tone, so it easily blends. So, maybe in the picture you might not be able to tell if I did it or not, so I recommend you watch the video as well.
I usually contour my cheek bones and my nose sides, though because that highlights the face the most. If you are tying your hair back then I would also recommend applying a little bit of on to the sides of the forehead near the hairline. I used my Morphe Contouring brush and this thing has lasted me for ages.
Step 8: Finishing Touches
These are the finishing touches, but the first one is my favorite, because I am obsessed with the blush cheeks and while being on the tanner side I naturally dont even blush, hahaha, naturally.
So, to achieve that for my skin tone I found this copper coral mix blush from NARS that I am absolutely obsessed with. I used a fan brush to really makes sure that I am using very little because it just needs to give a hint of peachiness as this is a free face look that we are going for.
And then I am filling up my brows and applying my mascara to finish up the look. There is a bonus step if you like your eyes to look a little bigger.
Bonus Tip
I am lining my water line with a nude pencil, more like a concealer stick to again brighten my eyes. This really wakes up the hooded eyes.
Just like I used the contour color on my eye lids, I am using it on my under eye, this adds a little definition to the shape of your eyes and it also looks bigger compared to looking washed up because of the concealer and the setting powder.
I am using the same shade from the Charlotte Tilbury Palette.

Complete Video Tutorial
If you have any question, or you want me to share a makeup tutorial which is even more minimum, let me know. Hope this post was helpful for you.