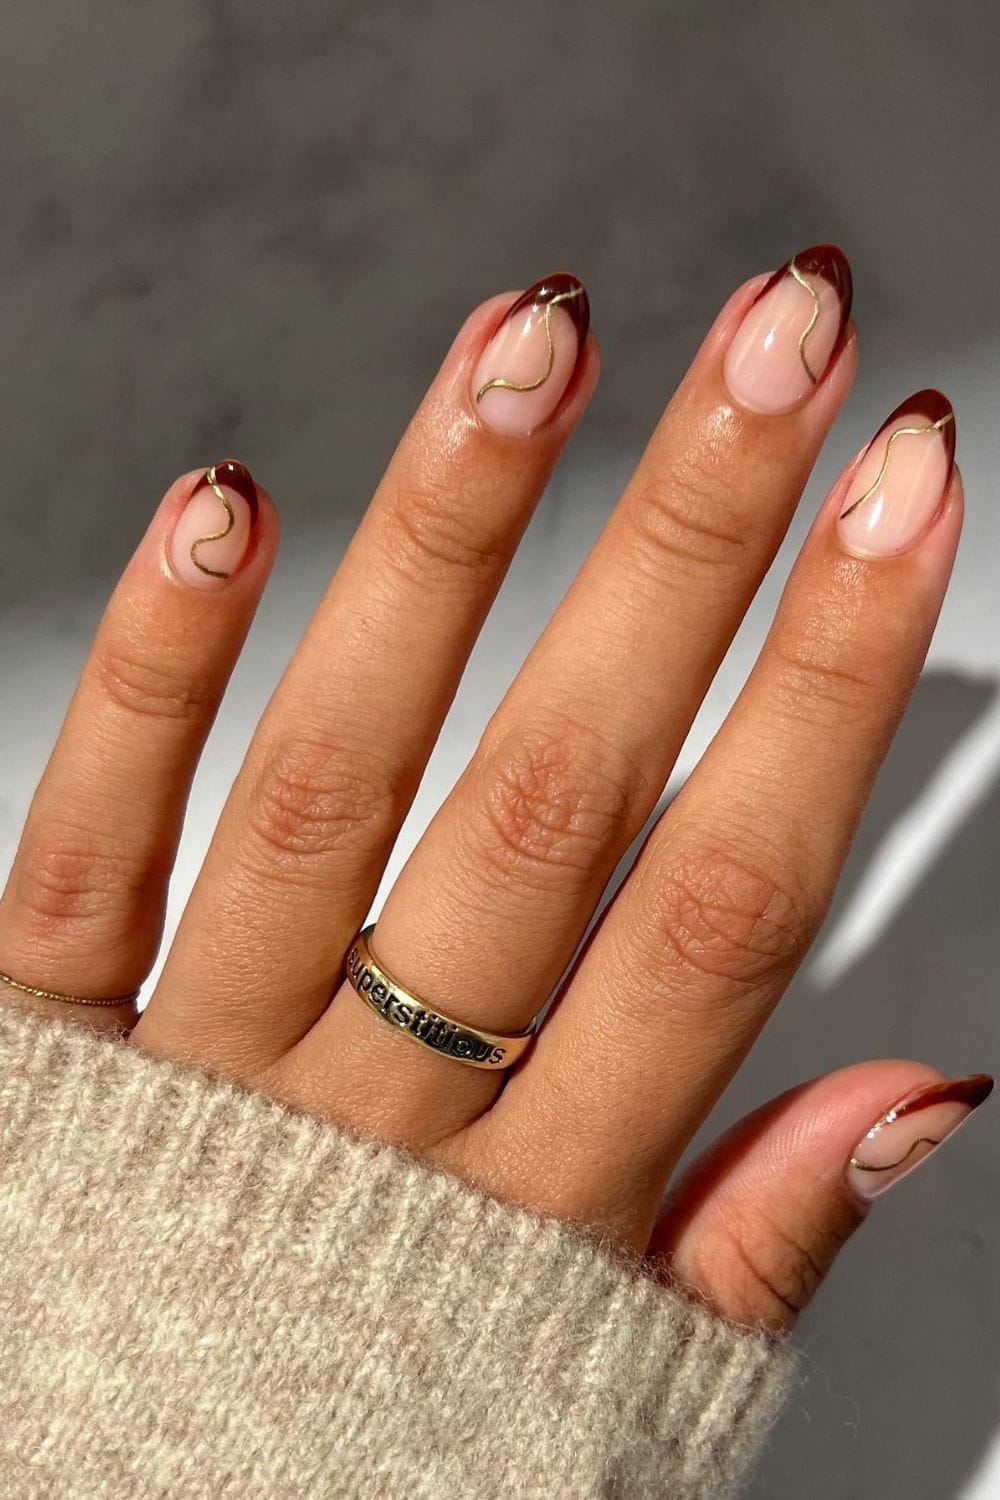
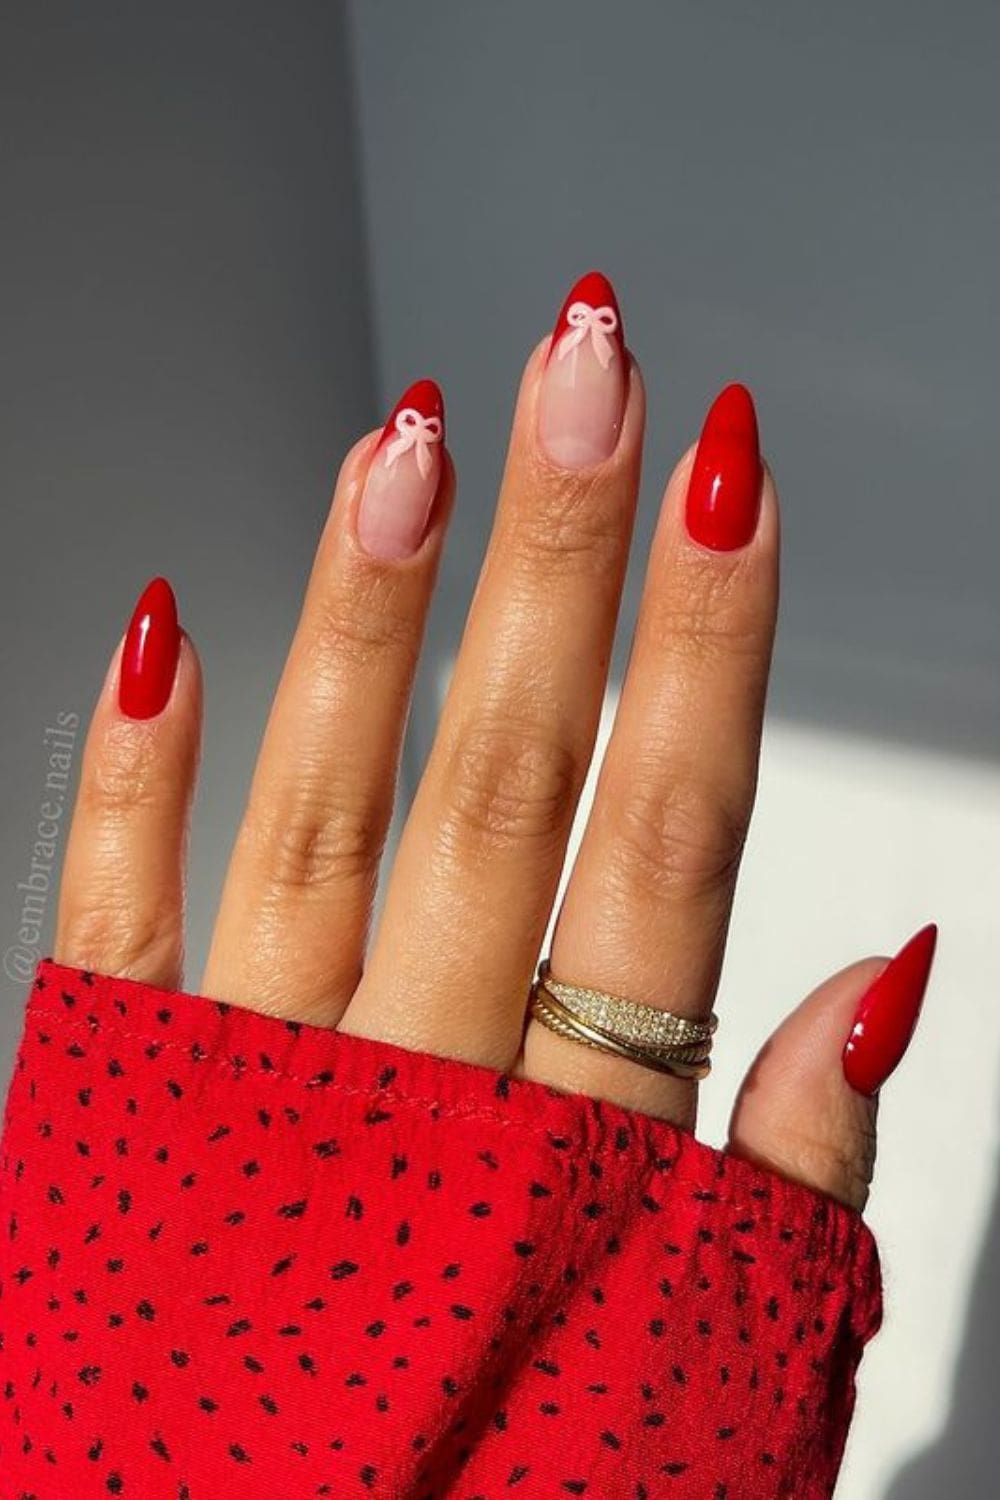
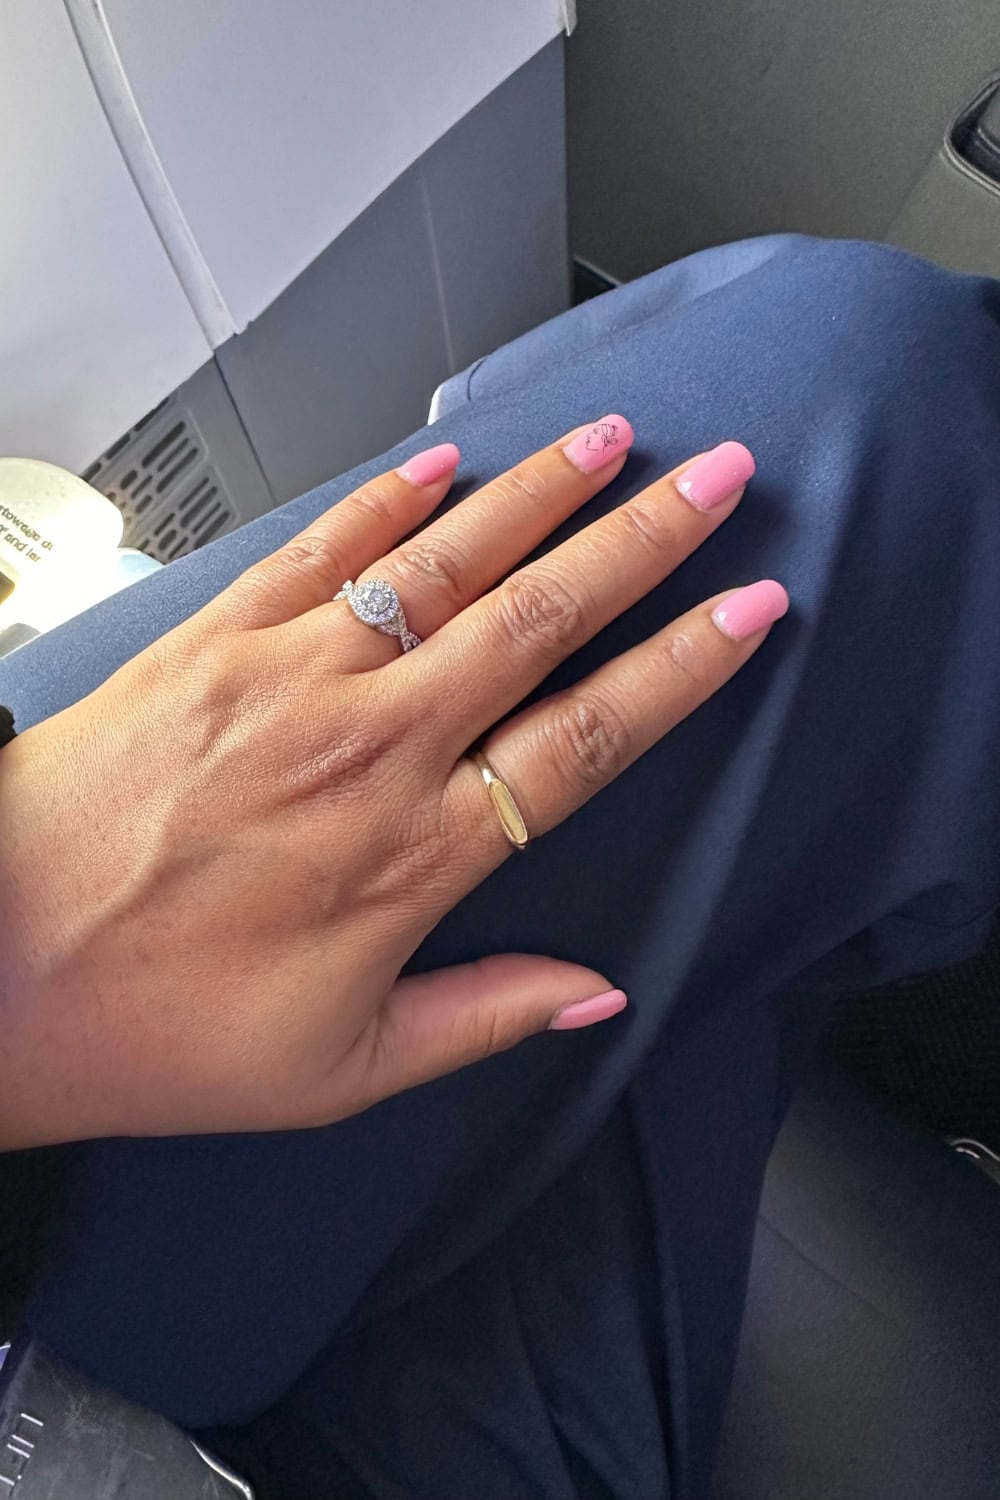
Missing your favorite Nail Salon or just don’t have time to get the Gel Nails done, this step by step guide will help you DIY gellac at home with everything from Amazon.
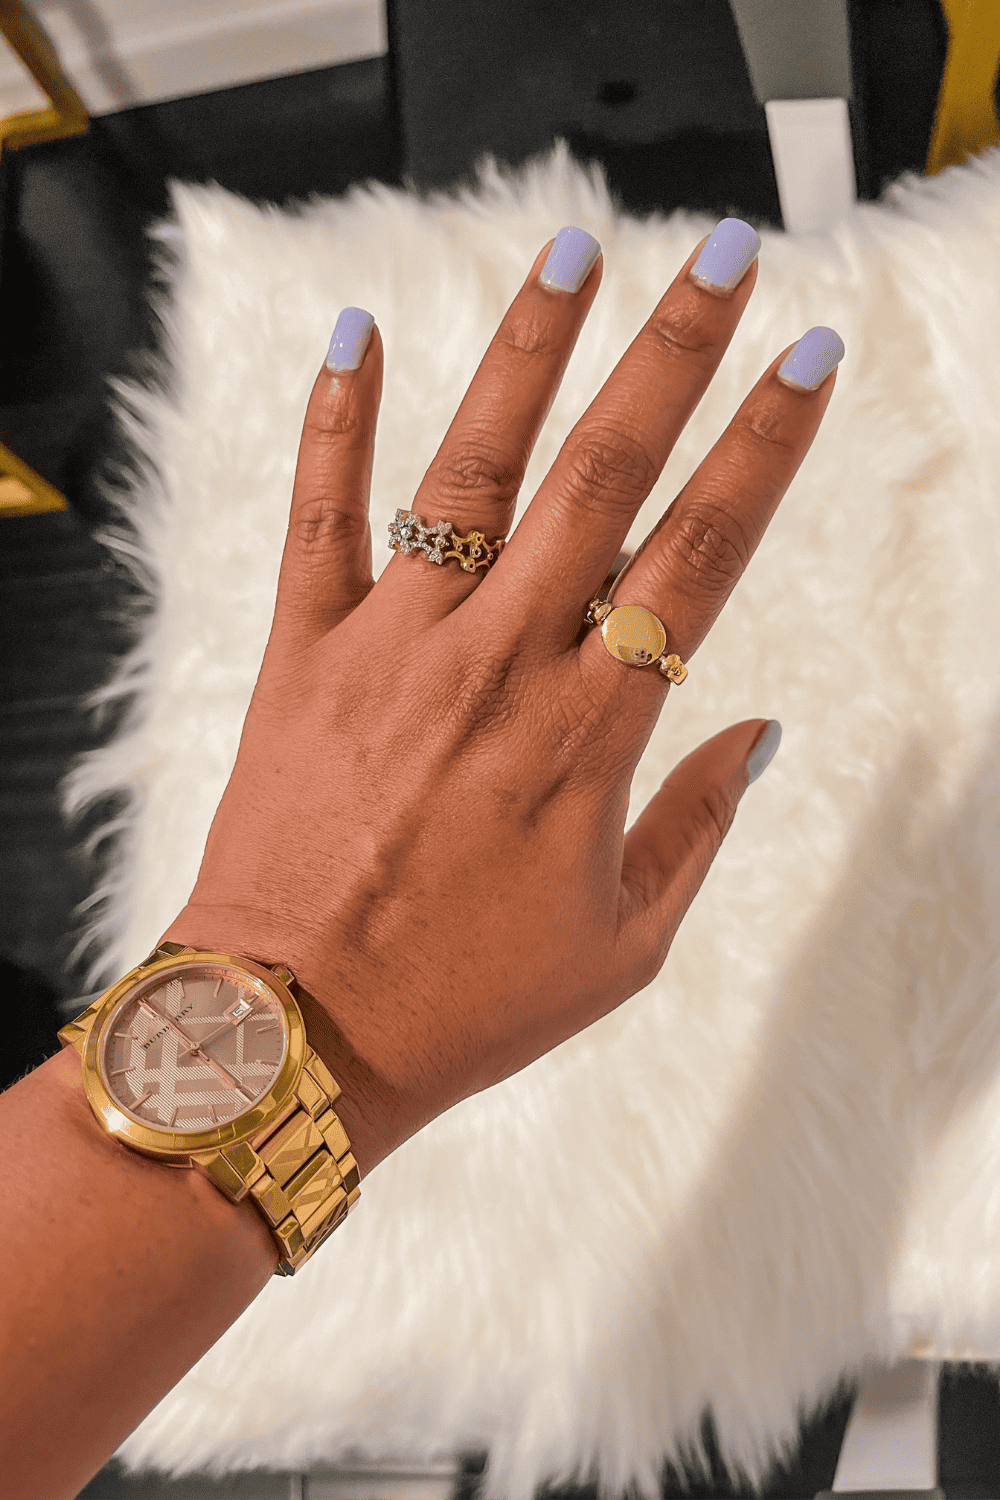
I have been doing my gel nails at home with this entire kit for a few months now. And I have to say, it gets easier every time. It took sometime and practice to figure out the best steps to get a professional finish for your gel nails.
I am also sharing some of my top tips that will prevent peeling. And if you also have trouble with staining all your lighter gel nails, then I also have the perfect solution for that.
If you are wondering what products to get to do all of these at home, I also have my recommendations from Amazon so you don’t have to go looking for items or head to different shops.
Sharing a list items that I used for manicure, some of these items you might already own or you can get alternatives. But there are some required items which would get you the professional result.
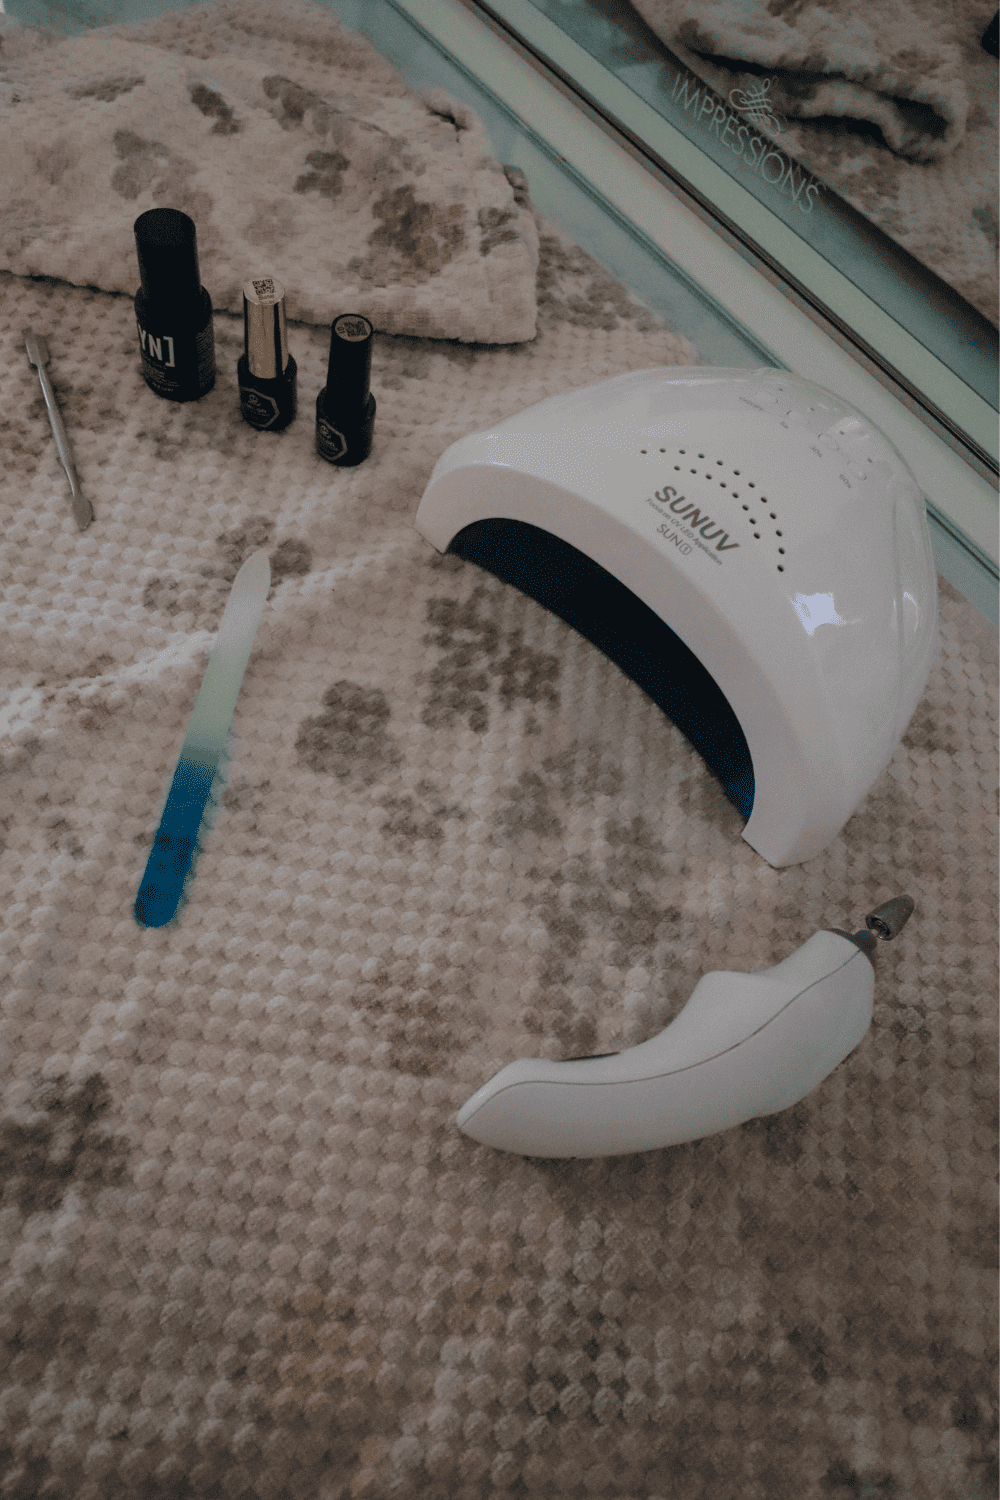
UV LED Nail Lamp – This is required to set the nail polish and get the professional result we want.
Nail Prep Cleanser – I use this to prep my nails before I apply the base coat.
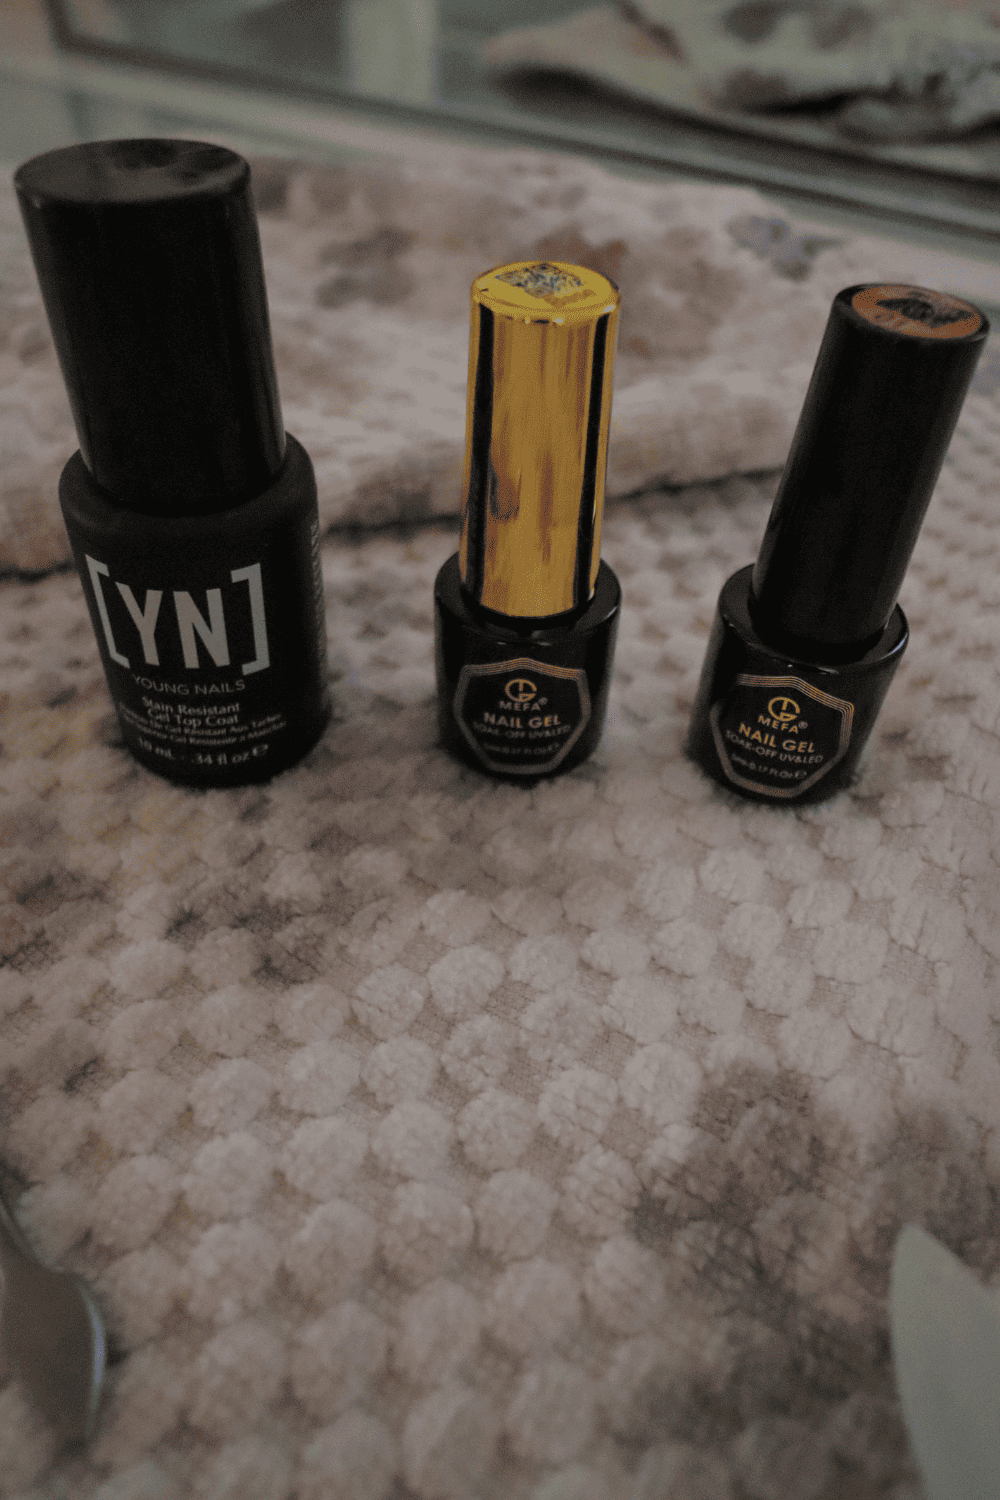
Stain Resistant Gel Top Coat – This is optional, if you don’t have issues with the staining your light nail color or if you only use darker nail colors, then this is not required at all.
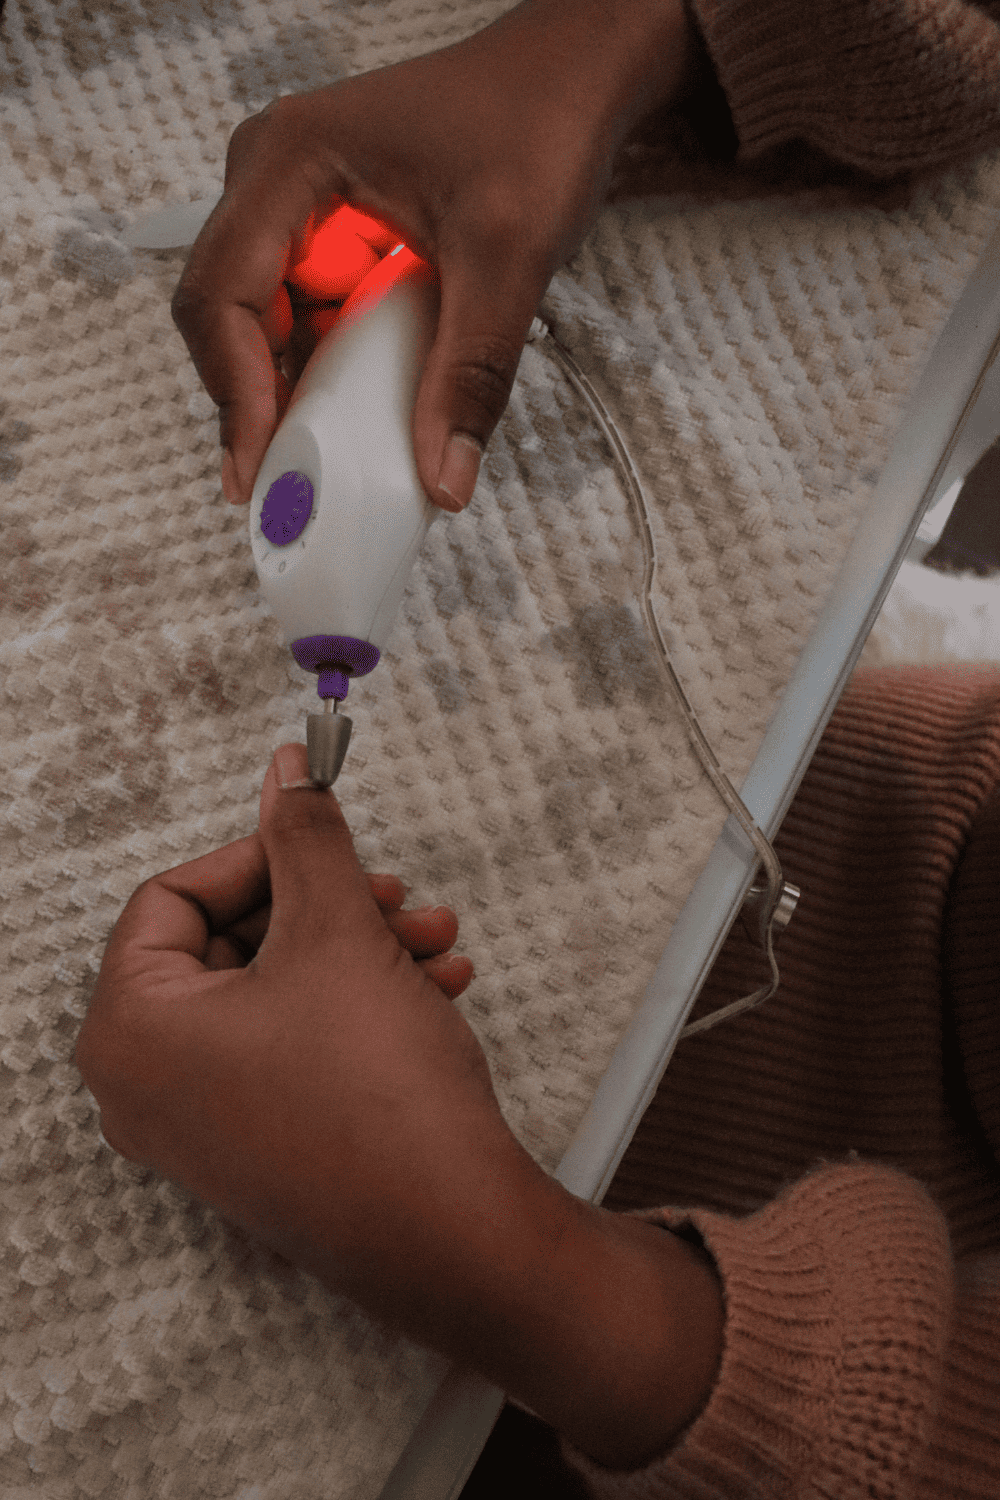
Nail Filling Kit – This tool is electronic and gets the job done faster.
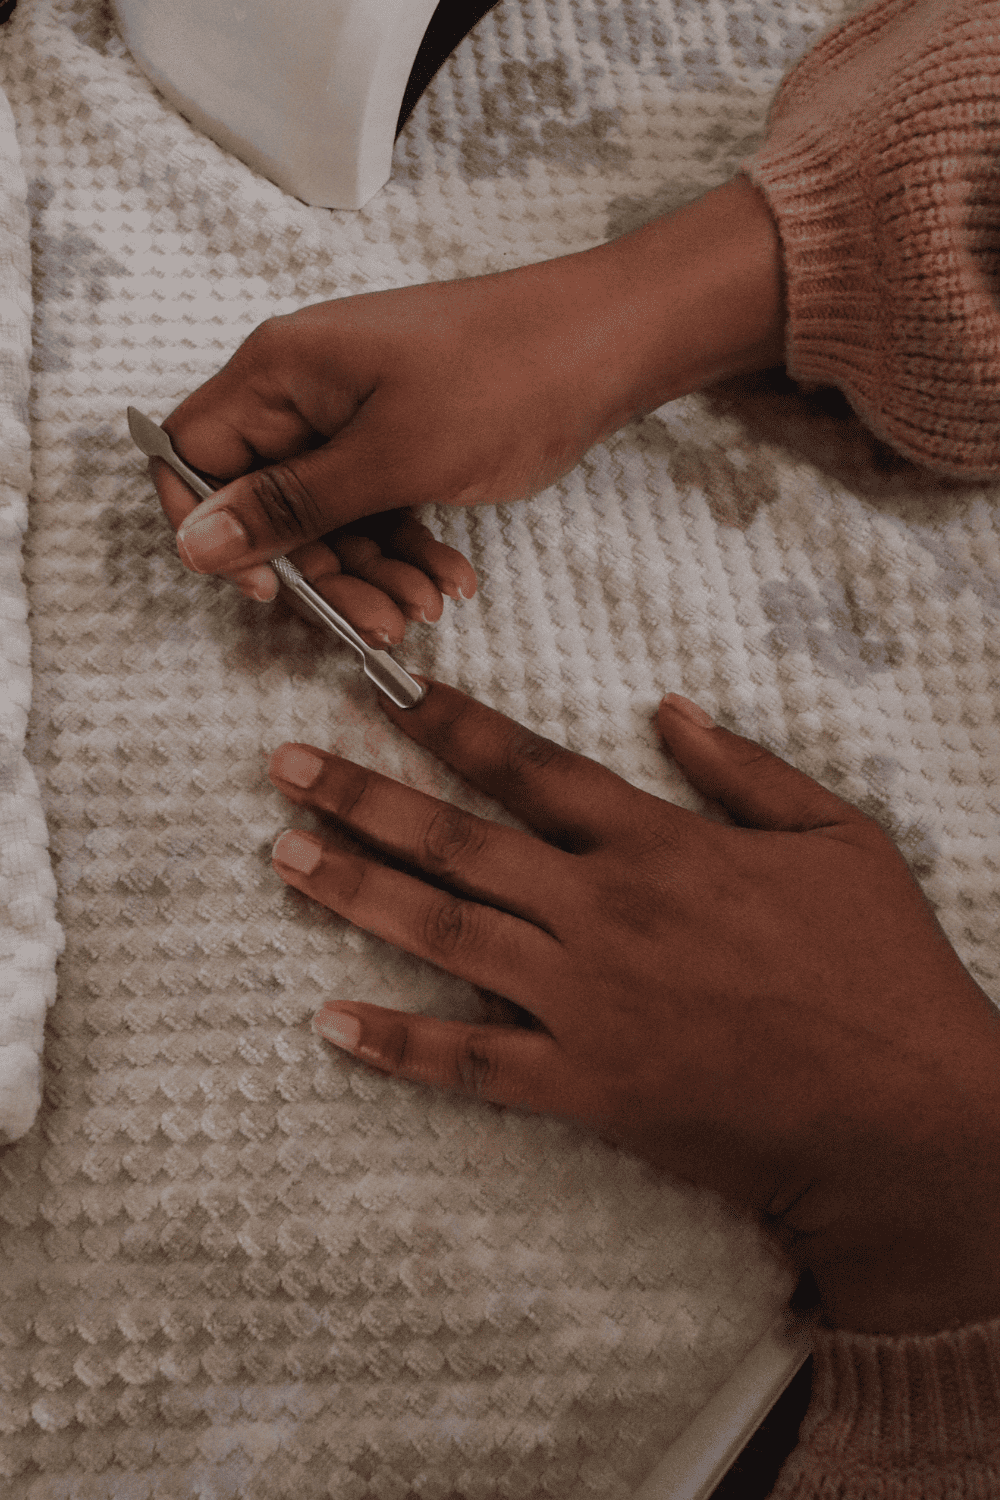
Cuticle Pusher – You might already own this, if not this will help push the cuticle back to get the professional result.
Fine Nail File – If you don’t want to use the Nail filing kit, you can use a manual nail file, but it has to be of a fine texture so that you don’t damage your nails.
Clean Towel so you don’t make a mess.
Cotton balls for any cleanups.
Step By Step Tutorial
Before you start with this process, you need to remove any nail polish that I have not added in this tutorial because that is kind of understood.
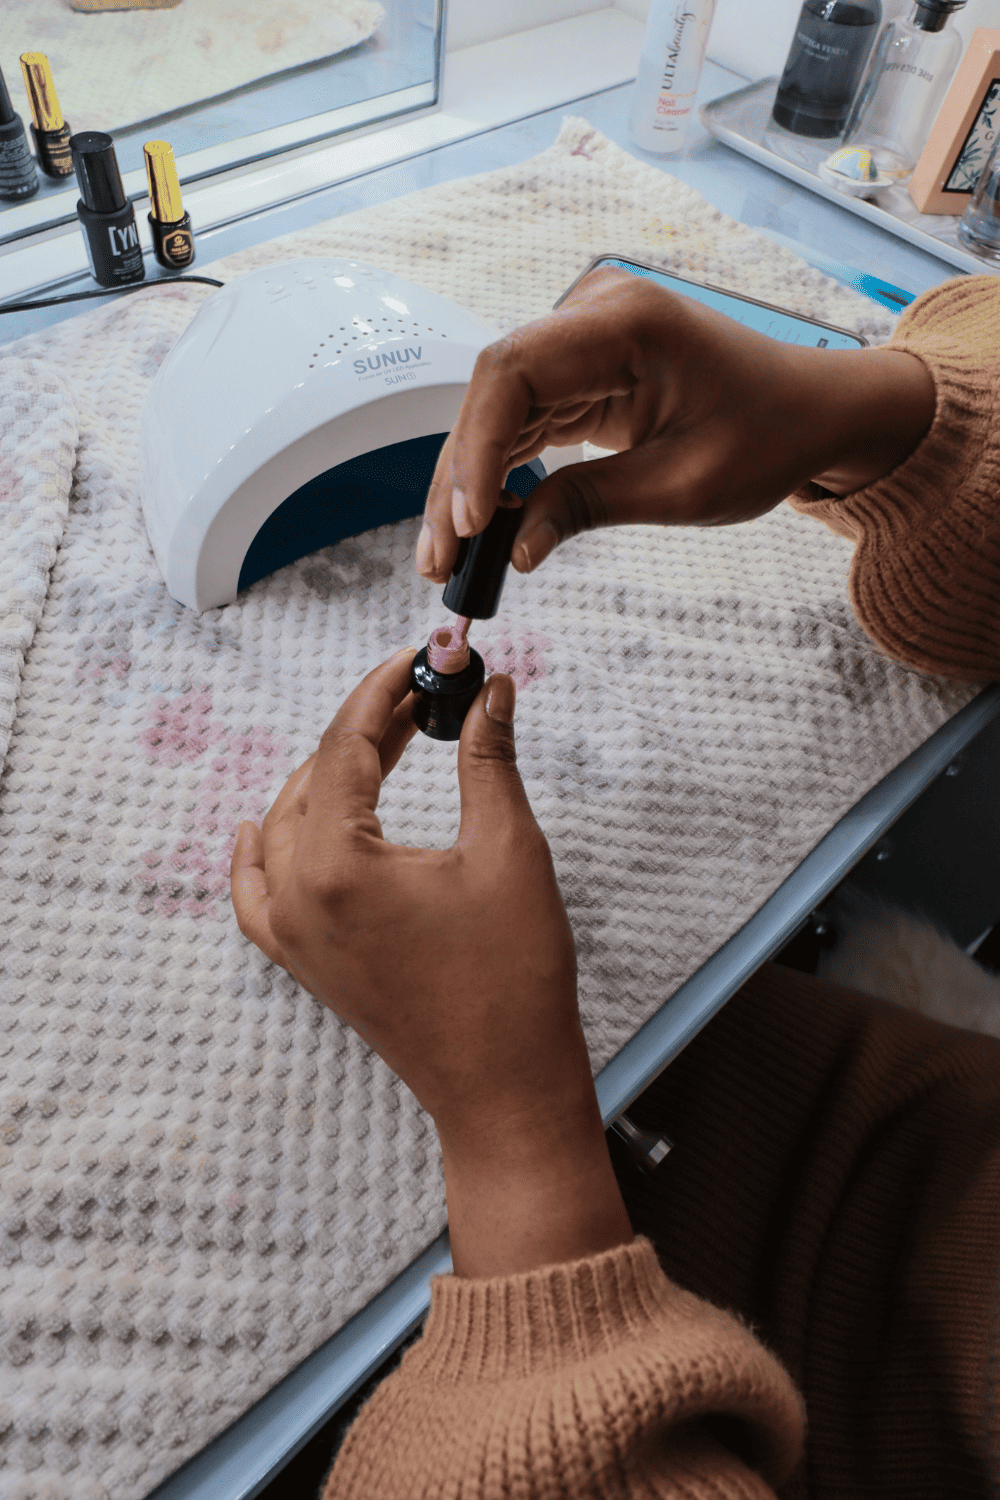
Step 1: Nail Surface Prepping
This is the foundation of getting professional result. The first few times, I literally skipped this, and my nails would peel, so its important that you do this. I start with pushing my cuticle back using the cuticle pusher. Don’t be harsh because you might bleed if you do it too fast.
Take your time, and you don’t need to push it too far, just make sure that it’s not overlapping your nails. I always notice that it is easier after washing my hands.
Then using the Nail filing kit or a manual one, slowly scrub the surface of your nails. You don’t have to scrub a lot, the idea is to make the nail surface a little rough to adhere the base coat and to get rid of nail oil.
Why the Nail Filling Kit is Better For This?
The kit comes with narrow filing head that will help you get to the corner of the nails that a manual nail file will not be able to achieve and it saves way more time.
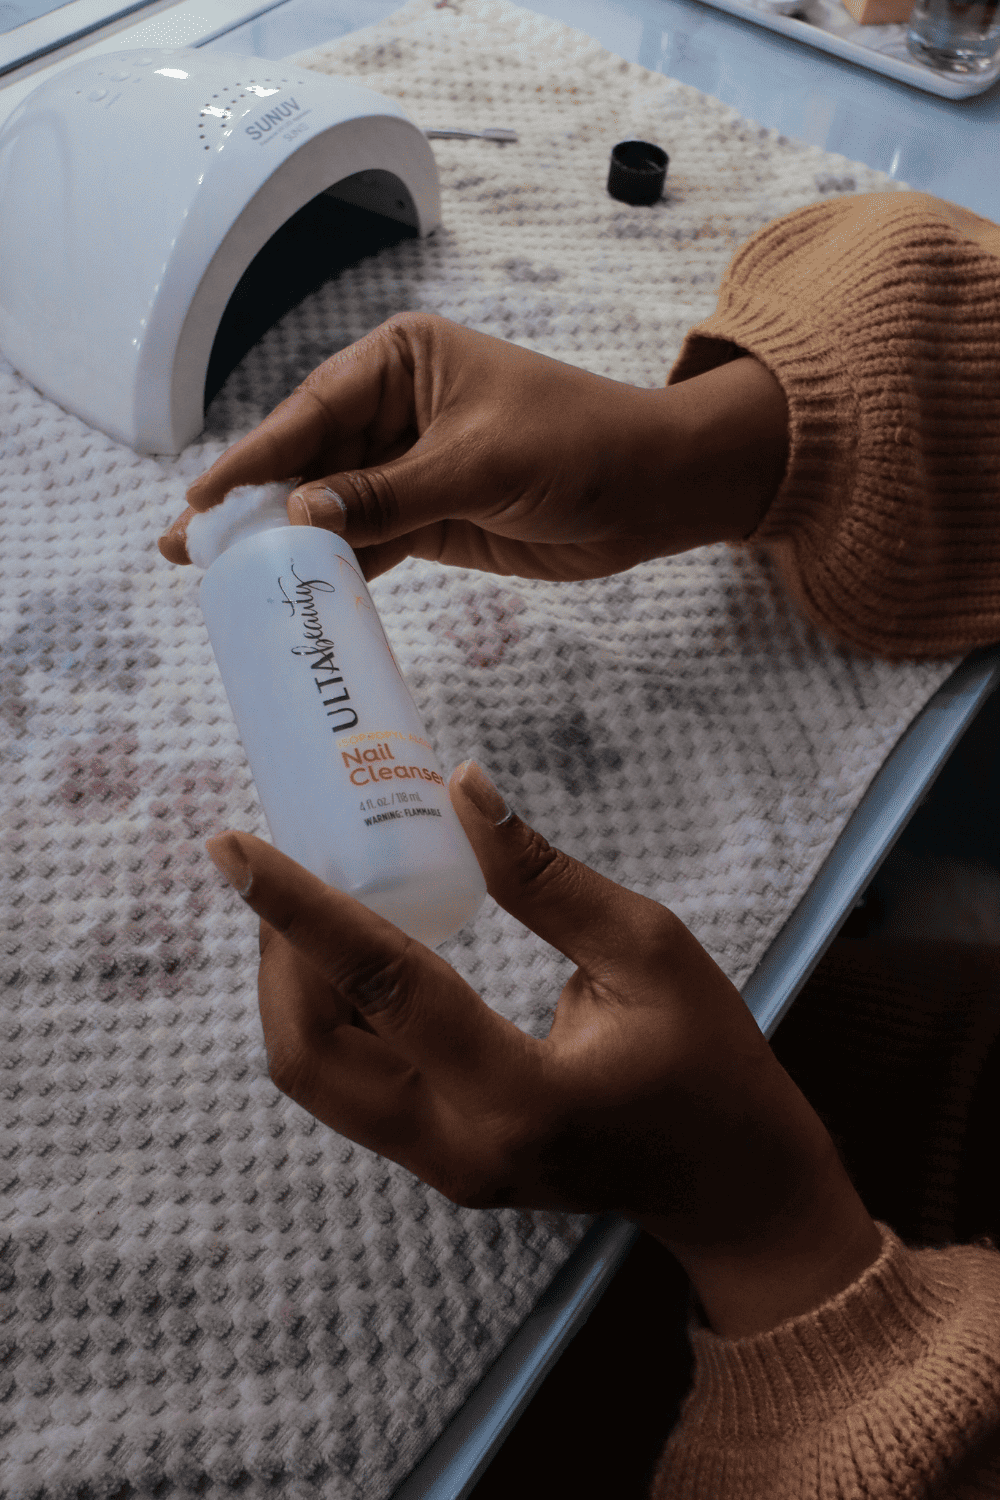
After you are done with your nail filing, use the nail cleanser which has a bit of alcohol content that will make your nail surface smoother and get rid of oil. This way you have completely dry nails. And Ready for the first layer of Nail polish.
I already have this nail cleanser bottle from Ulta, but I sharing something similar from Amazon.
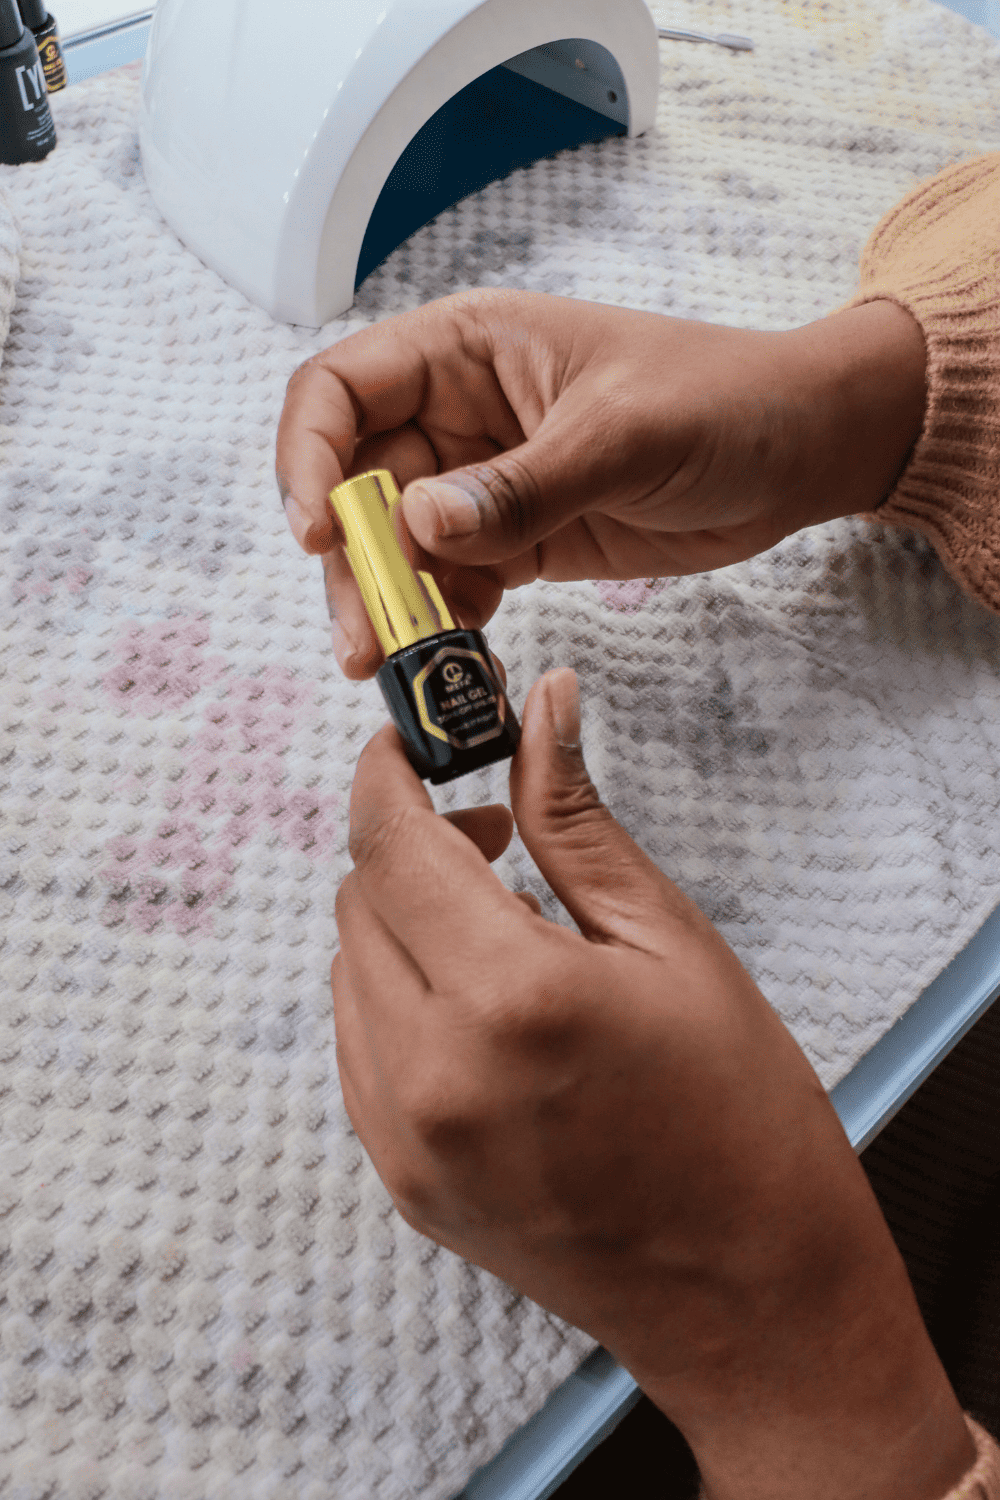
Give it a few seconds for the nails to dry before you apply the base coat. Shake the bottle before you use, but don’t shake it up and down as this might cause bubbling.
If you haven’t noticed this in the Nail Spas, but roll the bottle between your palms like you are warming your palms.
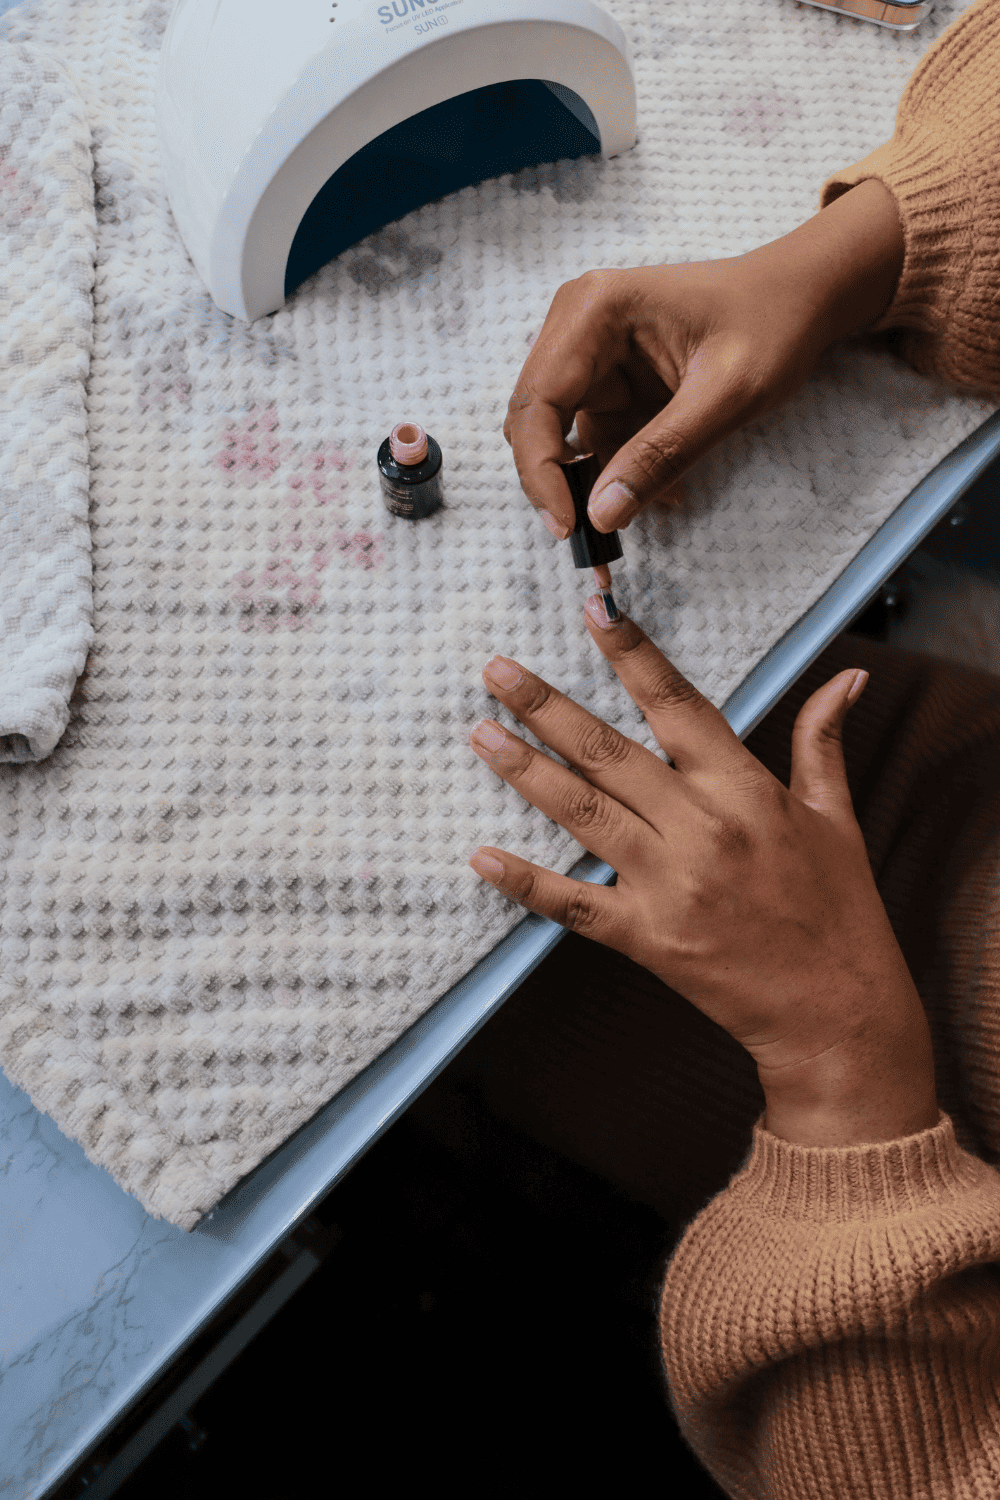
Now take a really thin coat and apply it uniformly without touching your cuticles. The gel will harden on your skin and if you painted too close to your cuticle, it might peel.
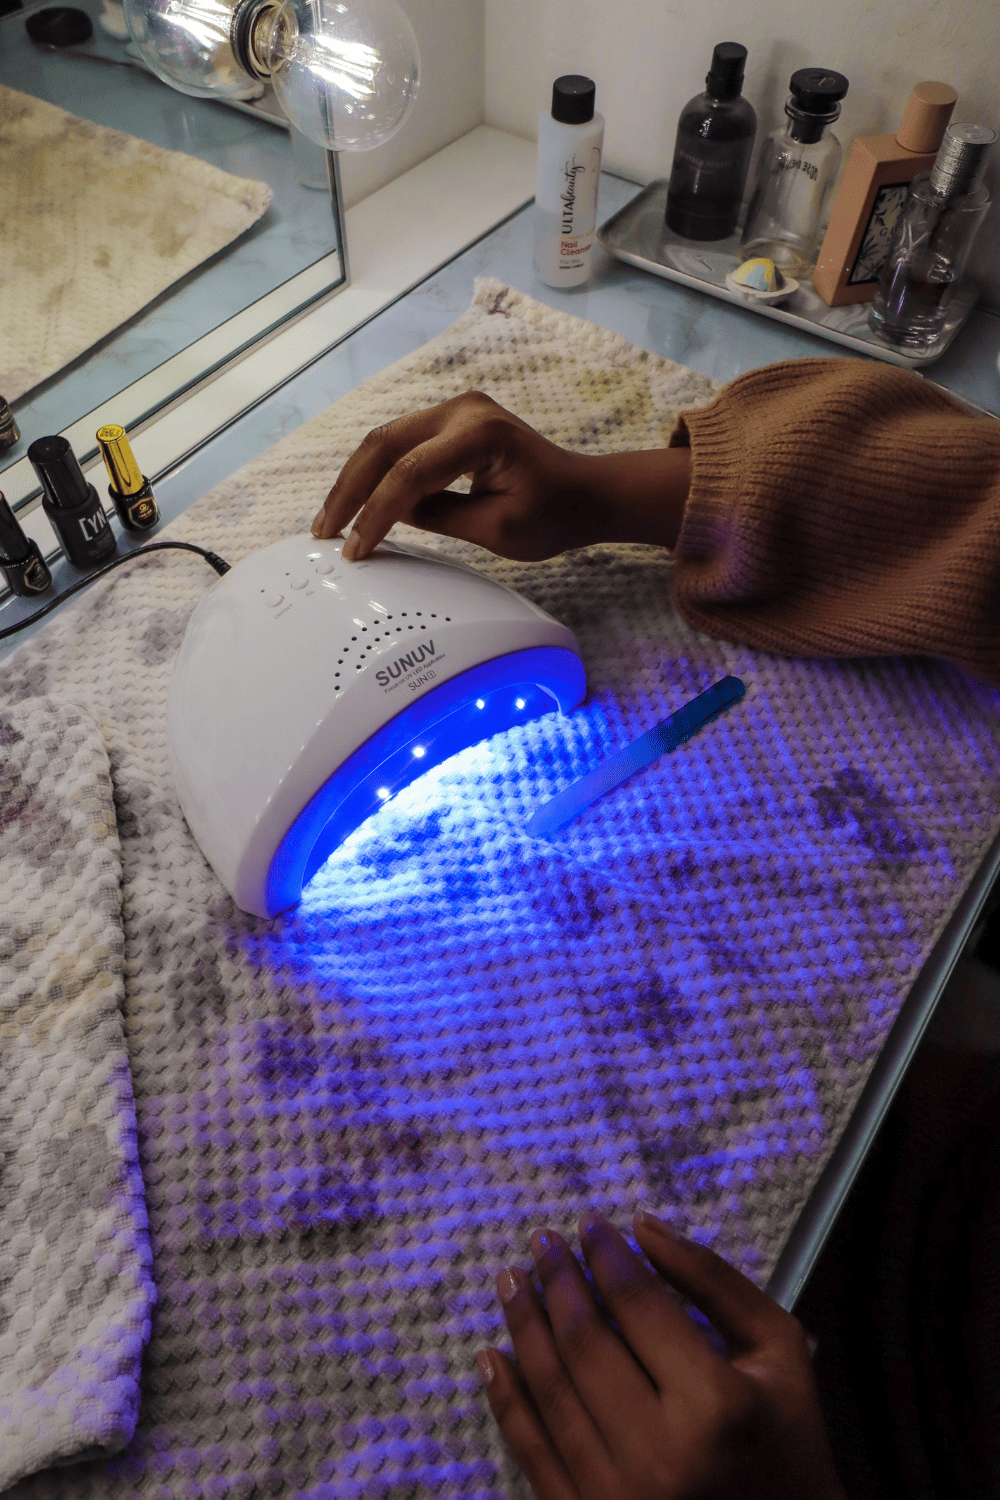
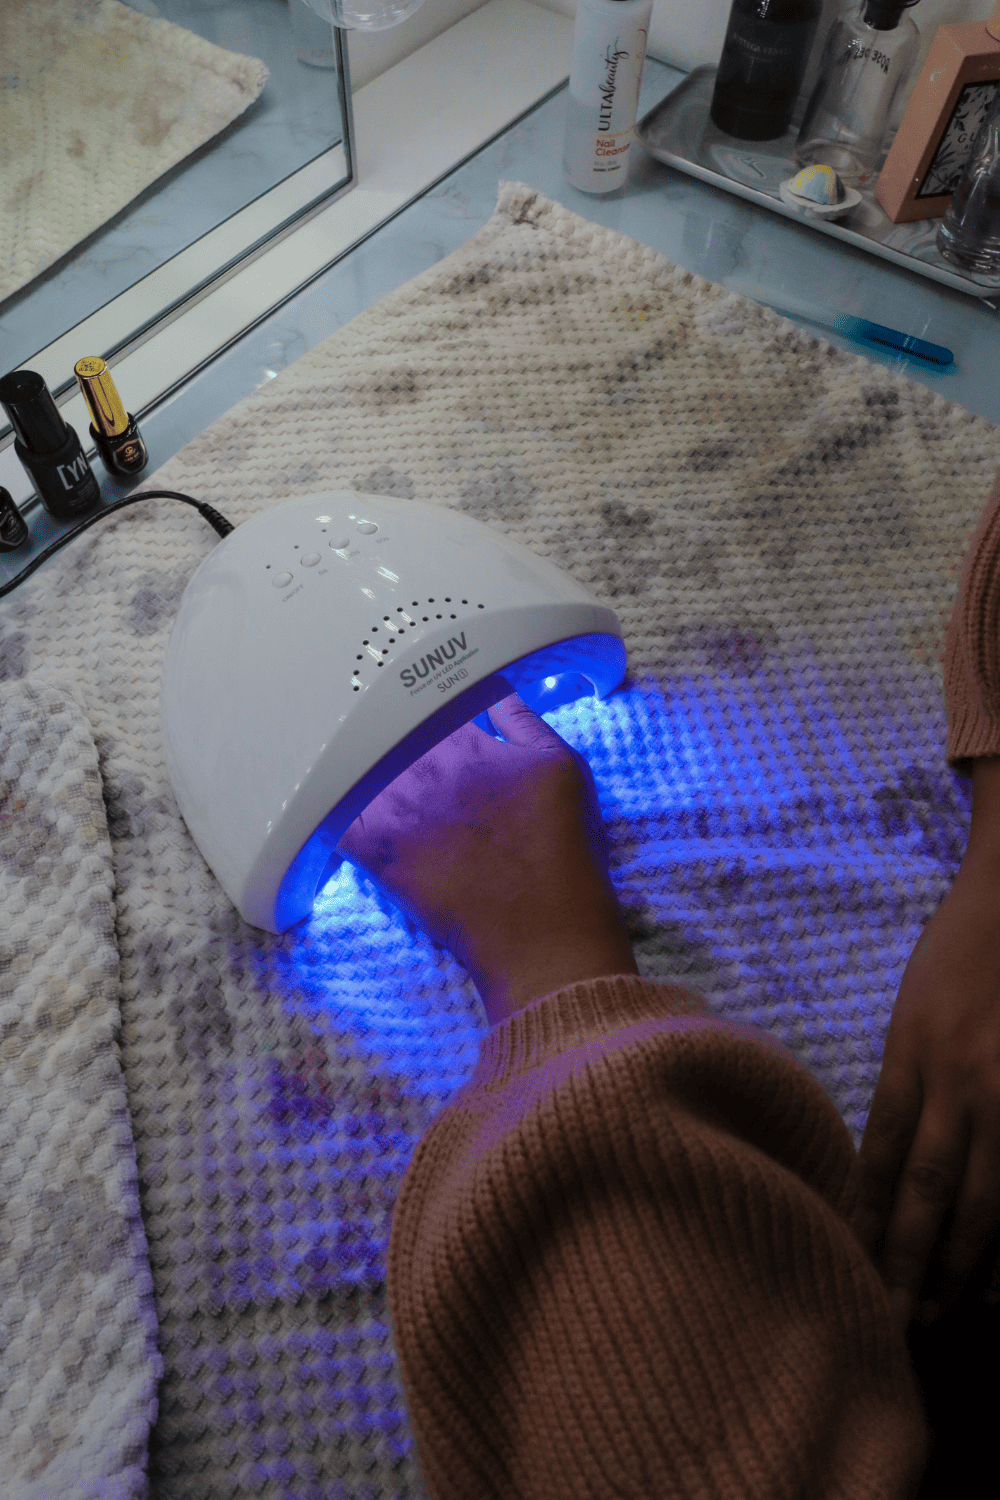
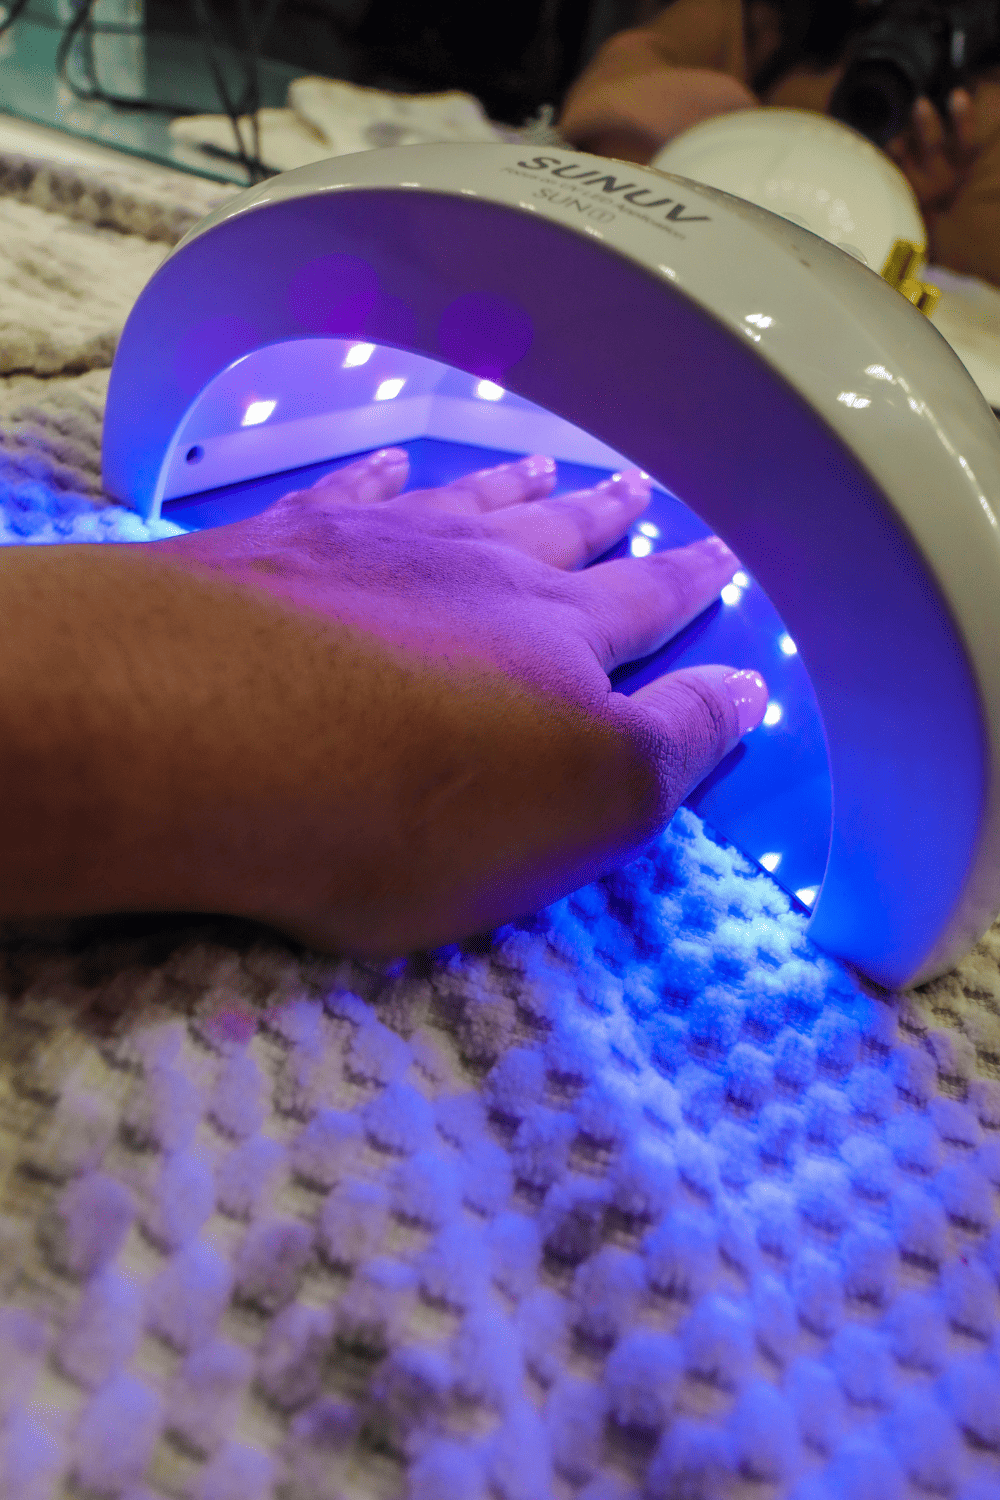
This is also important, after you apply the base coat on the fingers in one hand, immediately turn on the LED light and put your hands inside it for 60 seconds.
Then repeat Step 3 on the other hand and do the same with the LED light.
This will ensure that the base coat is set for color and does not just harden with air. I love listening to music or watch TV while doing this.
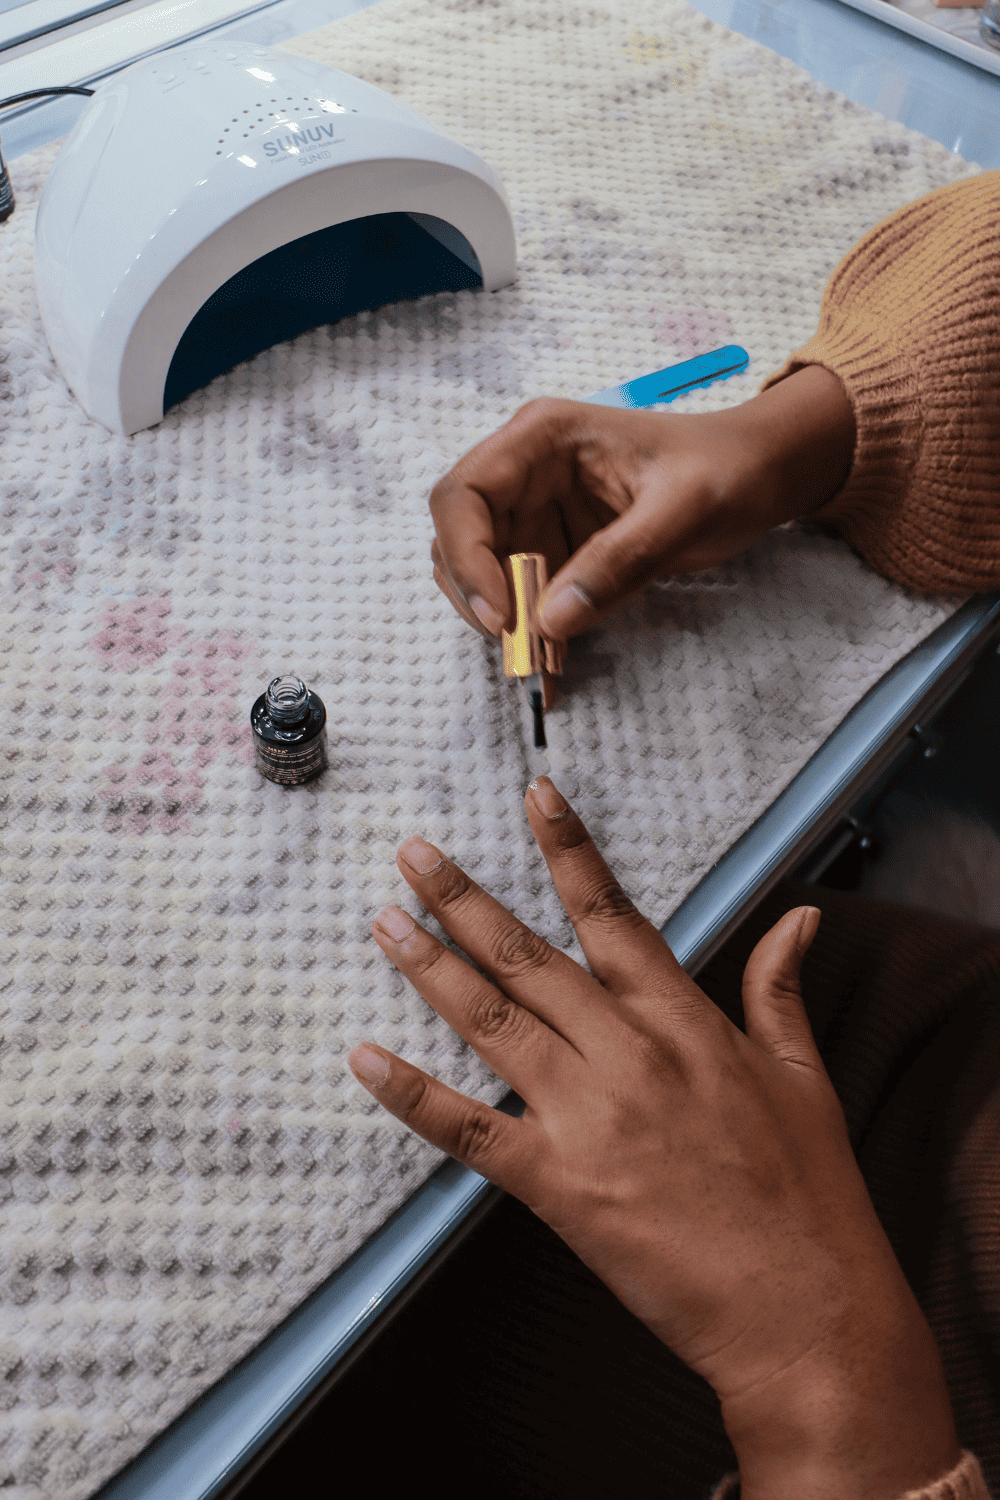
Shake the gel color bottle and apply a thin layer on top of the base coat. Finish with one hand, set it in the lED lamp and go for the other hand.
Depending on the thickness or mostly tint of the color you might need to apply the color once or twice more. It is really important to repeat step 4 and ensure that you do the same as step 3 which is finish with one hand, use the light and then go to the other hand.
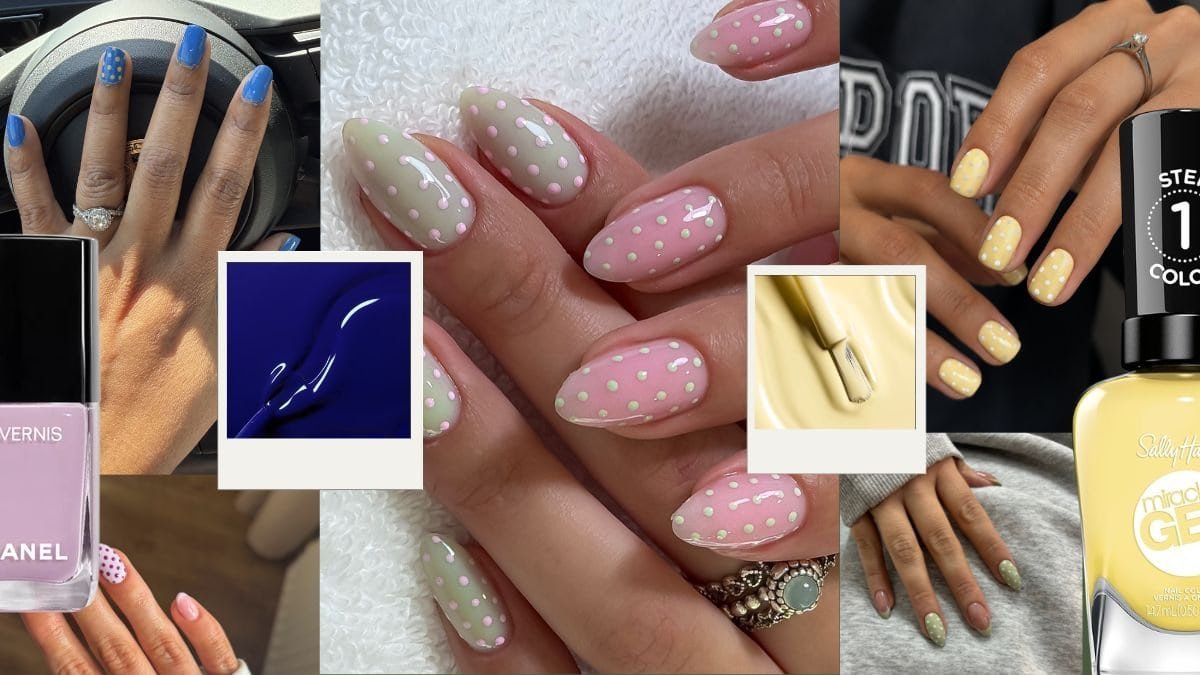
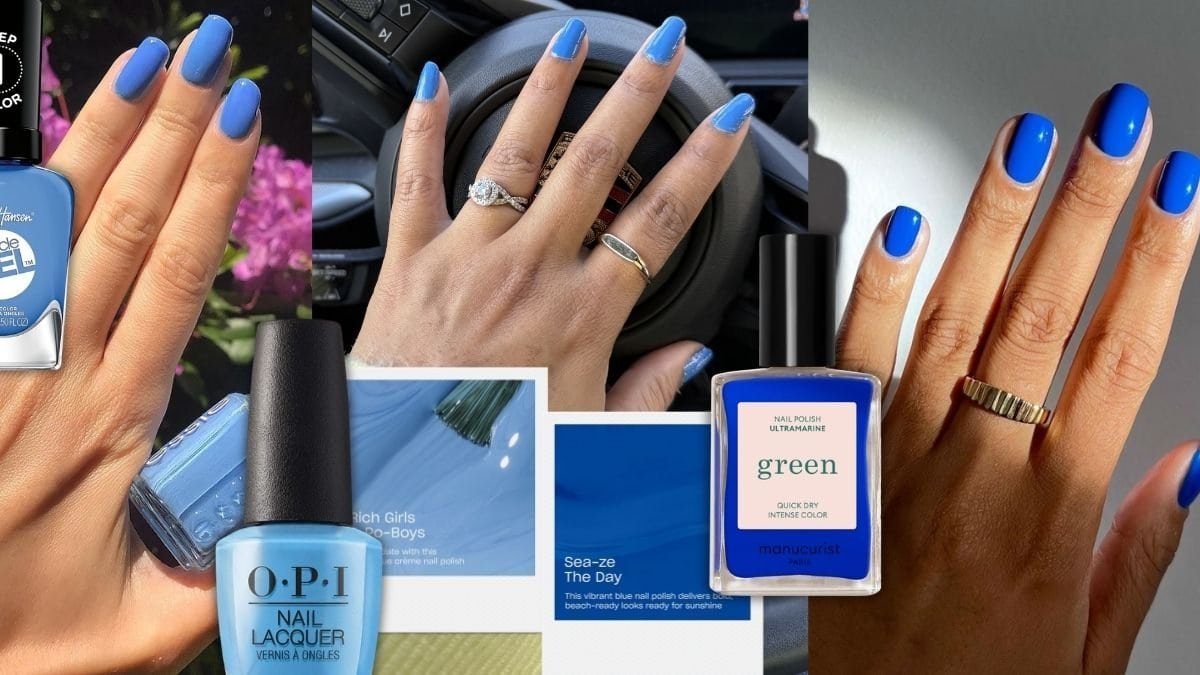
Just like regular nail polish, lighter colors would take more coats compared to dark color.
Use the Gel top coat and apply a thin layer on the color. Now, I used a stain resistant top coat because I cook with spices and my nails get dipped and stained.
But if you don’t have the problem, you can use the top coat from the kit.
Again, its important that you do this one hand and then after 60 seconds of light apply the top coat in the other hand, and repeat the steps.
After you have set the nails in each of your hand once, you can repeat the process at least one more time to ensure that the color is all set.
Step 7: Finishing Touch
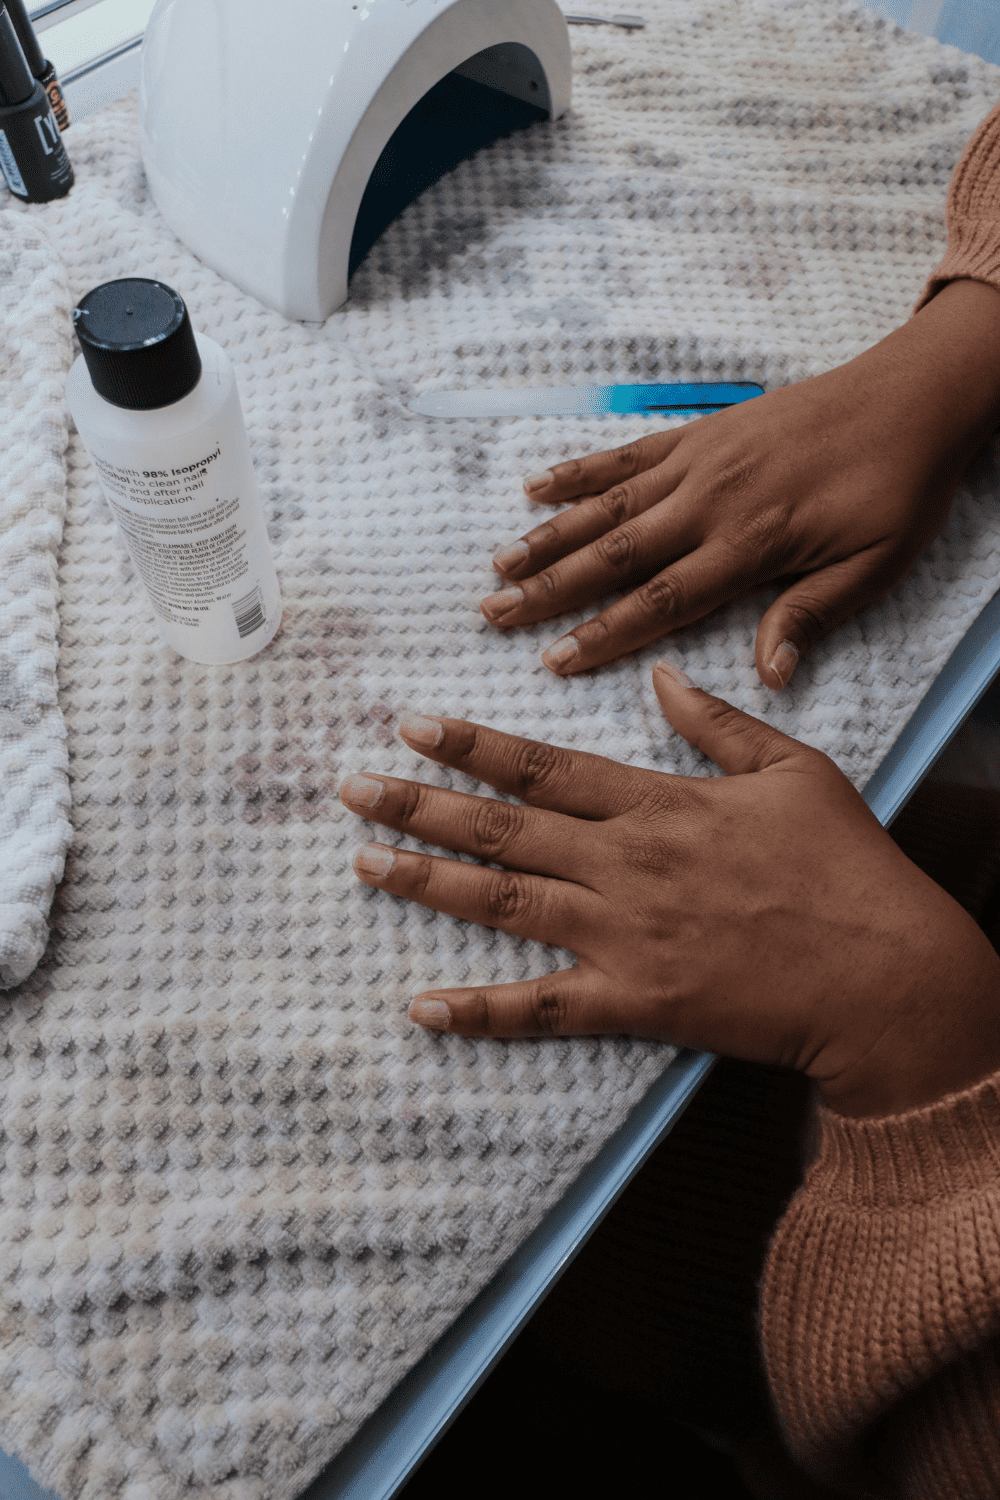
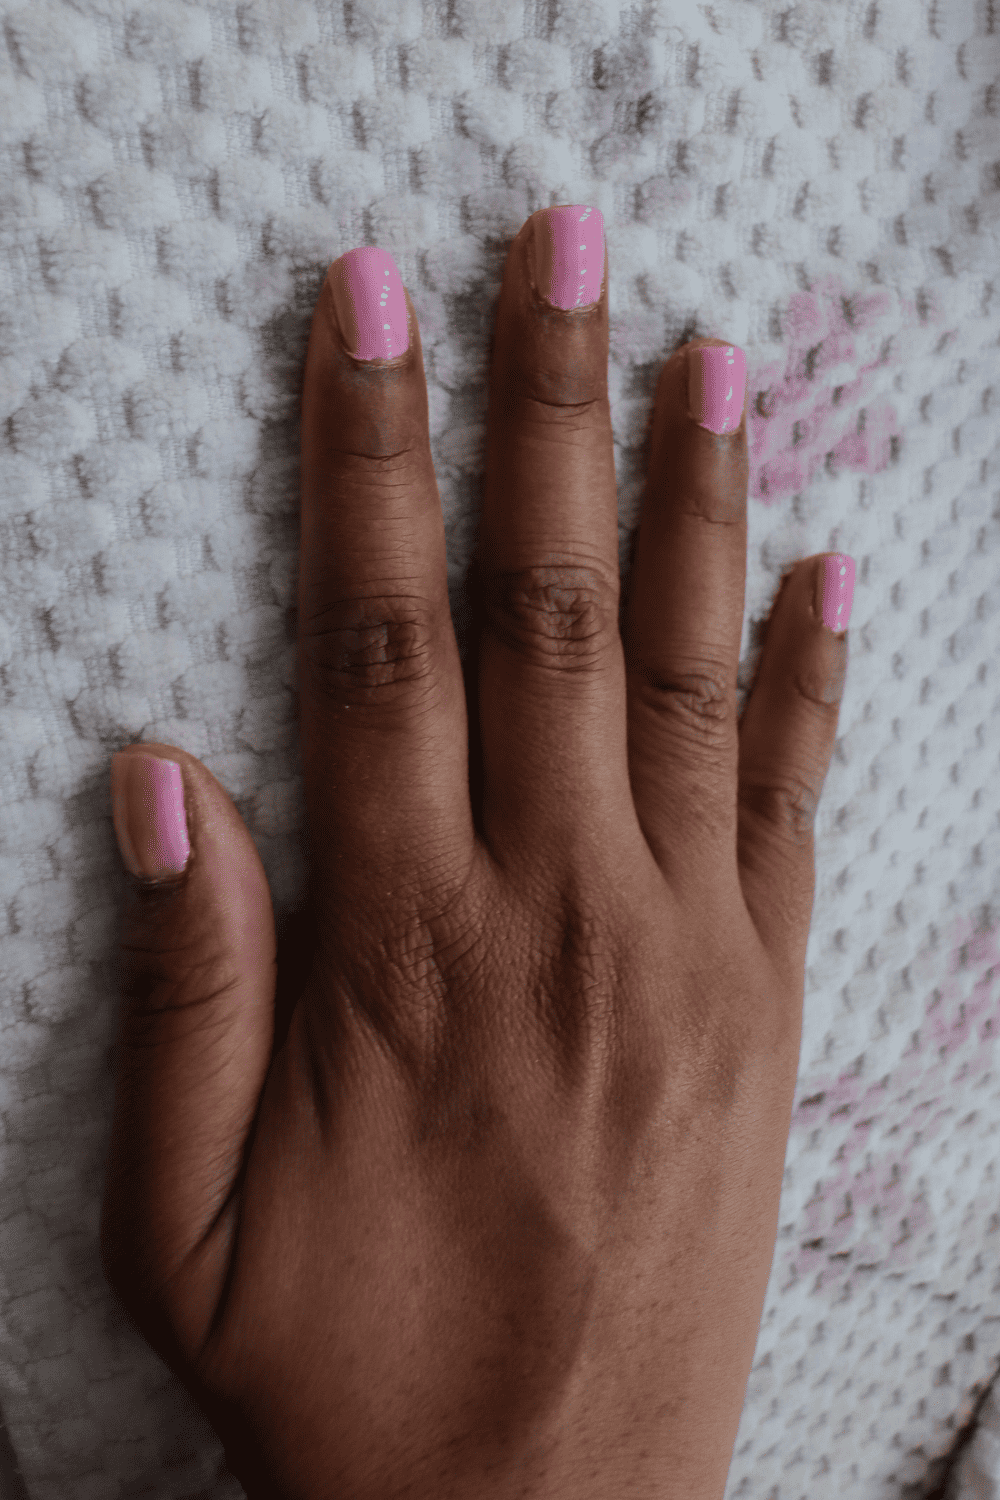
You can wash your hands, but I still noticed some kind of residue on my nails, so I always use the nail cleanser and clean them for a finished look.
The cleanser also helps with the shining of your nail color. And you can now admire your professional looking nail color.
This whole process can take at the max 30 minutes and not more than that. And as you get more comfortable with the steps, it gets easier to do this.
This is a common problem with gel manicure if not done right. I already showed you two things you can do to help not peel, but there are more steps that will completely get rid of this.
Scrub The Surface of the Nail – This will get rid of the oil which causes peeling.
Push the Cuticles – If your color touches your skin, it will peel faster.
Apply Thinner layer – If you apply thicker layers of color or base coat, your nail color might not completely cure and eventually peel.
Don’t Apply too close to the cuticle – With regular nail polish we are often used to apply nail colors really close to the cuticle which does not matter, but in this case, it will cause you gellac to peel.
Apply Top coat to the edge of the nail – This trick I have seen in professional Nail Spas, where they apply top coat to the tip edge to prevent front peeling.
Don’t Use your Nails as Lid Opener – This is an obvious one, but we all do this involuntarily.
How long Does Gellac at home Last?
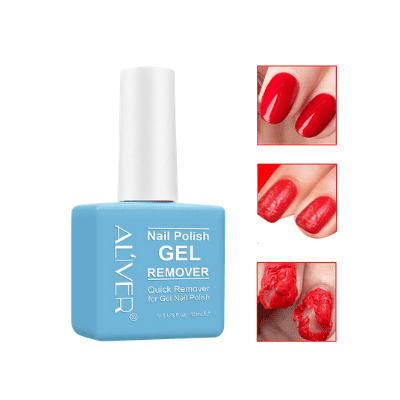
For me this DIY gellac lasts at least 2 weeks, but towards the end, it does start showing signs of wear and tear. But I can easily remove it and start over. I use the gel polish remover from Amazon, and it works most of the time. Again, you have to apply it more if you have a lot of layers of nail color. But the nail color removal is much easier than soaking my nails.
I will be doing another post where I share how I remove my gel nail color using this remover.
If you are like me and do a lot of Indian cooking, or for some reason, you get your gel nails stained, then I would highly recommend the Young Nails gel top coat. This is a miracle of a product. I will be sharing a thorough review of this top coat.
But trust me you won’t be disappointed. This item is also not that pricey at all.