Do you love wearing espadrilles, but they just don’t stay on, the lace always loosens. In this post I am sharing 3 ways to tie lace up espadrilles because these are the best ways you can securely tie your espadrilles and also look chic.
I also find that each of these styles of tying is perfect for a certain look that you are trying get with your entire outfit and now you can do so by simply changing the way you tie your lace up espadrilles.
These looks can be achieved with both flat and wedge style espadrilles where you have lace straps for tying them around your ankle.


Covered In This Article
If you are following the blog you already know that I am absolutely in love with espadrilles, hence I have been wearing them in different ways with different outfits and these tying techniques have definitely helped me to keep them securely wrapped around my ankle.
I am sharing a step by step guide so you can follow along.
Tying Style 1 - Classic Elegance
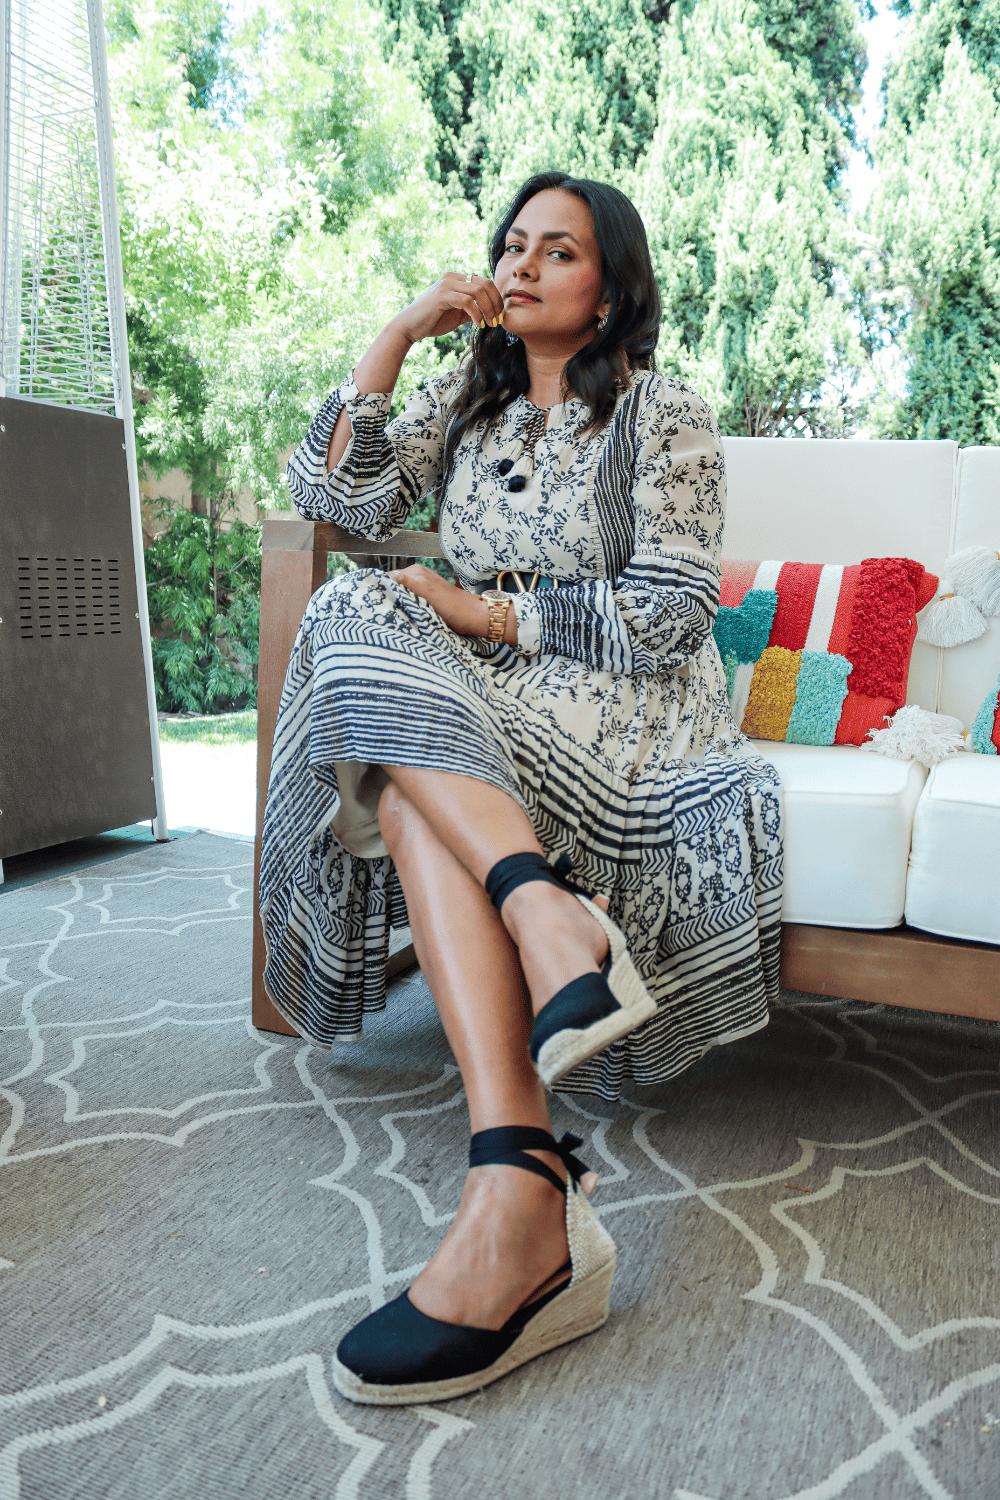
This technique works amazingly with dresses and more elegant outfits like jumpsuits, or even tailored outfits if you want to wear them for work. In this technique I wanted to ensure that I a not leaving a lot of strap left over that feels a bit look and undone in general.
So depending on the length of your espadrilles, you can decide on how much of the strap you can let loose. Usually that is biggest reason why your espadrilles come undone sometimes, because you have a lot of loose hanging strap and with motion the knot gets loose.
So let’s get to the details of this tying technique.
Step 1
Pull the straps and and wrap around your ankle. The first wrap should be tight enough. Otherwise, eventually with the friction of motion, the espadrilles would keep getting loose.
I usually pull the straps tight and keep the tension for the first wrap around, then I can keep it a bit loose for the next round. This way even if it initially feels tight, the motion of your feet will balance the tension .


Step 2
Doing a Straight Criss Cross Around the Ankle. This means that your hands are not above your ankle as you move to the next round of wrapping. It stays on the same level as the wrapping which you will be doing right around the ankle joint.
This way your next set of wrapping would still be around the ankle and each of the wraps will not be part at all, which you will see eventually.


Step 3
Repeat the same process as Step 2. This will create a nice wrap around the ankle and with the wedge style sandal, this wrap looks really chic. I literally do this everyday.
This will also ensure that your wraps don’t loosen and fall down which usually happens when you have wider lace wraps around your calf. And more over it create a neat looking wrapping, don’t you think?


Step 4
As you are closer to the end of the strap, not longer than 5 or 6 inch depending on what you are comfortable with, create a double not by first tying normal knot and then tying a double bow knot. This is really important, make sure there is not a lot of loose strap, otherwise the knot might get loose eventually if you are doing a lot of walking.
I also sometimes do a third know with the bow, but this should be fine for you if you are not wearing maxi dresses or long pants that will hit the lace.


And there you go, the first style of tying is done. There are two benefits of tying behind you. You will not be meddling with the knot at all.
And the whole looks appears to be cleaner and polished because the tying part is hidden in the back.


Tying Style 2 - Effortless Casual
I call this technique as effortlessly chic and its perfect to wear with more casual outfits like jeans or shorts. But more importantly this technique with completely ensure that your espadrilles are never loose around the ankle.
My daughter loved this technique because she always gets her espadrilles loose while we are walking somewhere. So, this is a tried and tested way of tying them.
Step 1
Pull the back part where the lace is inserted into both the sides of the espadrilles to create a wrapping loop. Pull it enough so that you can bring it completely to the front, so that you have enough room to slide your feet in.
This might take some time and make sure that the strap is not folded. It should lay flat and you will know why.


Step 2
Now, for the loose strap which you will be using to tie around your ankle, lay them on either side of the espadrilles which will create a cross like loop.
Since we are literally reversing the way we are typing the strap by bringing the back of the strap to the front. In order to secure the wrapping we have to bring the lace strap behind our ankle. This would do that.

Step 3
Put your feet inside the espadrilles and using the straps on opposite sides than where they usually are, pull the loop closer to your ankle.
This will create a secure loop around your entire ankle and it will also not feel as tight as you would have felt if you did the usual wrapping.


Step 4
Wrap around the ankle just the way we did in the first technique where we kept the loops closer to the ankle as well as closer to earth other.
You will definitely notice a difference while wrapping where you would not need to make the loops as tight as you would do in the first one.


Step 5
Bring the straps to the inside of you ankle where you will be tying the knot and the bow knot.
If you want you can do a double bow, but because I wanted this look to appear more casual, I went with a single bow. And honestly after using most of the strap that is what you will get.


I specifically chose the single bow knot because I wanted to create and effortless look.
But if you want to wear this same style with something fancy, you can absolutely do the double knot. I also ensured that I didnot have a lot of straps hanging which can make it look more chic or feminine.
Really not sure how to explain it, but this way of tying the espadrilles looks more structured. Whats your thought?


Tying Style 3 - Vacay Vibes
Step 1
I created this style for all my vacation outfits specially for summer vacation destination. The look is way more effortless and will look amazing with beach shorts and skirts.
The tying method is also more relaxed and perfect for those beach looks I am so dreaming head over even now.
Everything does not have to be always so put together, does it!


Step 2
The Next Loop has to be a bit above the first loop showing some skin in the middle. This way the strap creates an effortless style that is perfect for vacation vibes.
This also feels a bit more comfortable.


Step 3
Repeat Step 3 as many times as you could leaving just enough strap to be able to tie a single bow knot.
Though I also think a double bow knot will look really cute as well.


Step 4
Bring the end of the straps towards the outside of your ankle. This way when you tie the straps, they will be visible and will look really chic.
I still decided to not leave a lot of the lace untied because that is the only way to not let them loose. And since the straps are far apart there is not much of that left anyways.


I didn’t want to create a lot of gap, because there is not a lot of lace that you could have multiple loops too far apart and I believe the reason behind is not create that style of loops.
Since its made out of fabric if you too tie it on your calves, there is a possibility of them getting loose.
This is my favorite look for all my summer outfits which shorter dresses, skirts or even shorts. The bow being on the outside is more visible and looks way more chic.


