Dealing with unruly gray roots? Don’t worry you can actually easily color them at home with professional products not drug store products. I am sharing an easy step by step guide on how to color your gray roots by yourself.
And you don’t need to buy anything from salons, you can buy all of these items from stores or Amazon if you need to.
So, lets get started.
Why Not To Use Drug Store Hair Color?
Drug store hair colors are a quick fix of everything. They made to universally work on all hair types, hair colors. Which means, they are not catered to your hair color or not really catered to the right lift or coloring process.
This is the main reason you go to hair salons to professionally get your hair color done.
When you use drug store products, your hair does not get colored or treated evenly just because of the quality of these drug store colors. Which means, whenever in future you want to color your hair professionally, you won’t get the desired result for the money you have spent.
This exact thing happened to me, where I spent 100s of dollars and never saw a good result. And my hair stylist explained it to me.
But honestly, after seeing the steps you won’t want to use drug store products, because they are pretty easy to follow.
What Products To Use to Touch Up Gray Roots At Home?
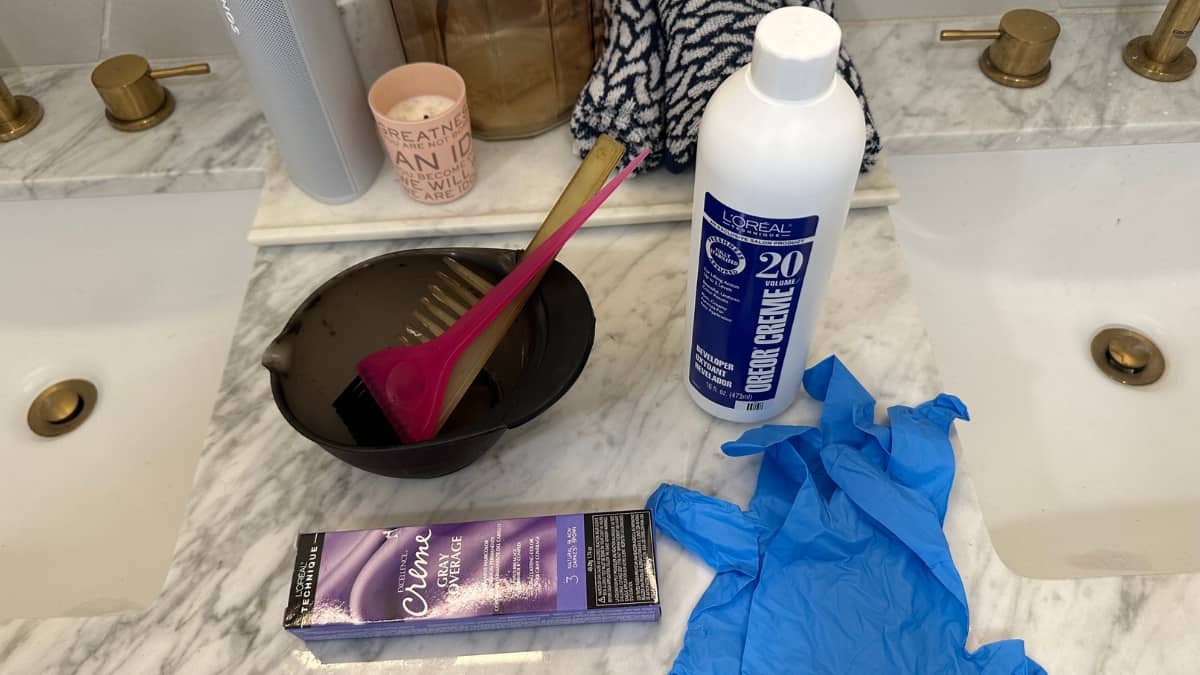
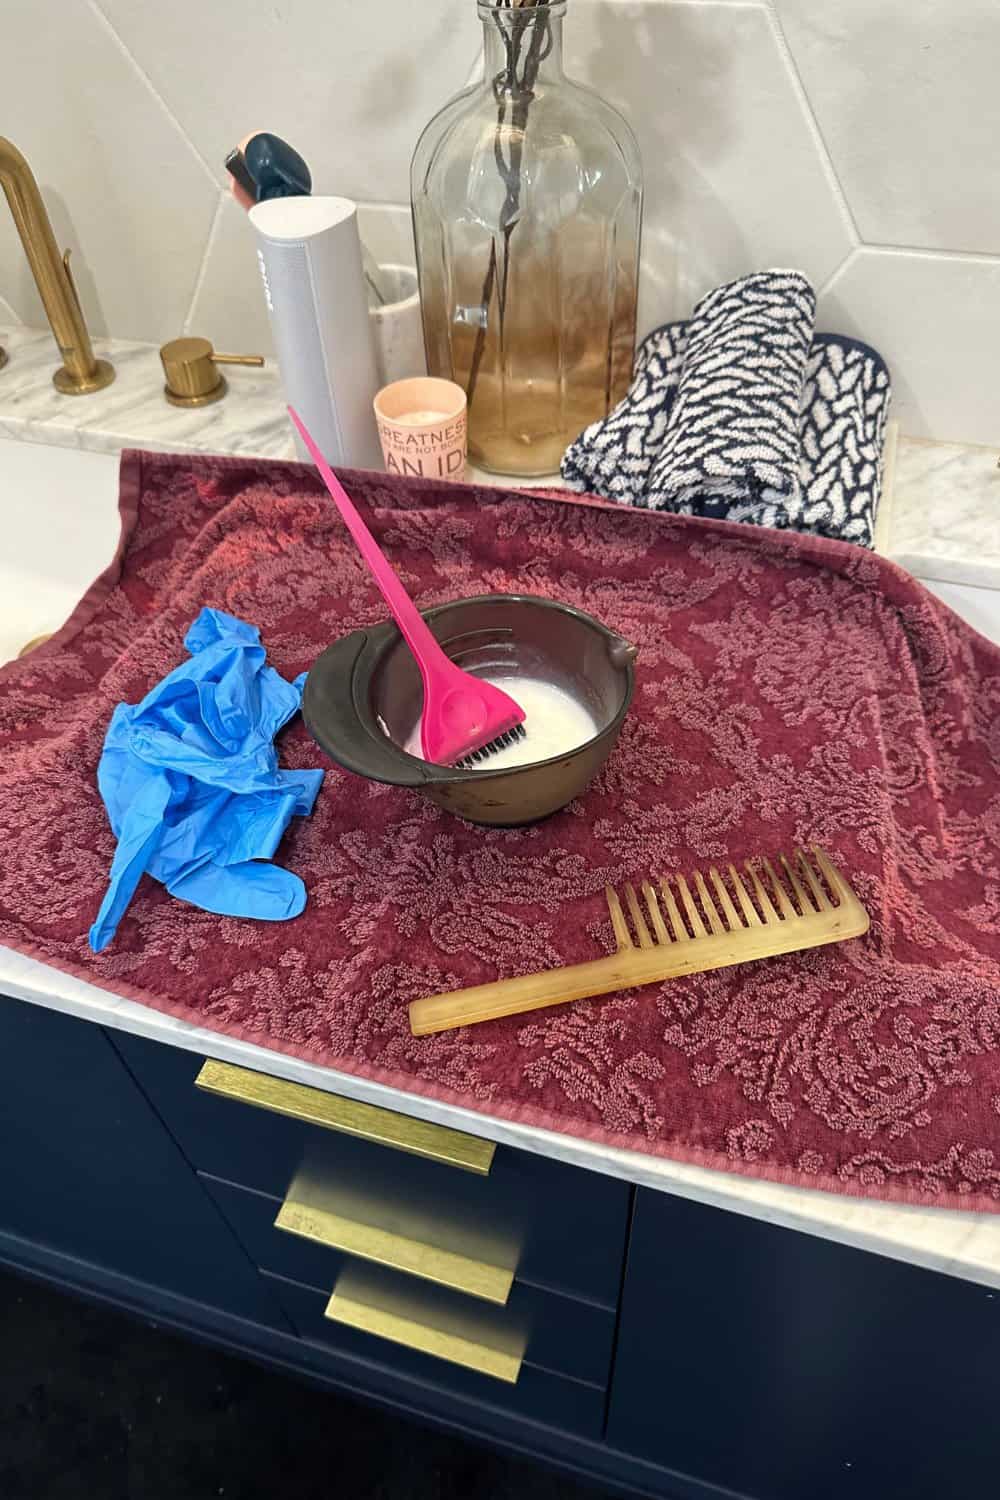
You have already seen the products in the picture above, but I will add it here again as well.
There are only 3 items you might need to buy on repeat, the rest are one time purchase.
- A mixing cup to mix your color and developer.
- An applicator brush, preferably flat brush.
- Gloves to protect your hands.
- Permanent Gray coverage Hair color. I am using Loreal Excellence cream color and recommend this to all of you.
- A Volume 20 Developer again from Loreal which will provide better gray coverage. Here is why.
- Kitchen measuring scale to weigh the products.
Step By Step Guide To Color Your Gray Roots At Home
Step 1
Use the scale to measure the amount of color and developer to mix together. This is the only step to be mindful of. Once you get comfortable at measuring, the rest is just applying.
You can find the exact ratio in the hair color cover, but the goal is to use 1 part to 1.5 parts of the developer. Now, I use this ratio loosely. But the key is not double up on the developer.
This might lift instead of darken your hair color.
I usually use half of the tube and the appropriate amount of developer. So each tube lasts me for two color sessions. Cost effective, isn’t it.
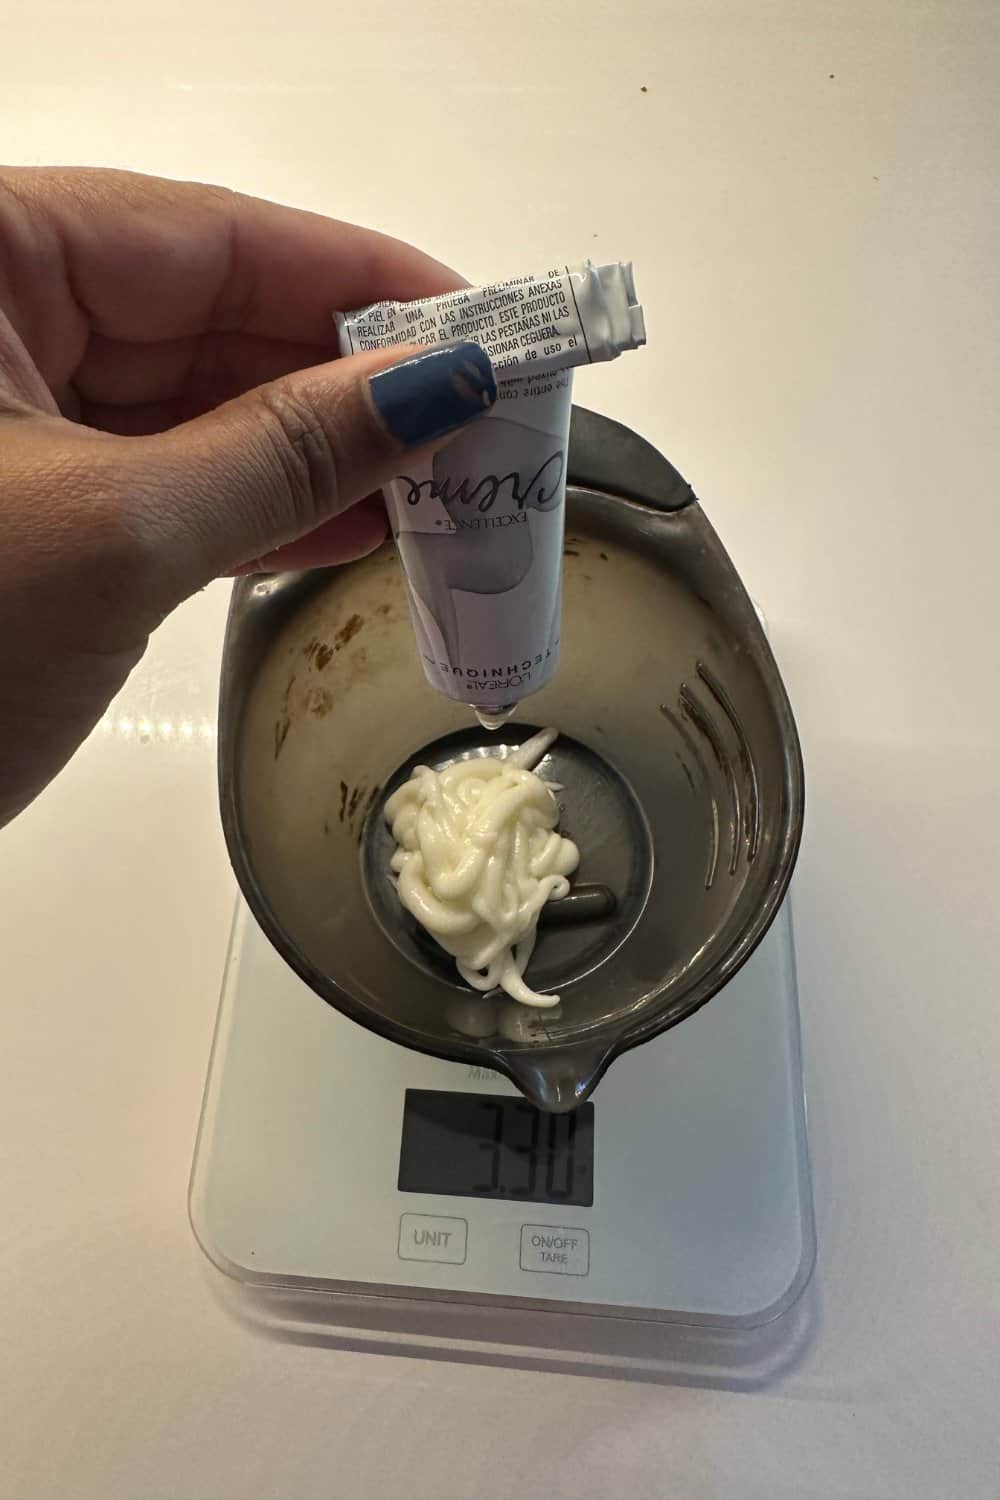
Once you get the measurements and pour everything into the mixing cup, it’s mixing time. You don’t need any mixing spoon or anything. Use the application brush and thoroughly mix the liquids together.
It’s important that you mix them properly, so take your time. But don’t take that much time.
Also, add some extra towels on the surface where you will be putting this to color your hair. I have white marble vanity tops, and this color can soak into the marble.
There is no harm in taking some extra precaution.
Step 2
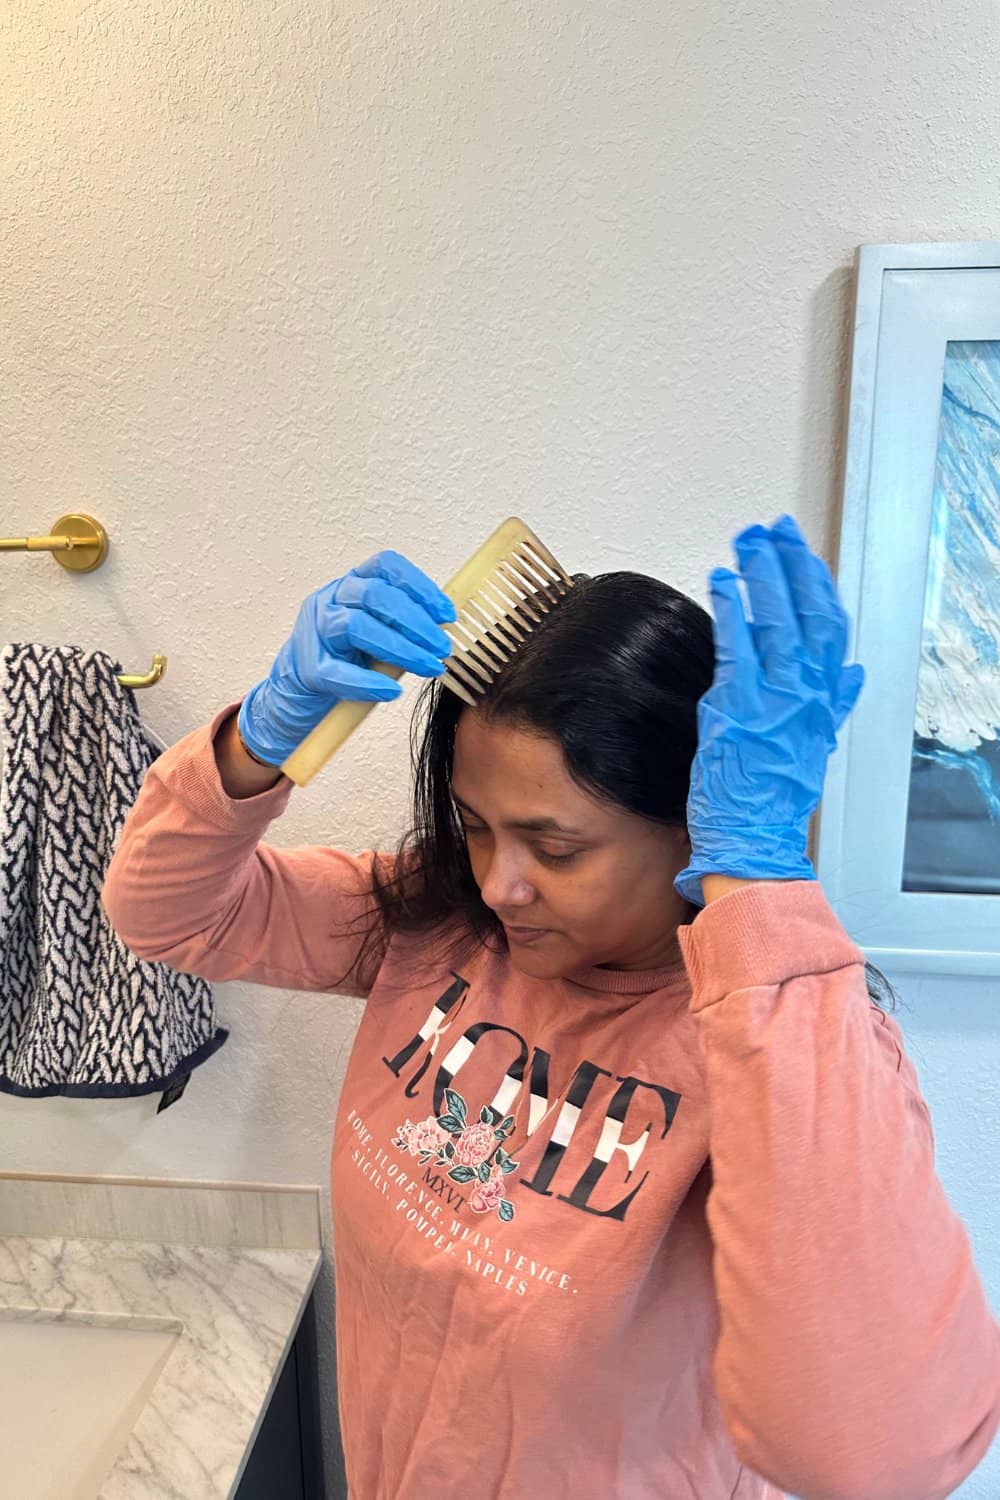
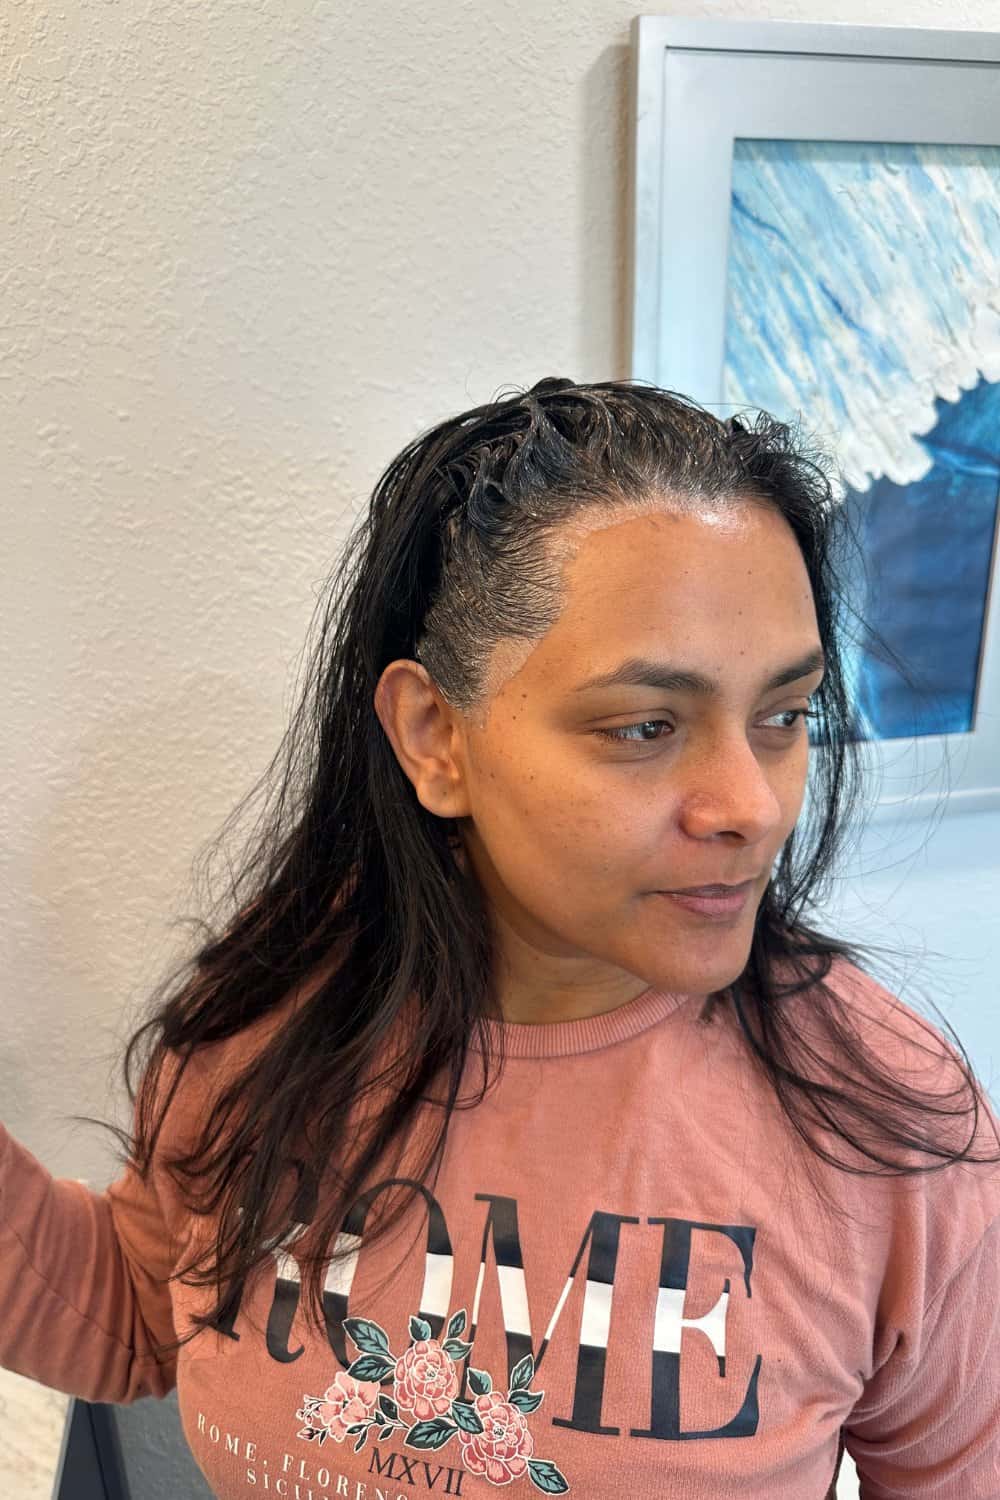
Part your hair in the middle even if you don’t do this generally. This makes its easy to evenly apply all over.
Now, I usually get my grays all over, so I apply all over on the front part of my hair. You might not be on the same boat. But if you do get grays all over, this step helps.
Step 2
Take the color and apply on the middle part, and then take sections of hair and repeat the process by applying on both sides of the root so everything is covered.
This steps helps get all the roots colored. If you just apply on one side, you might a few strands and this step ensures that does not happen.
If you notice any professional in the hair salon, they do the same thing as well.
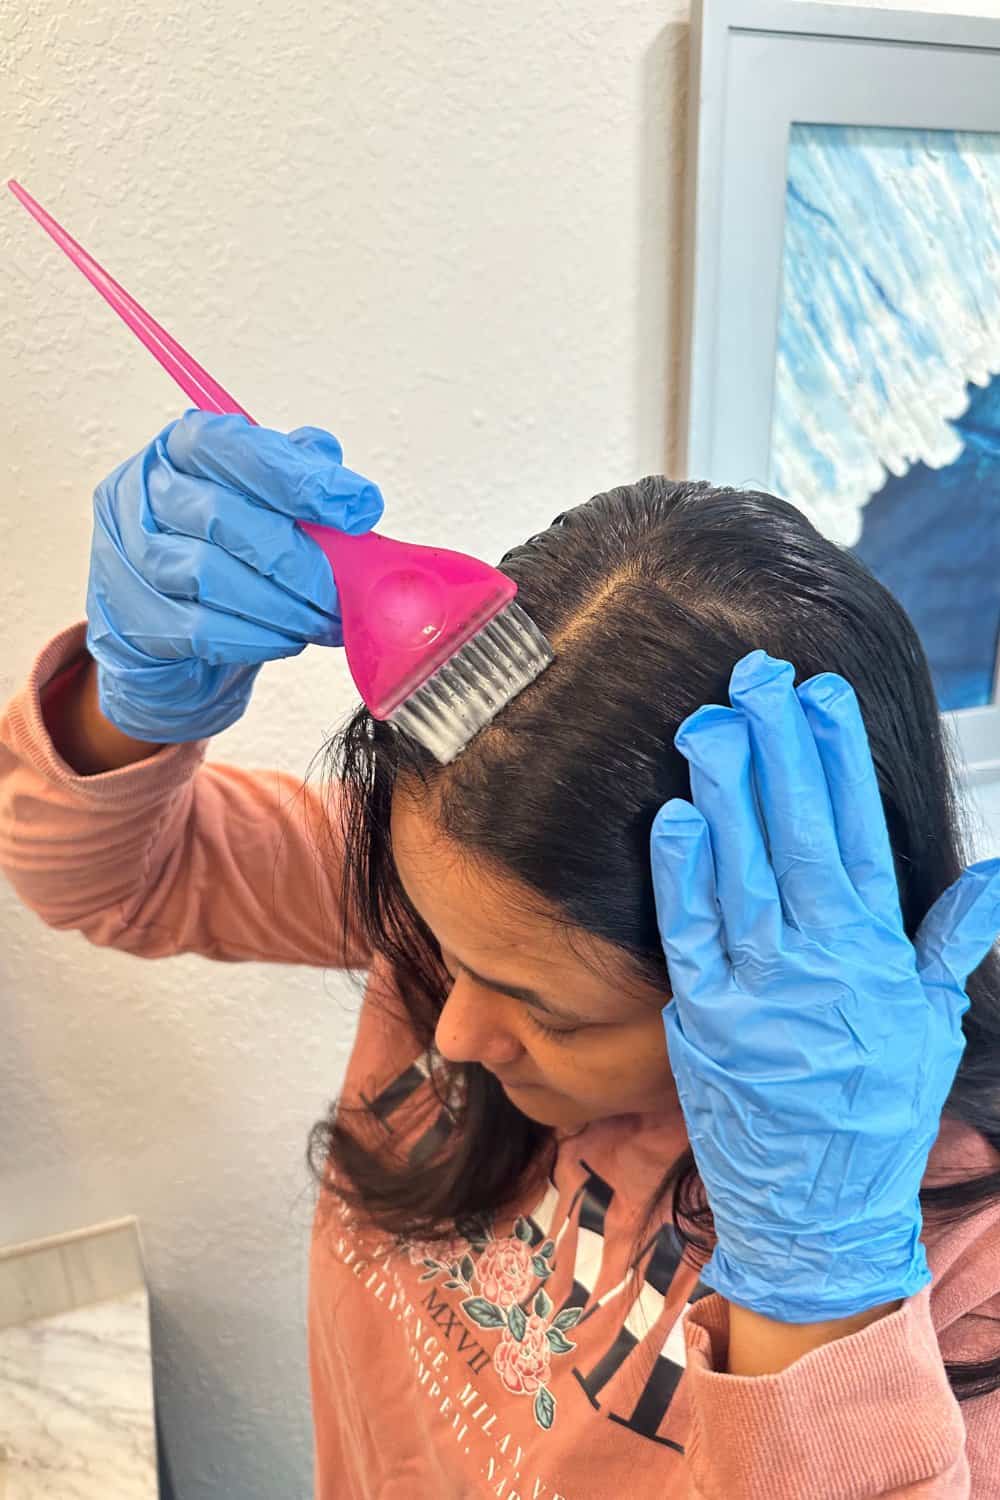
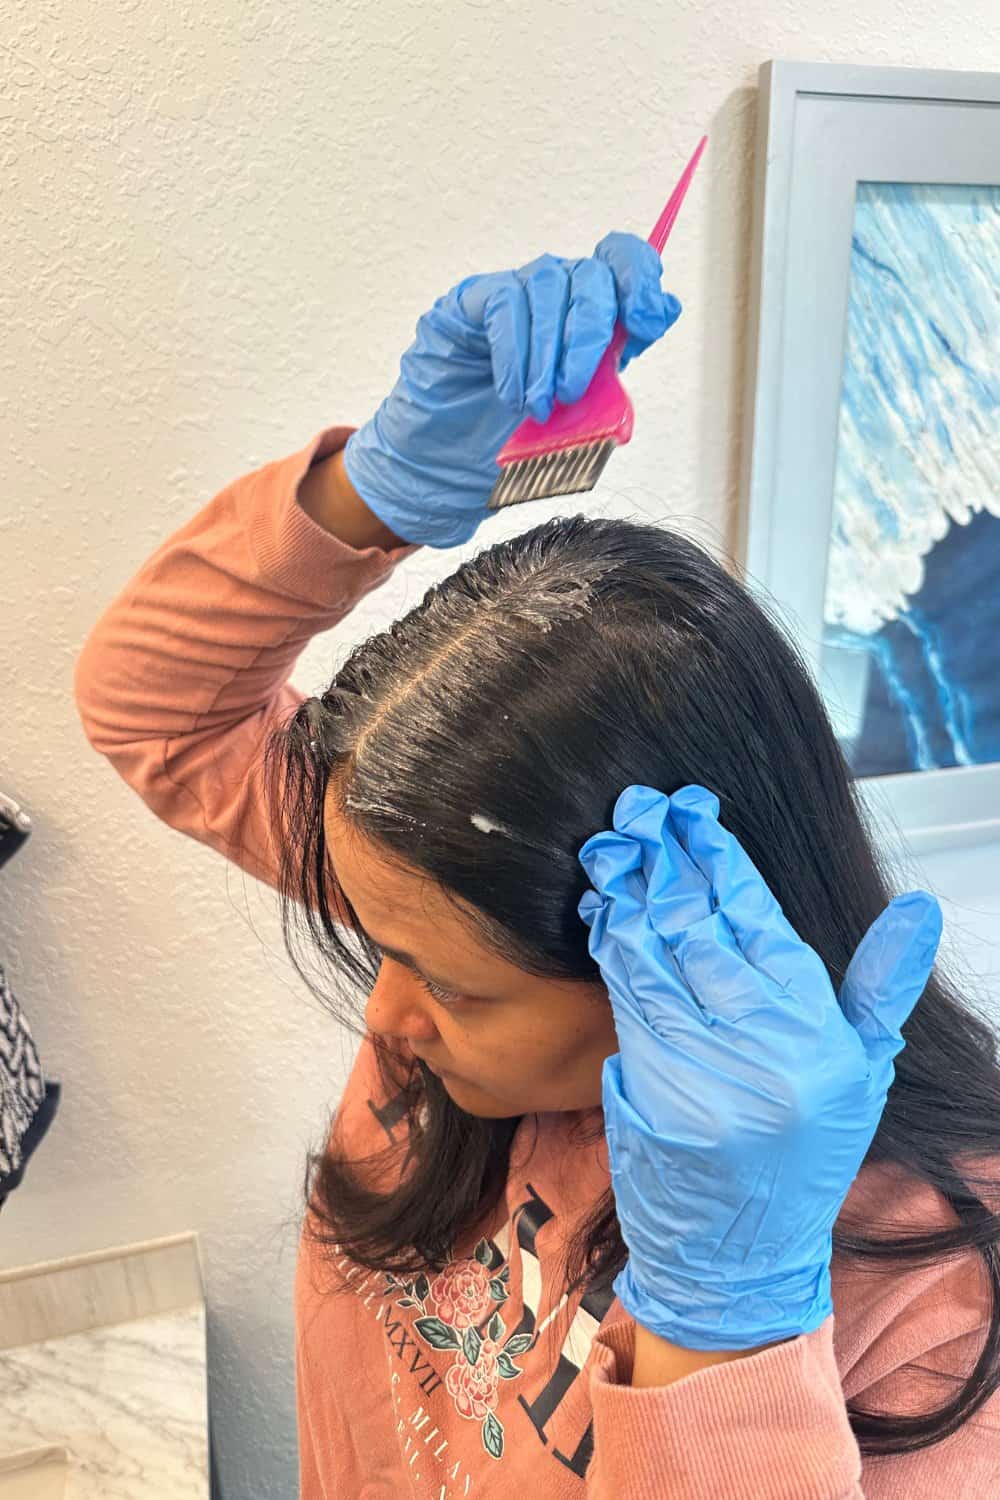
I usually head to finish one side of the hair. This helps applying the color faster and easier. If you have long hair like me you know, combing it on both sides will be challenging and time consuming.
So, finish on one side of the head and then go for the other. The goal is not over apply. The applicator brush is built to apply color evenly, so let it do its thing.
And if you have the right proportion of the developer, the color won’t be as runny, it will stick to your hair easily.
Step 3
Finish both sides and you are done. Keep the color for about 35 – 45 minutes, depending on your hair quality. For thicker hair, you need to keep it for 45 minutes.
Then wash and condition. And you have a professionally looking touch done with just a few dollars of money spent.

How To Color Your Gray roots If You Have HighLights?
I have stopped lightening my hair just because, it was becoming an expensive and not so healthy treatment for my hair.
But if you want to do highlights and have to cover your grays, then you can do one of the two things to cover your grays:
- Apply lots of conditioner to your ends before washing. This will help with minimal color bleeding to the sections of hair which have lighter color.
- This is the trick I used before. I apply Olaplex No.3 to my ends to not only protect them, but also to keep the black color from getting absorbed in my highlights.
When to Do Root Touch At Home?
Don’t wait for 4 inches of growth to cover your grays. This makes the process difficult and time consuming. Plus, the color might not turn out evenly. Depending on your hair growth, let it grow till half inch to 1.
If you are worried about visible grays then try instant root touch up sticks that will help you in between sessions.
When Not To Do Before Coloring your Roots
Here are few don’ts to keep in mind if you want your at home coloring to be successful.
- Don’t get your roots wet. The color won’t adhere.
- Don’t apply on freshly washed hair. This will damage your hair pretty quickly.
- Don’t apply hair oils and use color. The color won’t stick at all.

