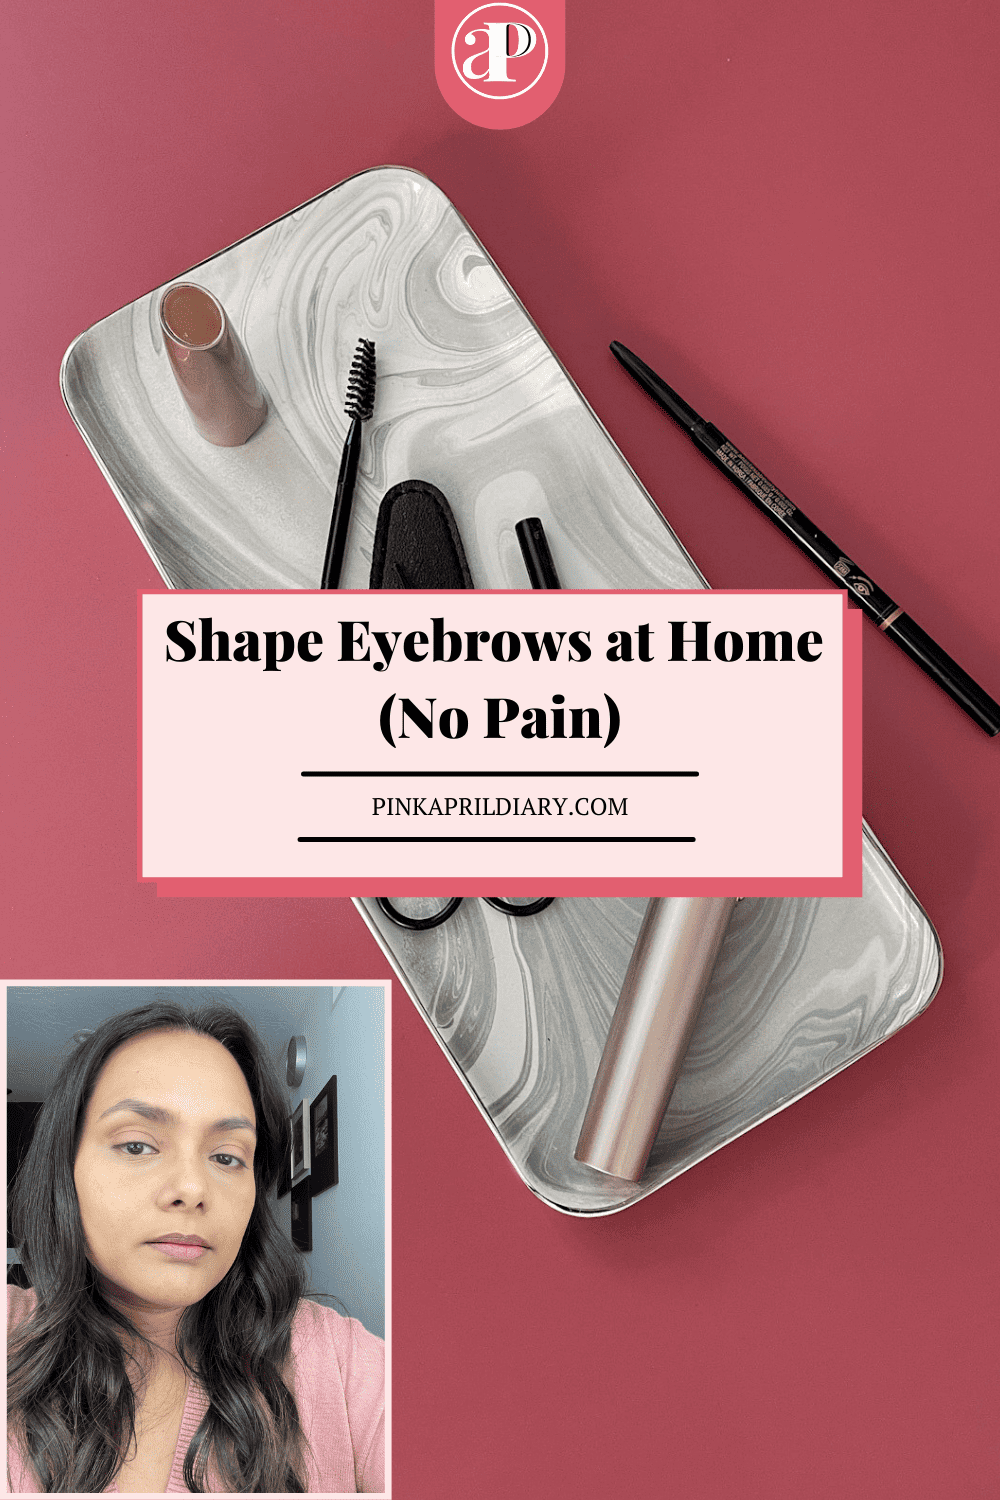
In this post, I am sharing a really easy and quick way to shape your eyebrows at home that gives you professional result but without the pain. And the great part is that its mostly free after the first few dollars.
While its not a big deal to get your eyebrows shaped professionally, doing that for almost all my life, I never got a happy result. Every time I got my eyebrows shaped, the results were differently. Funny, but my eyebrows never looked the same and probably that also affected my face.
But after I found these steps things have been different and my eyebrows look fuller than ever. And I am sharing exactly how I shape my eyebrows at home so you can do it too.
Before you start using the trimmer you need to prepare your brow area for a clean finish and no mistakes, because if you do, you will have to live with that for a bit.
Its important that the hair is not greasy so that the trimming is smooth and easier to work with.
I applied setting powder on and around the brow area where I need to remove the hair and trim. The awesome part about it is that you can also do this when you are wearing your makeup.
This step is optional for those of you who know exactly how to shape your eyebrows. I actually thought so too, but after finishing up with the trimming I realized that with the drawing of the eyebrows actually helped to trim them in detail without worrying about any mistakes.
I used my Anastasia Beverly Hills Brow Pencil to create the desired shape I wanted for my brows.
This helps to not remove hair that you want on your brow and mostly reduce any mistakes. I know I look scary but if it works, what’s the harm.
If you fill your brows, then you know exactly what the shape should be of your brows, but usually, the brow shape should be an arch and does not have to be symmetrical.
The rechargeable trimmer was just the thing I needed once pandemic hit and all the salons were closed. I didn’t not have much confidence on my threading skills and tweezing your brows is such a painful process. I have used this product so much since last year when I shared it as one of my most favorite self care product from Amazon.
And for the price point this trimmer has lasted me for over a year and saved me 100s of dollars of Salon visits.
You can easily recharge the trimmer and remove the head to clean the razor occasionally. Thats it.
While trimming the excel hair that is outside of the desired brow area, I usually go the opposite direction of the hair. This makes it easier and finer trim where you can barely see any stubs. And it lasts for more than a week.
Once you are satisfied with the result, use the hair brush and the scissors to brush the eyebrow hair and shape. This is what they do in the salon, to keep the shape of brow looking perfect and groomed.
I used to sometimes skip this step, but when I actually do it, my eyebrows look much better. Its all about the details.
Now, if you feel intimidated that you might cut too much then just cut less and take it slow.
And there you go, your eyebrows got the professional treatment in a few minutes without having to go anywhere. I have been using the trimmer for so long, that now I wonder why I even wanted to go to the Salon where my brows were always threaded differently.
I also carry it with my on vacation or in my handbag, just so that I can use to do a quick touch up when needed. Now, I don’t need to wait for the Salon appointment to see good eyebrows. And the best part is that none of this hurts. There is absolutely no pain involved. I am glad that we could finally discover grooming techniques that does not inflict pain on women or anyone.
Hope this tutorial helped you as much as it did to me. Let me know if you have any questions.