If you love doing facials but hate spending the dollars to get the spa experience, then read on. While, you might not get the complete relaxing effect as you would get in a Spa since someone else is treating you while all you are doing is close your eyes, you can achieve the results with the steps I am sharing. You will save considerable amount of money so you can spend it on other things. And more importantly, you will be able to multitask in some of the phases of the facial treatment.
If you have sensitive skin or are sensitive to people touching you like me, you probably already do this at home, so definitely beneficial all in all. I very rarely go get facial done because I am never really happy with the final result from any spa maybe because my skin in general stays pretty clear and because I have oily skin, there is not much glow that I notice with the treatments as I wanted to. So, I tried something different to achieve that and I was totally successful with the result.
What Products To Use?
This is specially relevant in winter months, since you want to hydrate your skin as much at the same time, our pores get clogged a lot more during this season, its because our skin has a natural tendency of protecting itself. So I wanted to first open up my pores to clean them and then apply mask to nourish them. And that is exactly what you would need.
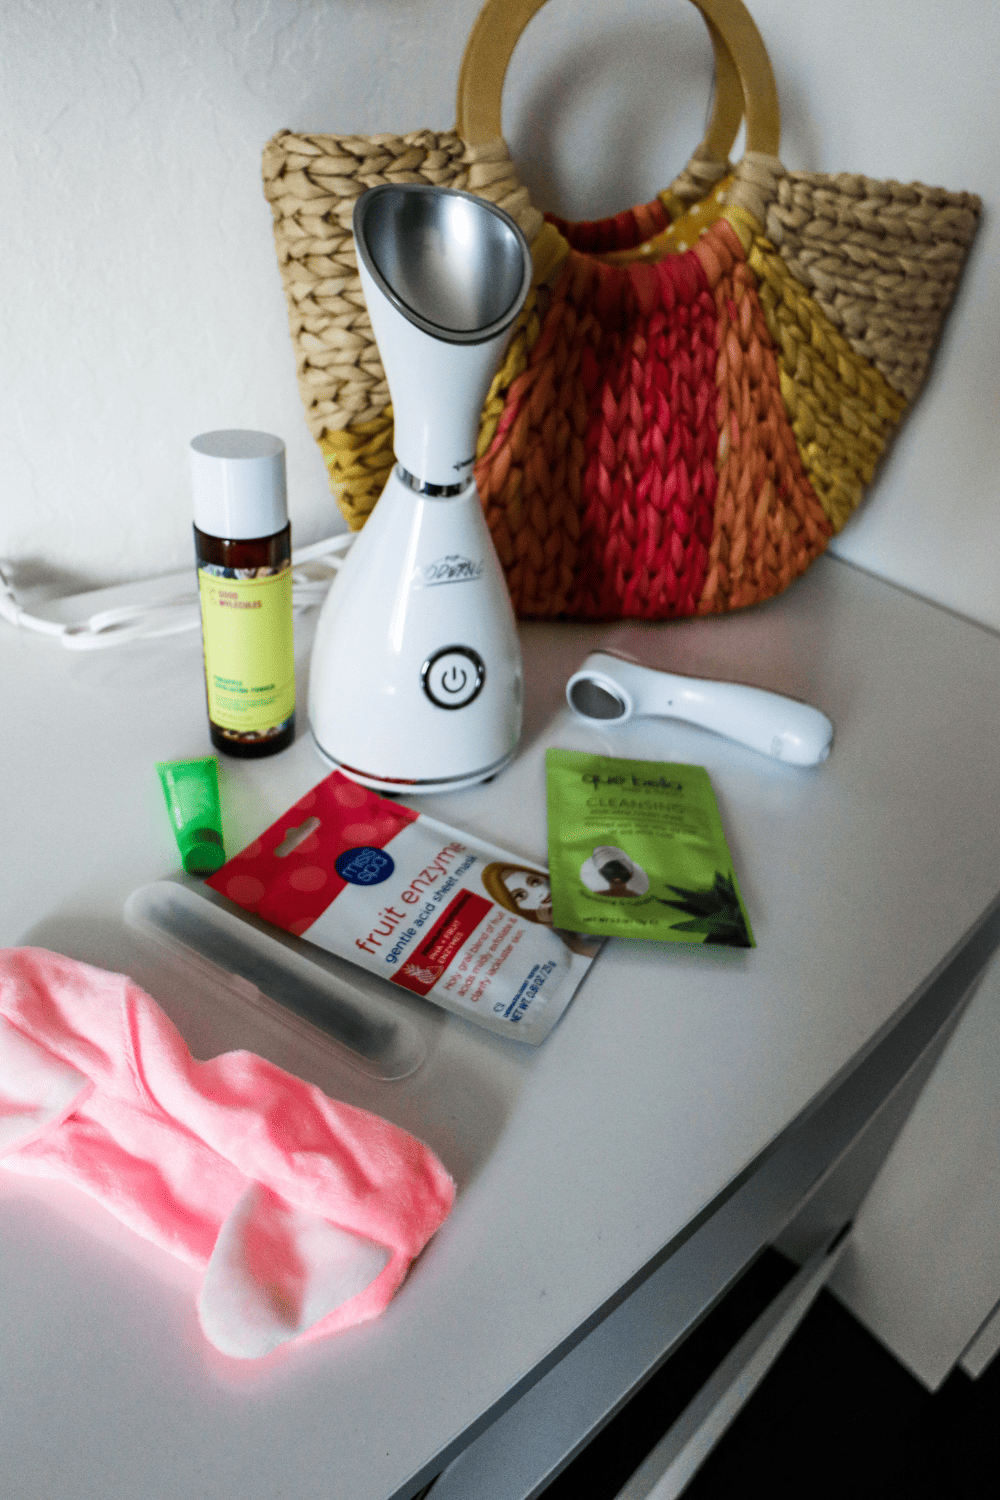
Listing all of the products that I used for facial at home.
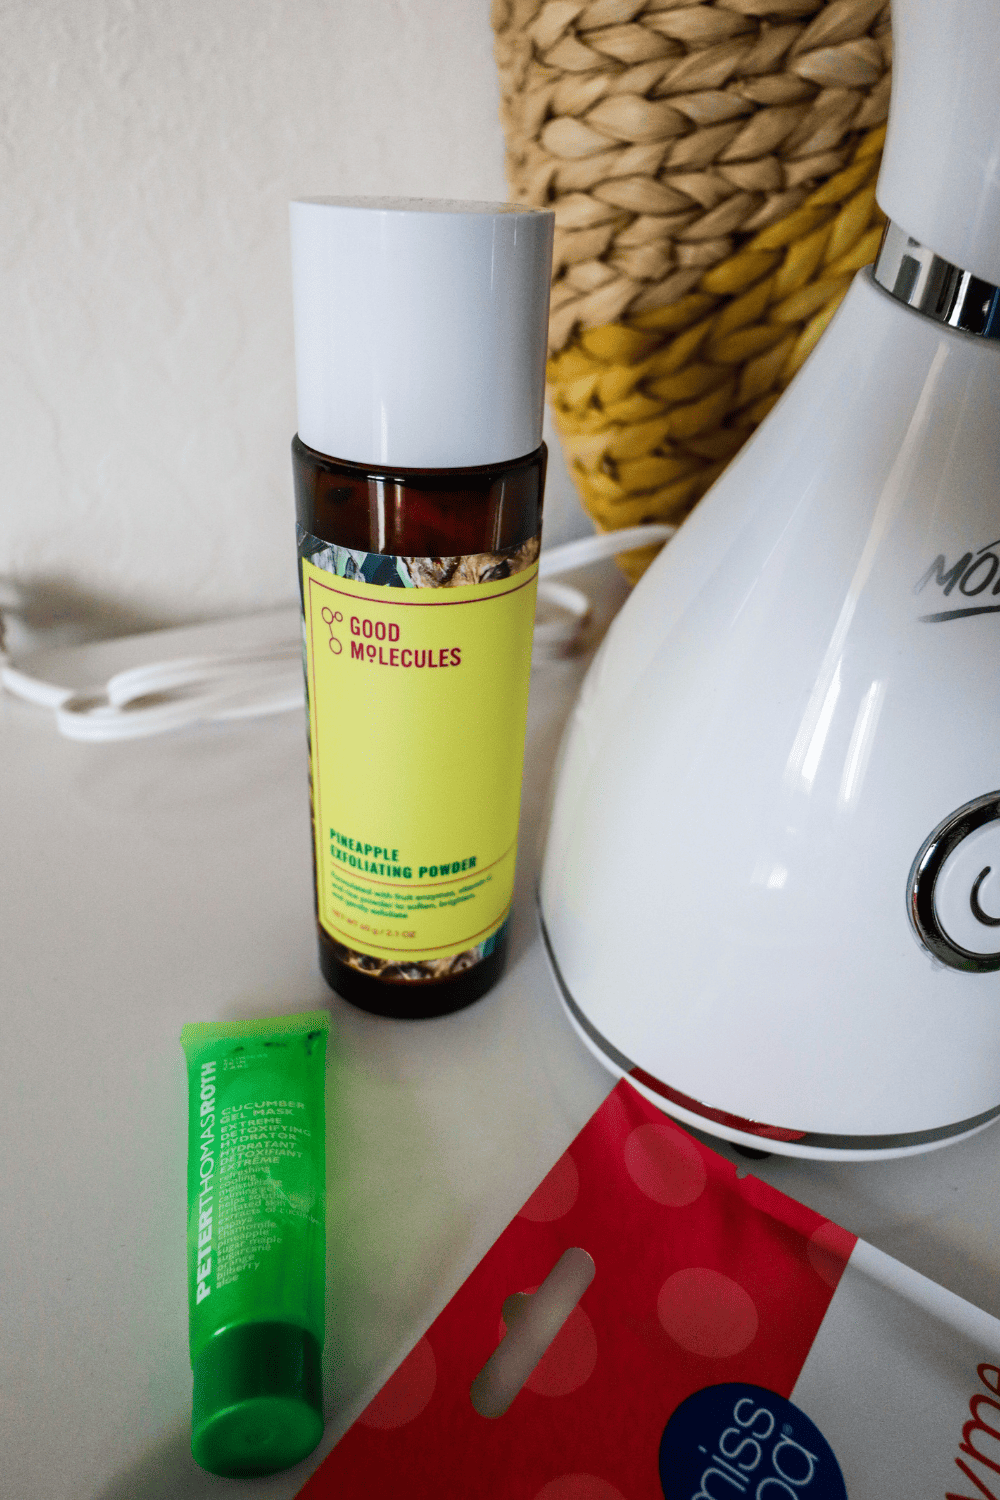
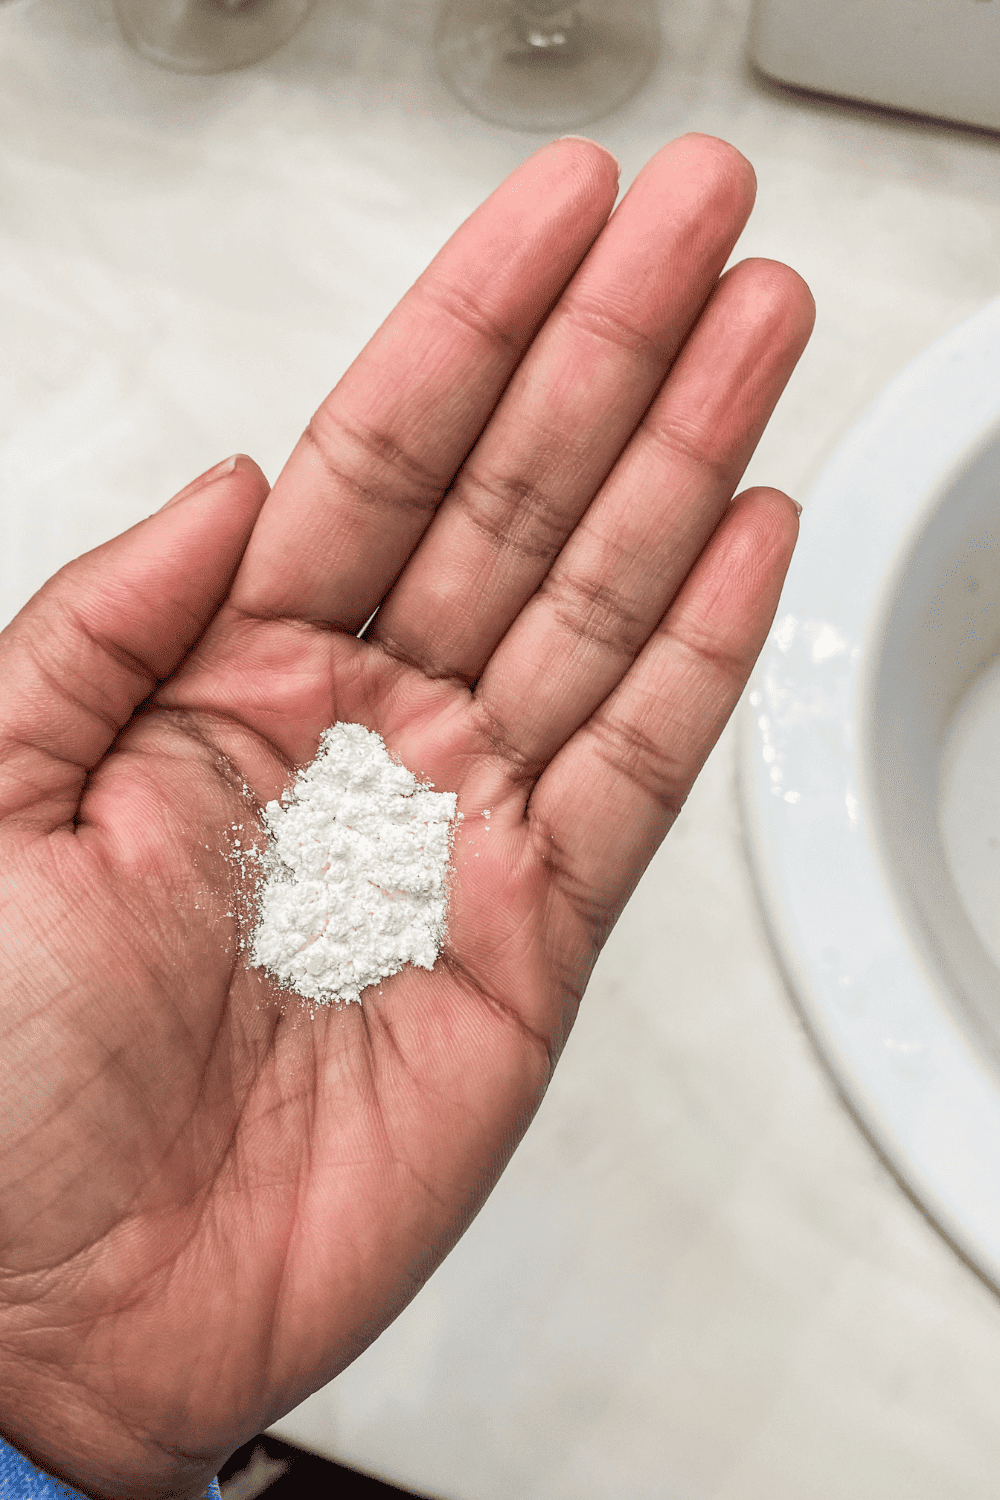
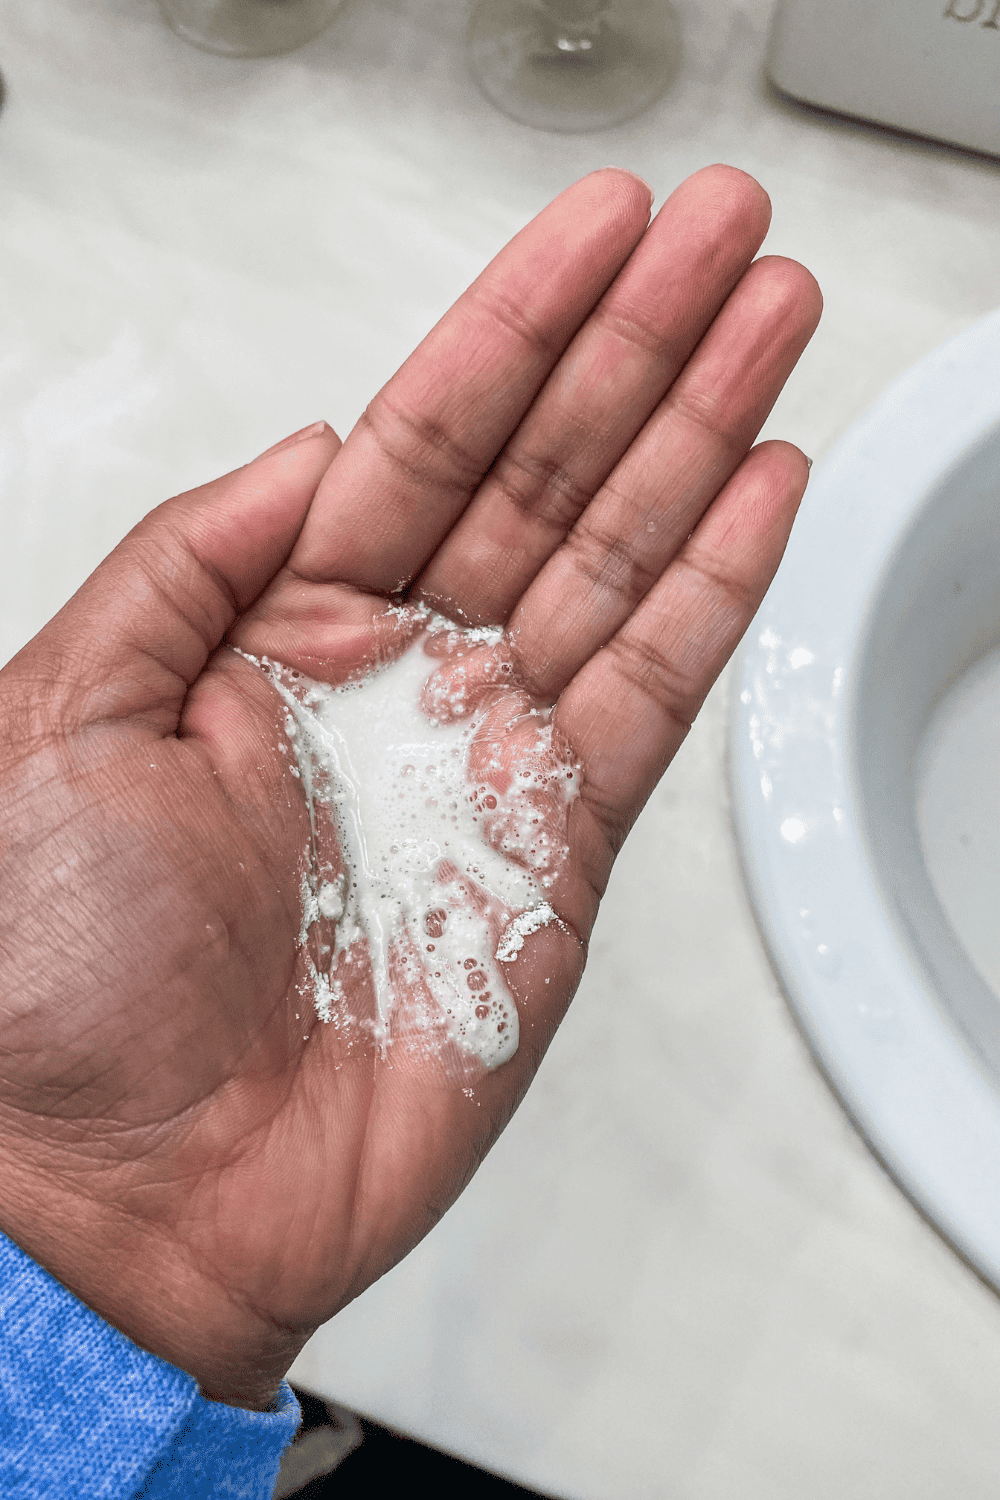
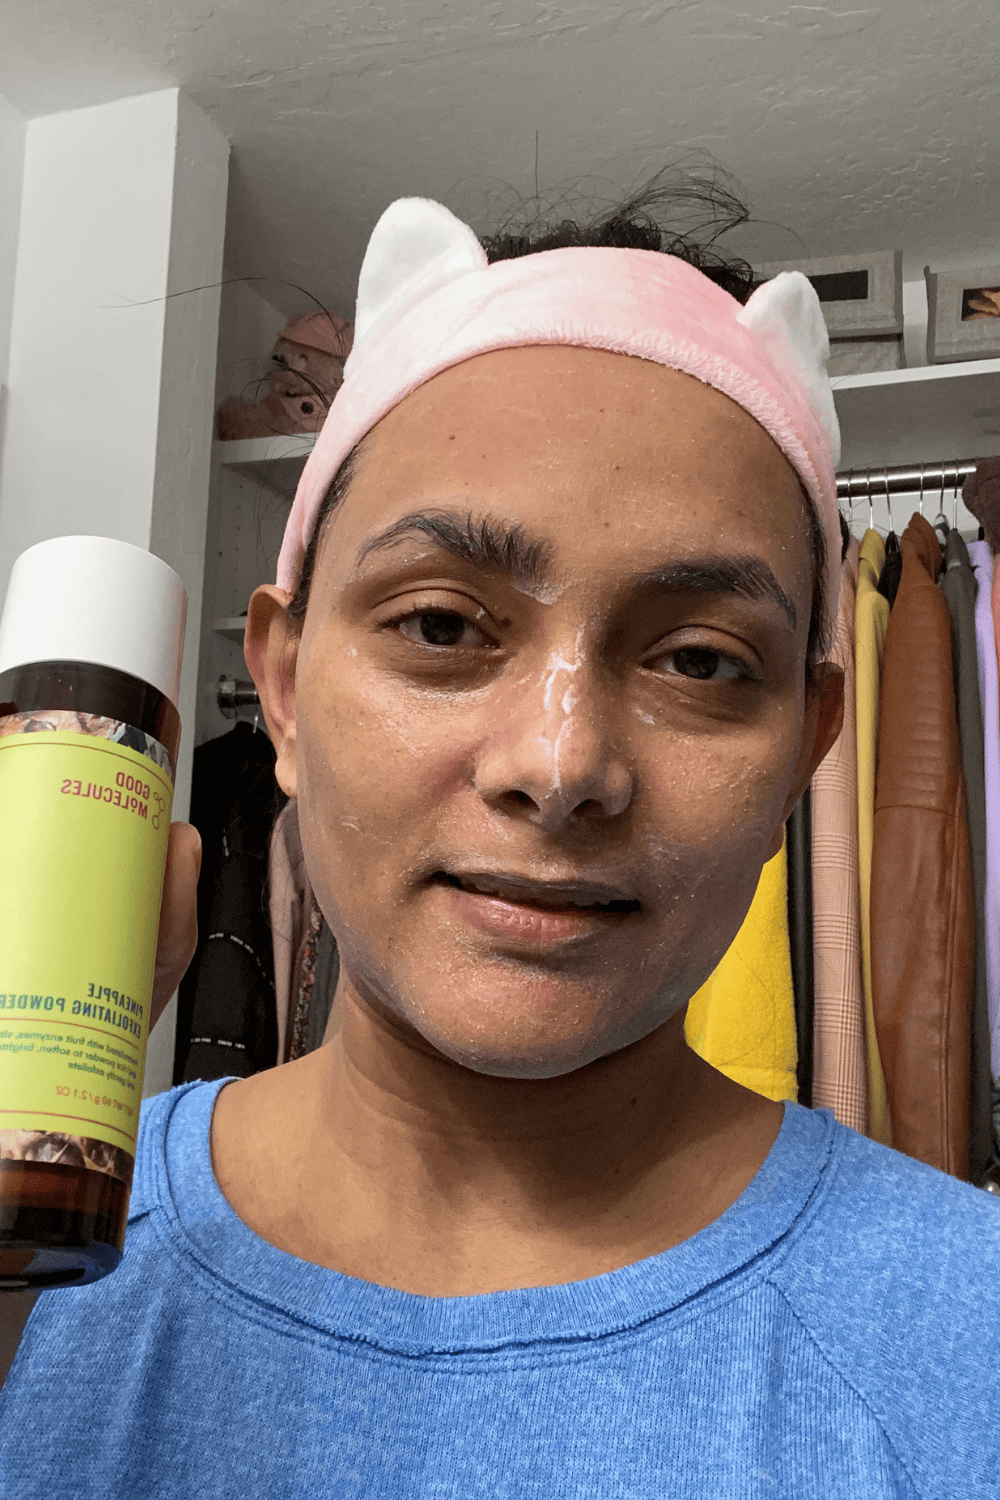
This is the most important step of all. If you have any makeup, it needs to be completely removed. I use Micellar water ( I use this one)to do that and a face wash to clean after wards. Today I did not have makeup on as it was early in the morning, so I just washed my face. I used the Good Molecules Pineapple Exfoliating Powder (PS. Gifted) to exfoliate my skin. This powder is really fine so it was not at all harsh on my skin and still feels a bit hydrated. I mixed the powder with a few drops of water and rubbed through my palm and applied on my skin. I let it dry for a minute and then applied more water and scrubbed my face and washed my face and padded dry.
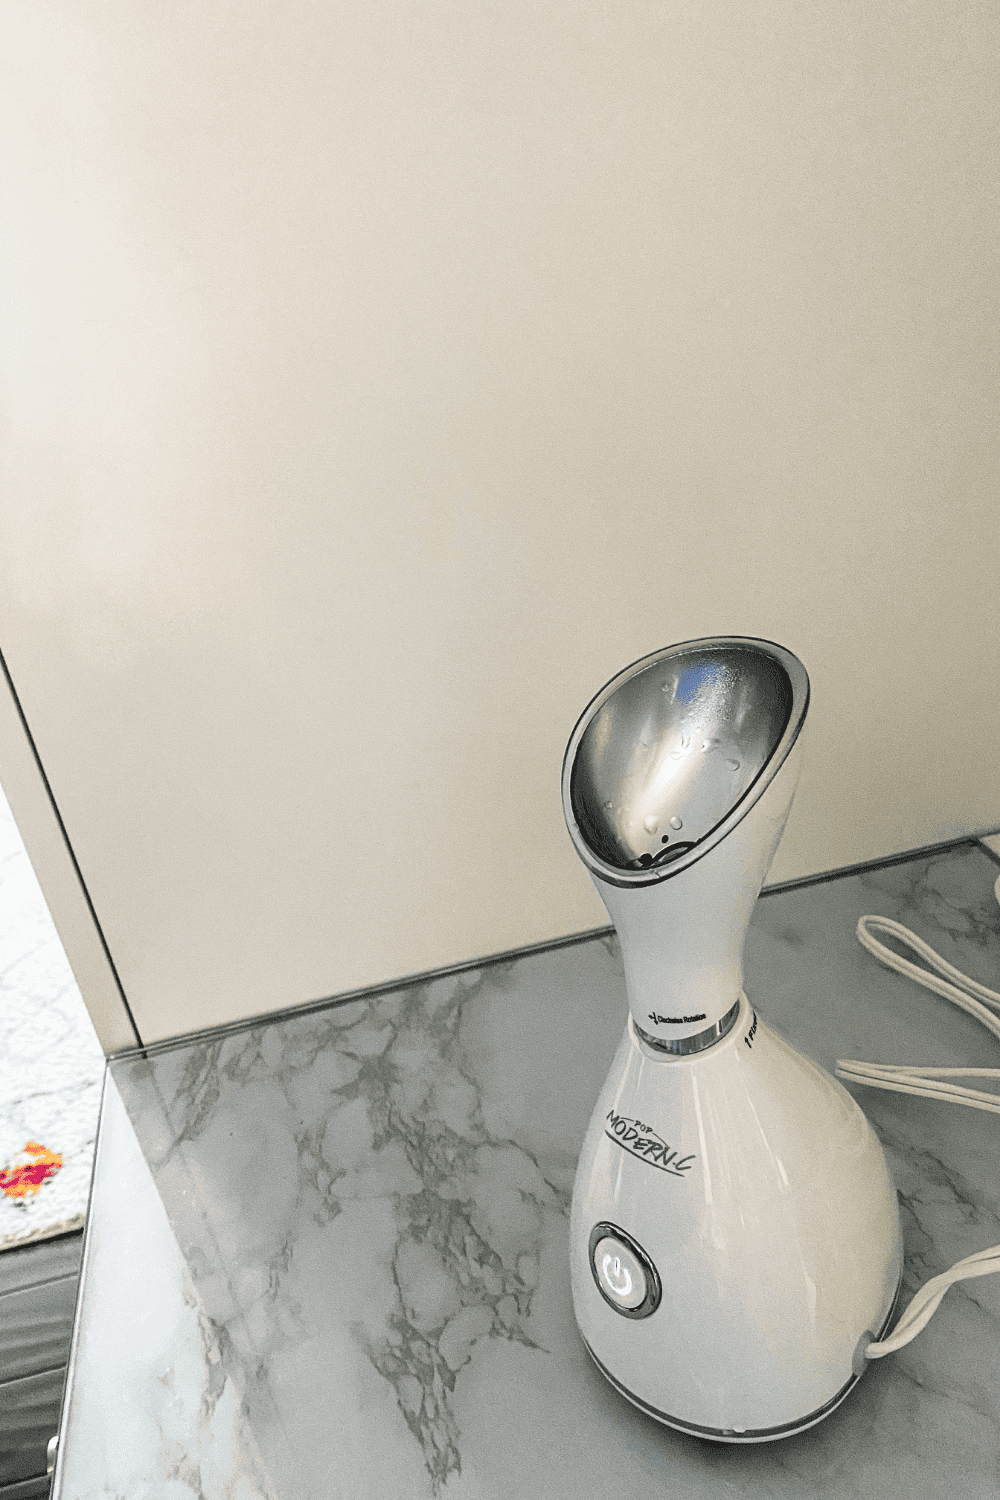
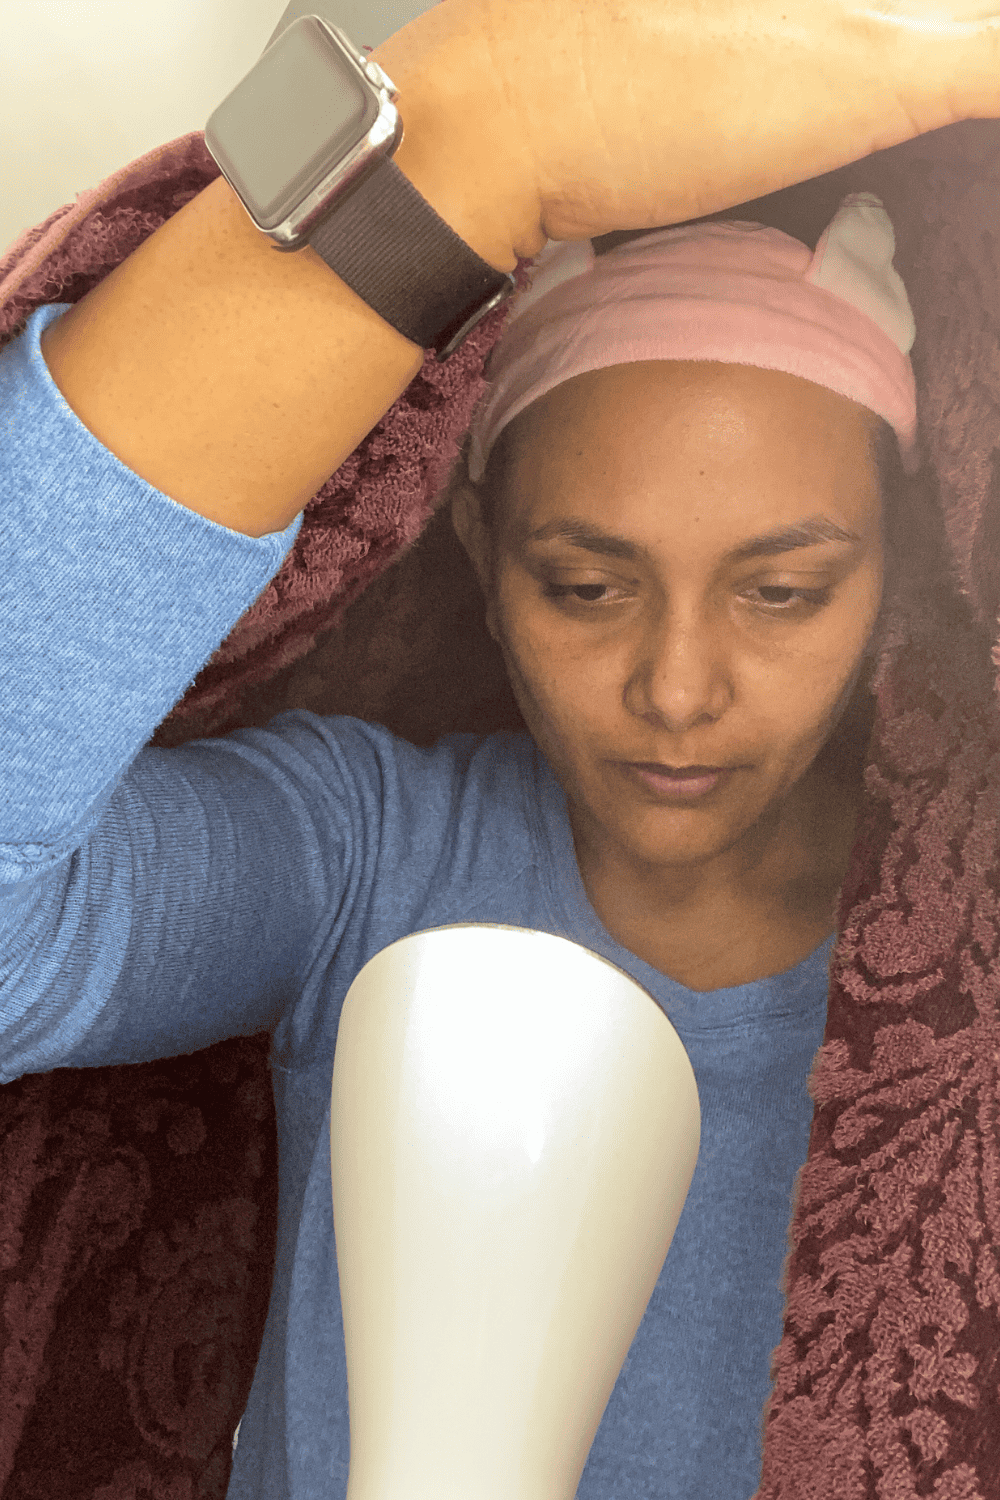
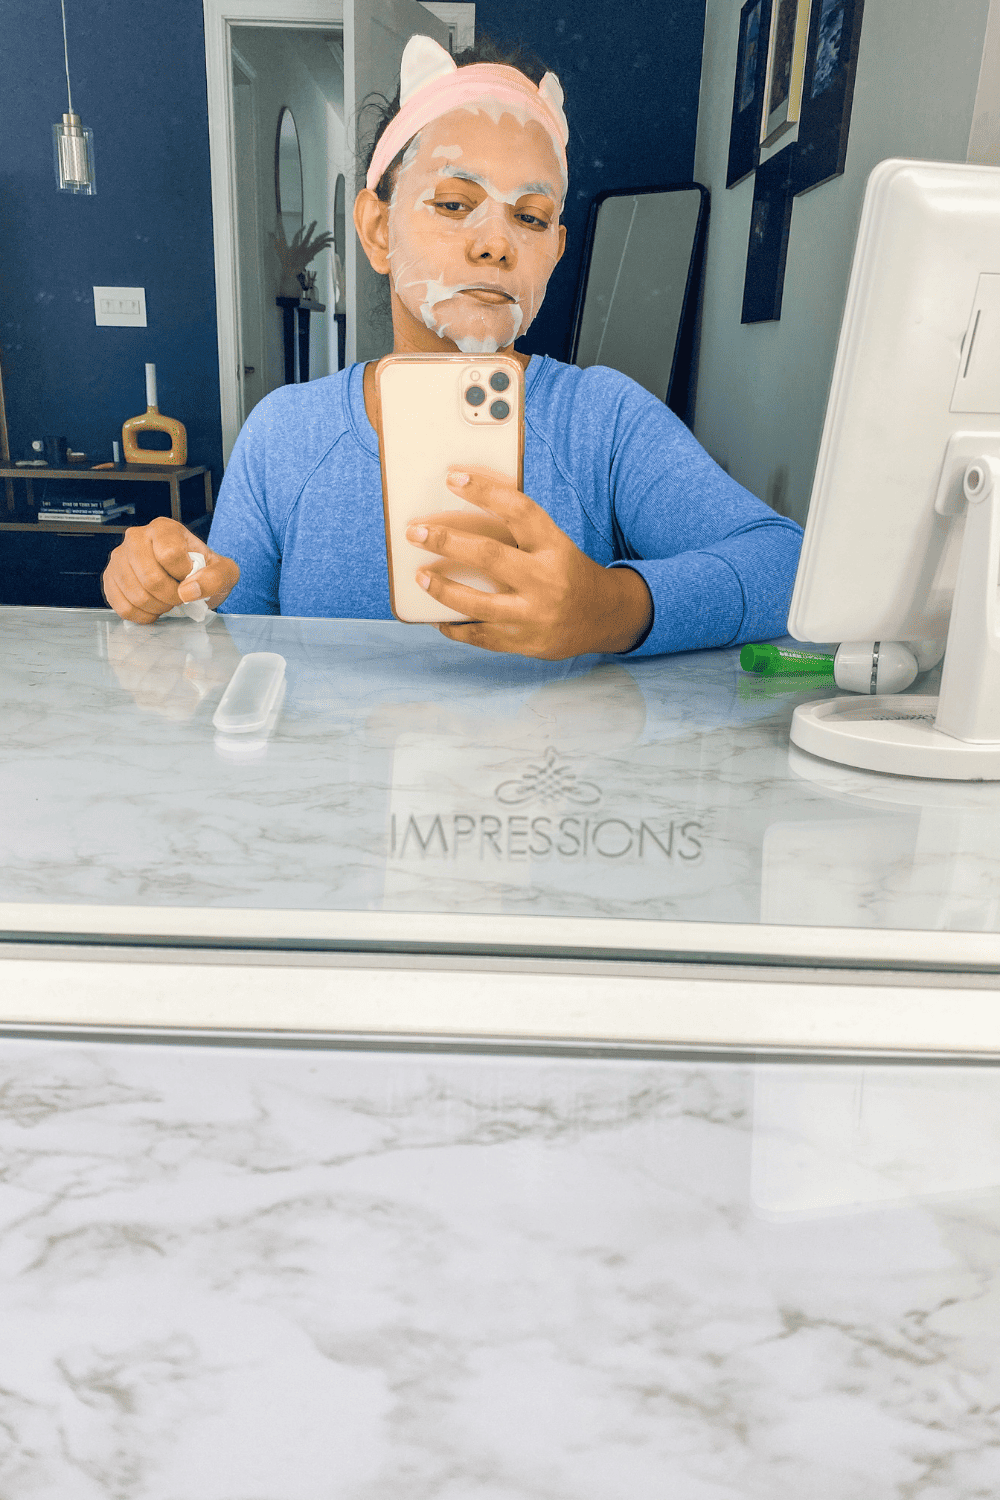
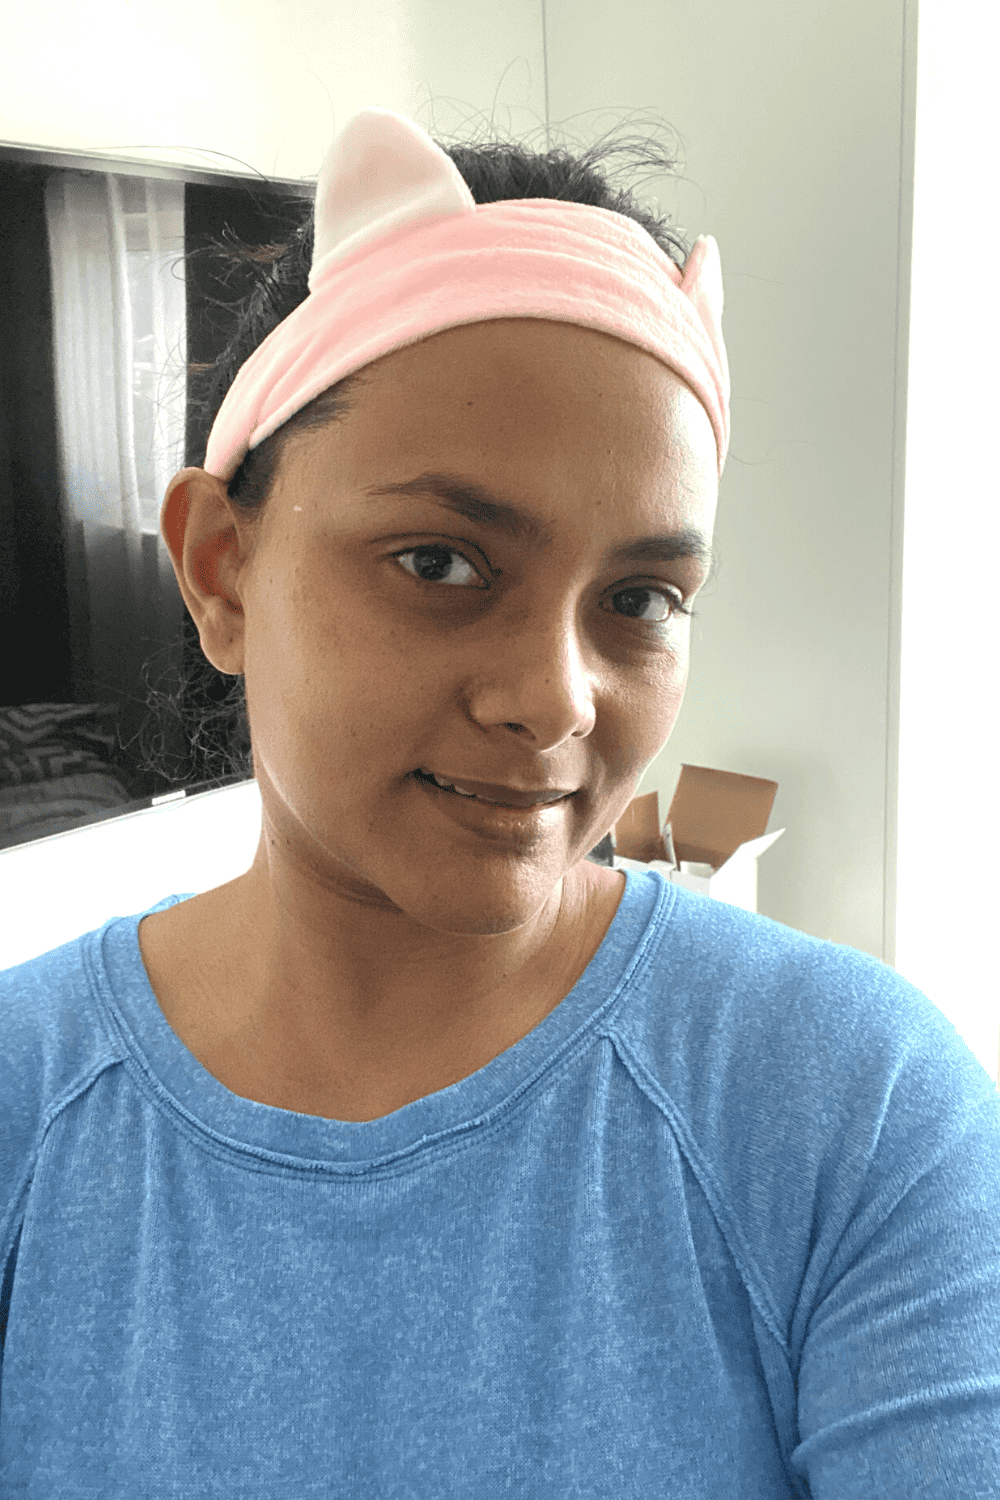
I am using this really cool steamer from Amazon that looks amazing and I used it to give myself a hot steam to open the pores. All you need to do is add some water and plug it in for steam to come out of the nozzle and you are ready for steaming. I just used a towel to cover myself so that the steam is completely directed to me. And honestly I just used it for 1 or 2 minutes and my face felt brighter. The steaming was instantaneous and it just needs very little water. The steamer also comes with a pore cleaning tool kit, a head band that I am already rocking and a small cup to pour water.
Just a tip, don’t fill the nozzle completely, it does not do very well. It spits out hot water.
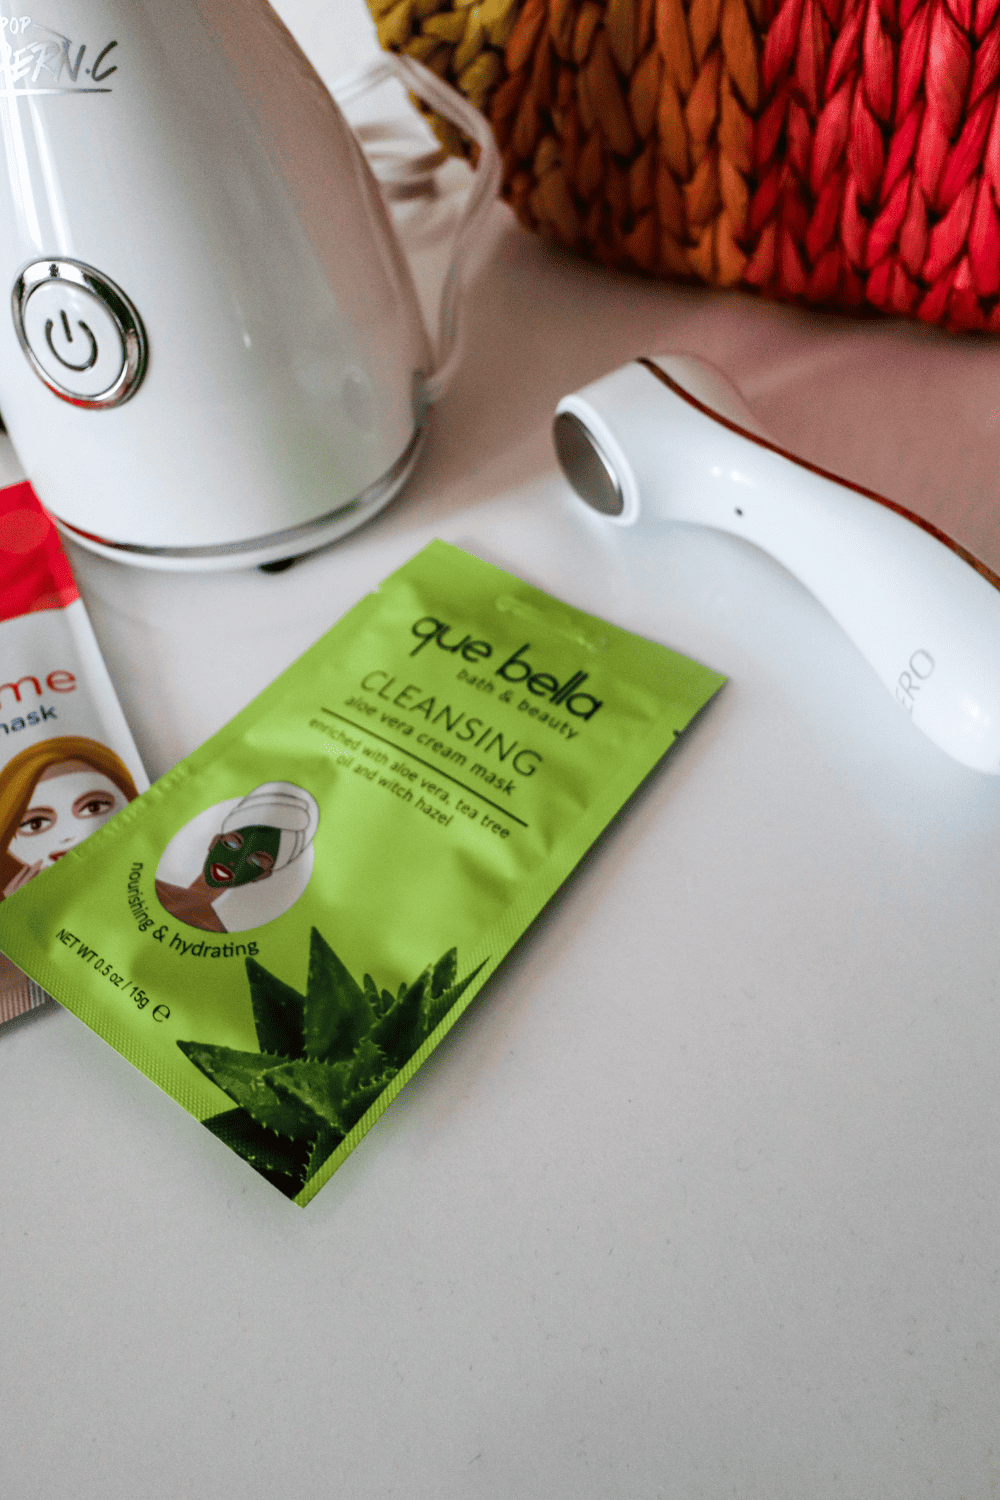
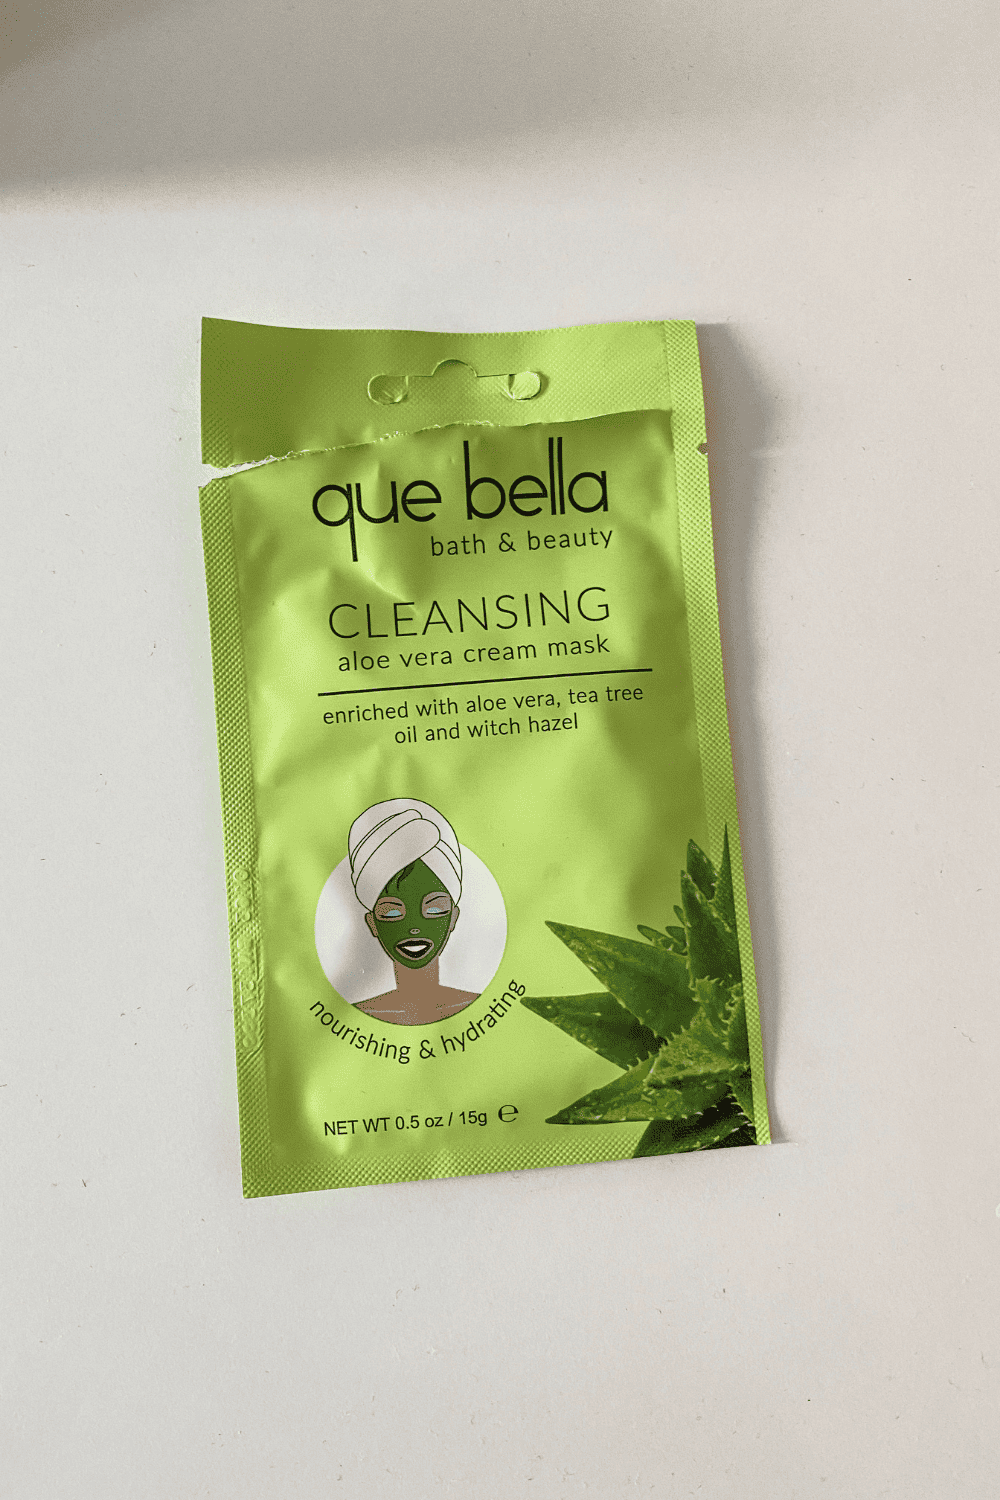
I applied a cleansing mask which was more hydrating to clean as well as hydrate my skin. I could use a mud mask, but they are pretty dry and I didn’t want my skin to strip further. The Que Bella Cleansing mask has Aloe Vera in it, which has a calming and hydrating ingredients. So, if you have a bit of redness from the steam, this will also help. The mask, is gel like and clear. I let it dry just a bit on my skin and then washed my face.
I don’t recommend, waiting a lot, it makes your skin tight and potentially dehydrate it more.
This is an optional step, but after cleaning my face of the mask, I did one more round of steaming, to keep my pores open. This way I can massage a hydrating mask to nourish the pores a bit more. This step really made a difference for me. I felt like I did see a bit more glow and the steam was really soothing in the cold weather.
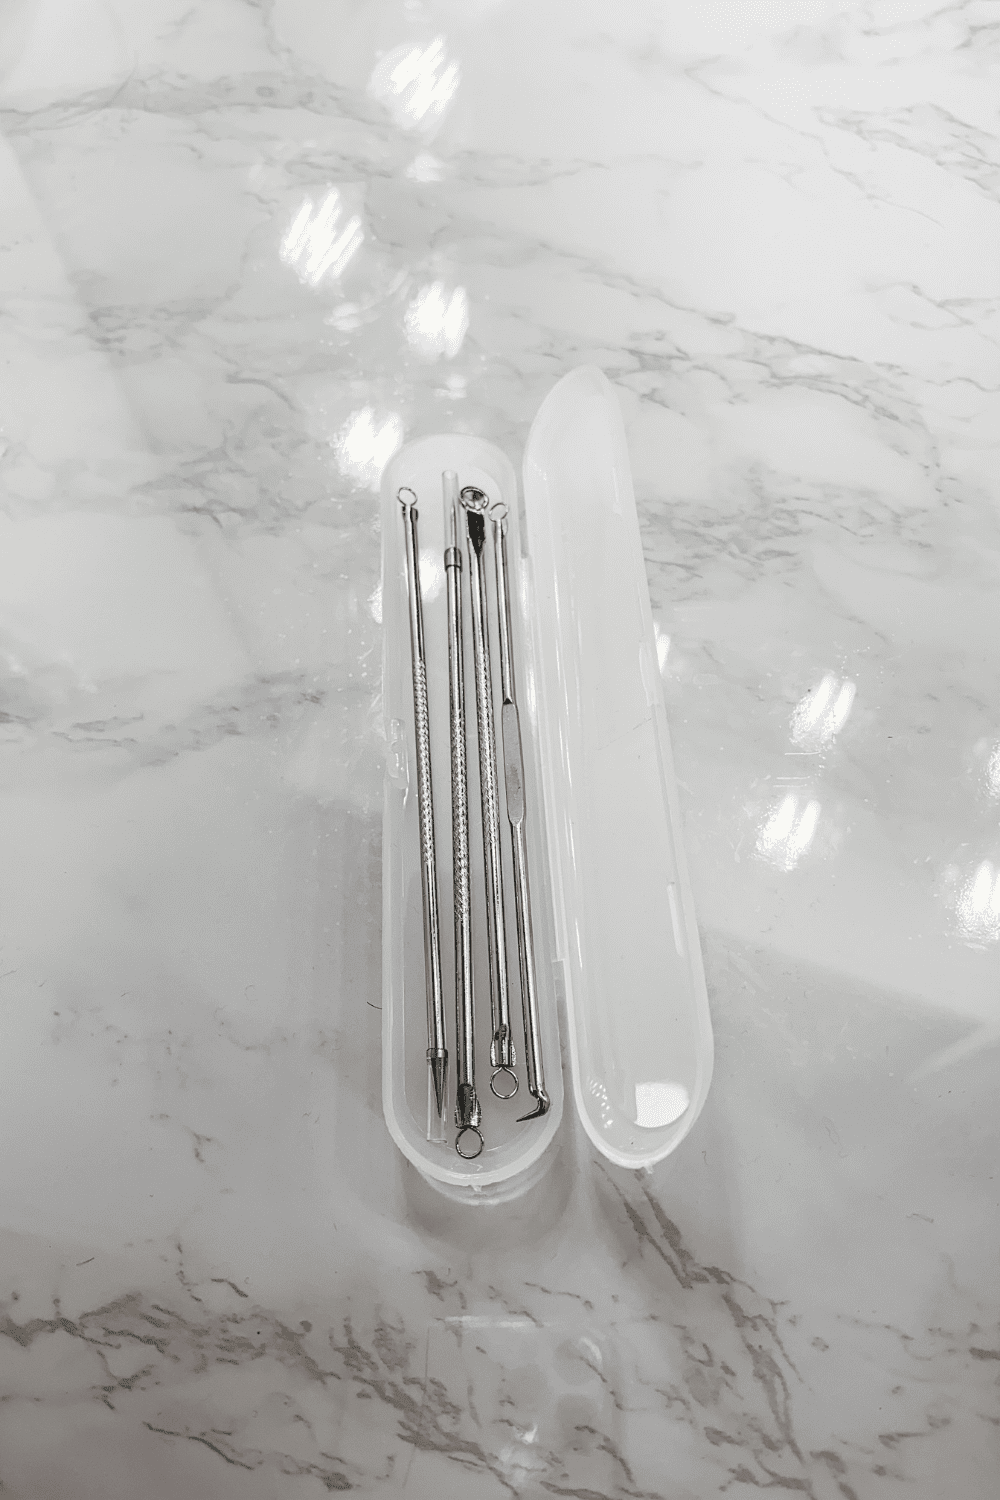
And I used the extracting tool that came with the steamer to see if there were any black heads to be taken out. I always a get some around my chin. not sure why, but cleaned those out.
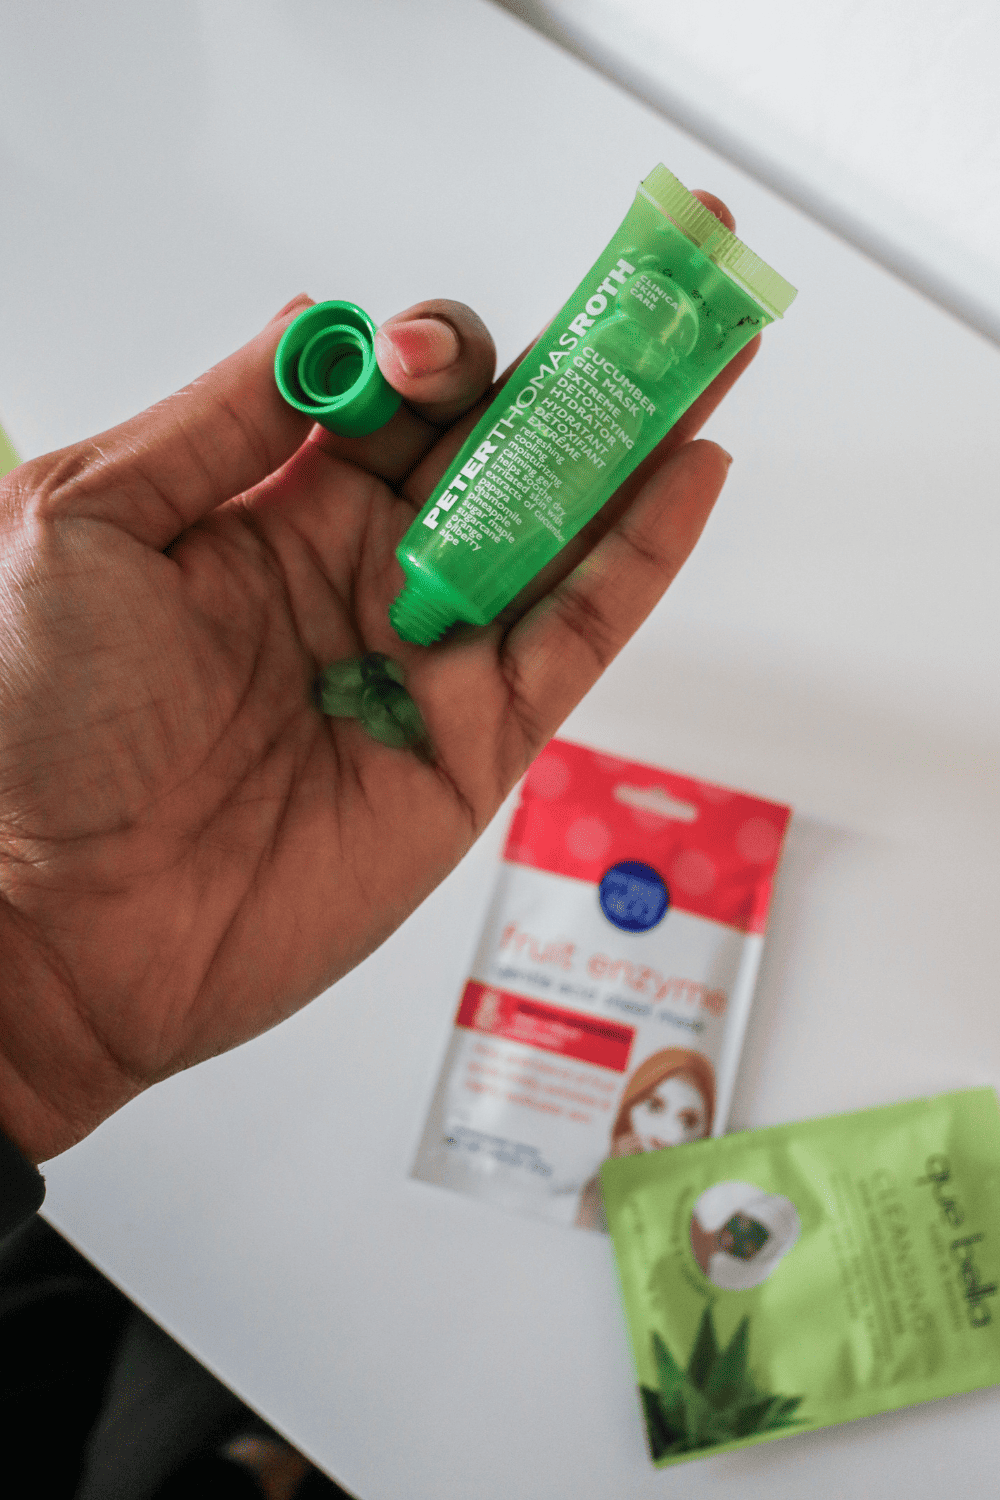
I used the Peter Thomas Roth Cucumber Gel Mask, I usually buy these is a travel set, because they come in handy when you want a quick facial while traveling, and also I love all of there masks, so this is an in expensive way of buying all of them. (Do you also do this?)
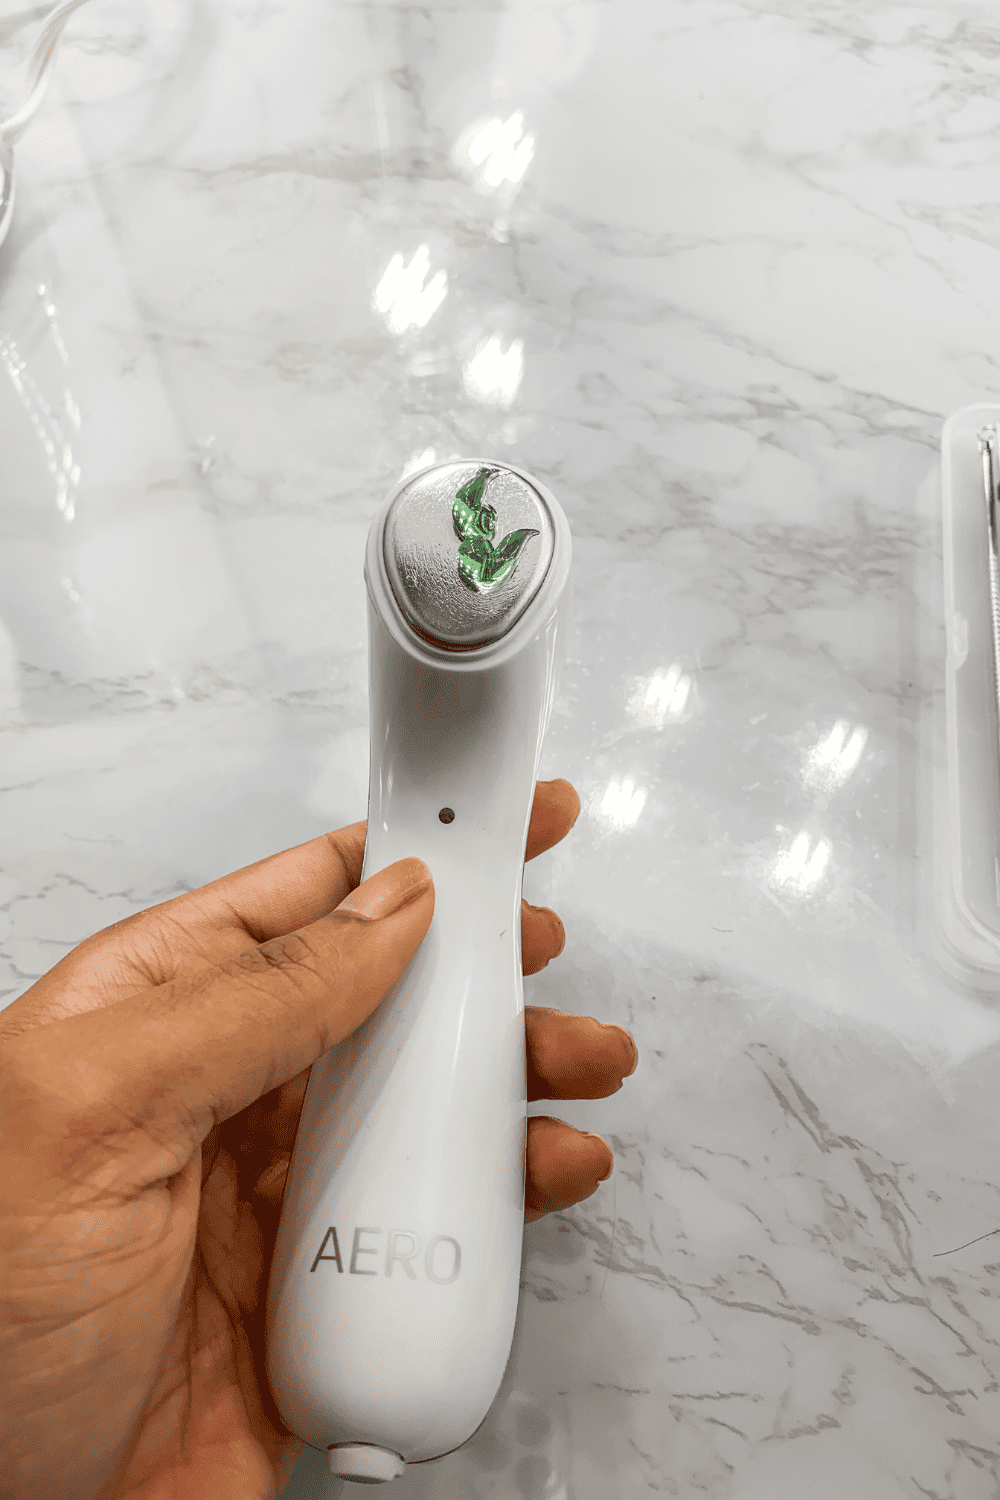
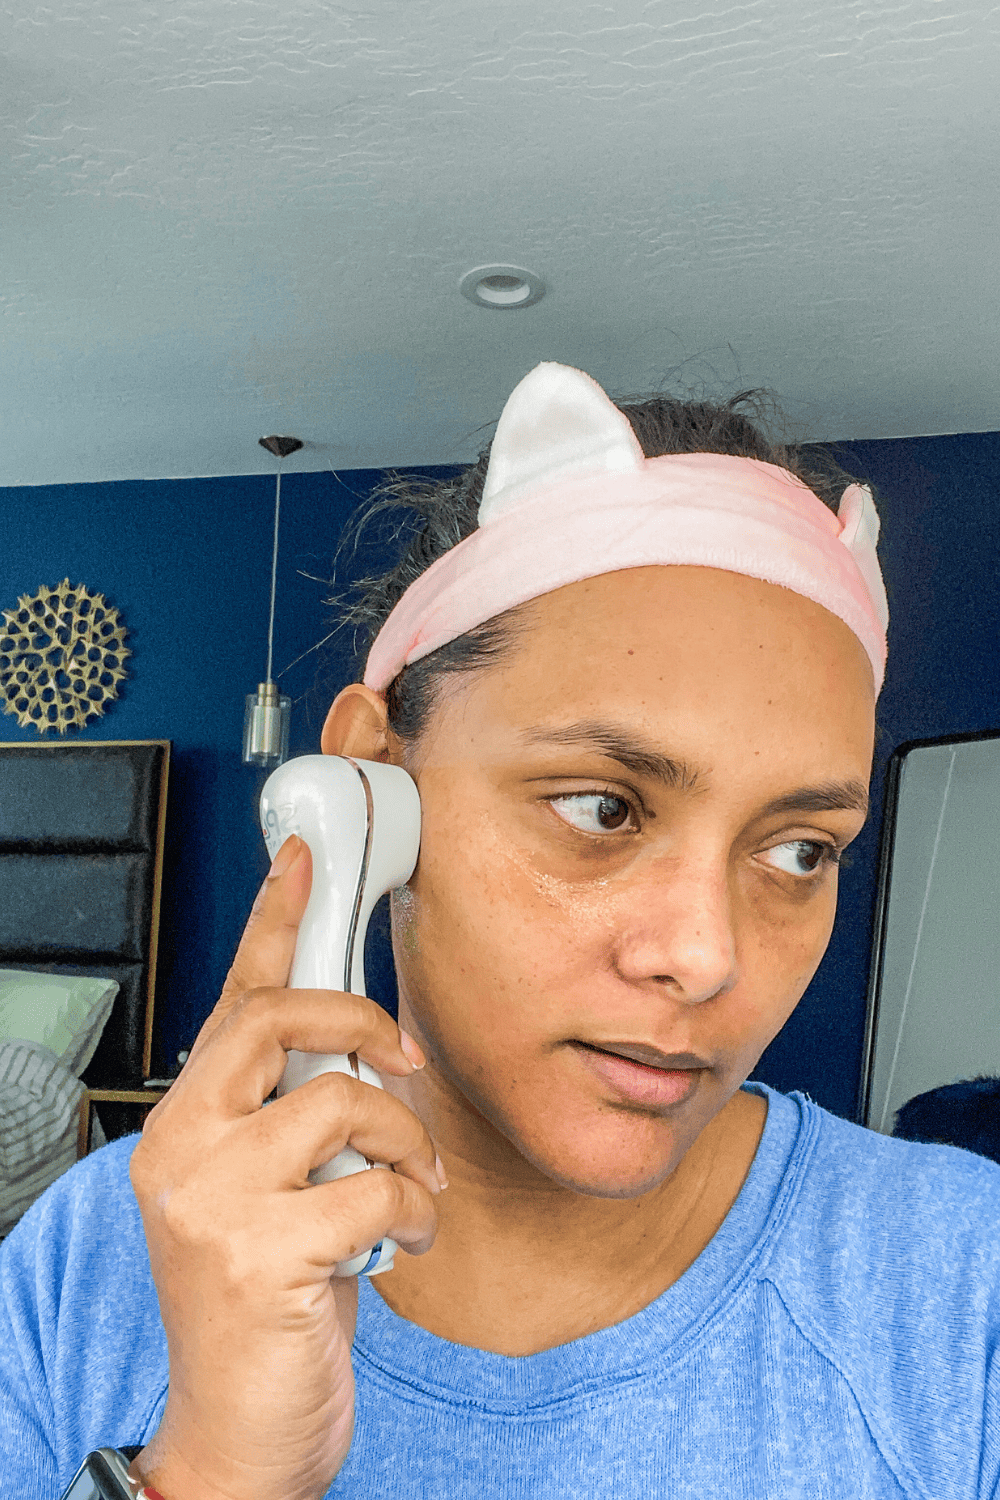
I used the Spa Sciences AERO massaging tool, that warms up a bit while messaging your skin, so it helps the cream to penetrate your skin. I massaged till at least 60% of the mask was gone. This way you get the full benefit of the mask and the tool warms it up to be quickly absorbed. You can leave it as it, which is what I did and go to the final step, or wash it off.
The cool thing about this tool is that you don’t have to turn it on or off. It turns on when it touches your skin and turns off automatically when you take it away. The tool boasts of skin tightening benefits, so I massaged my skin in a circular motion to get some blood circulation going.
I made sure to also massage my under eye area, that definitely needs more hydration these days.
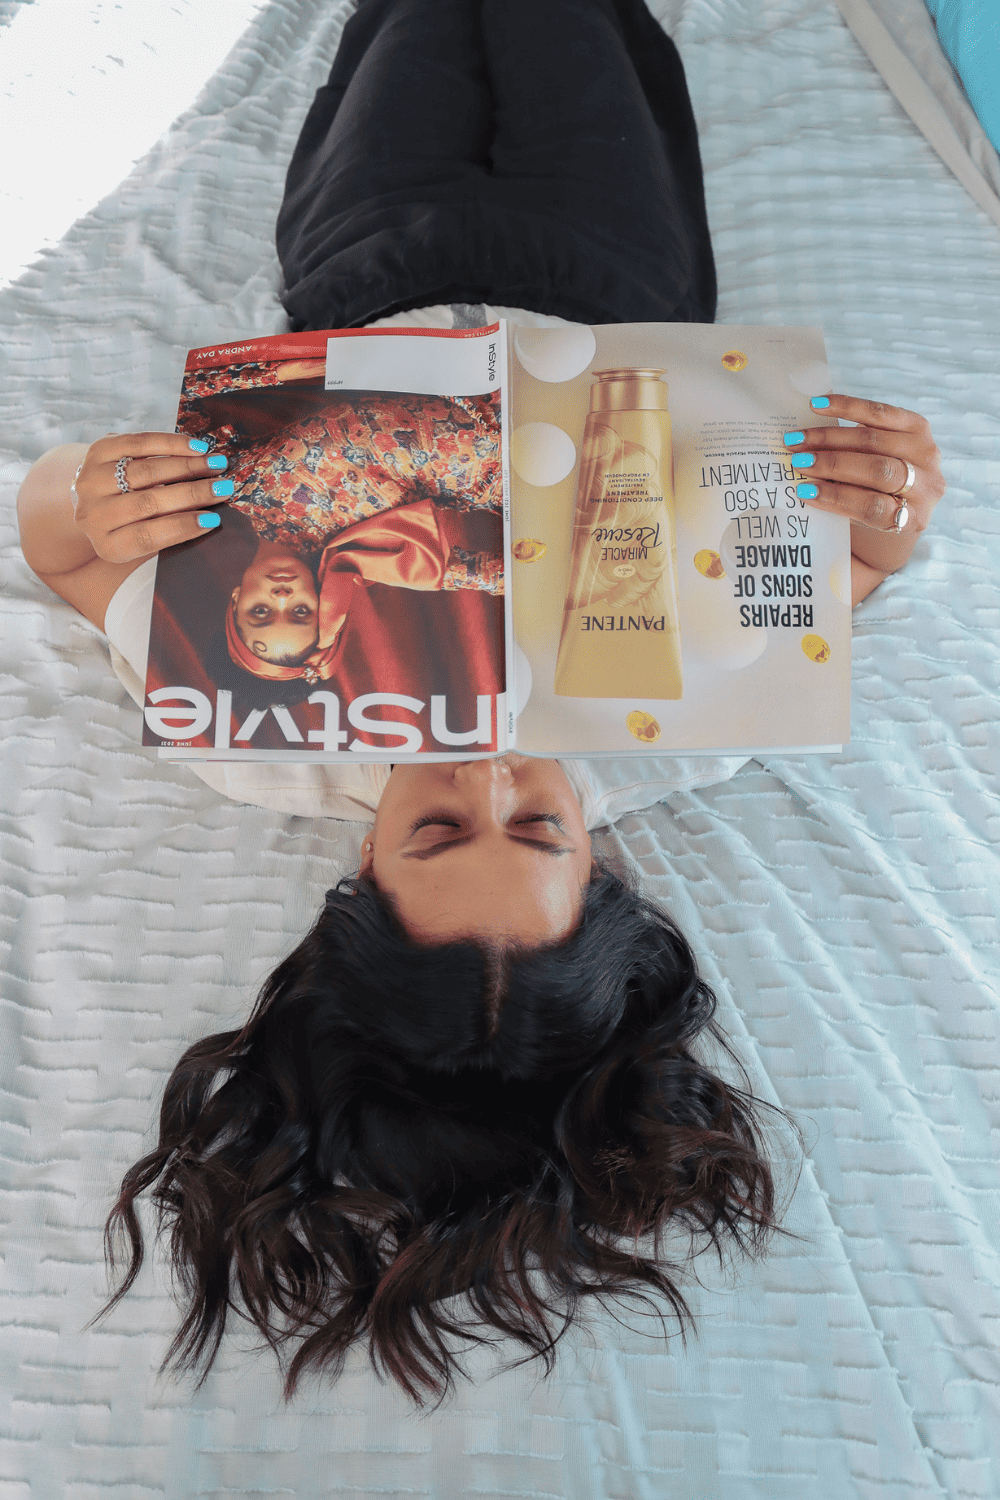
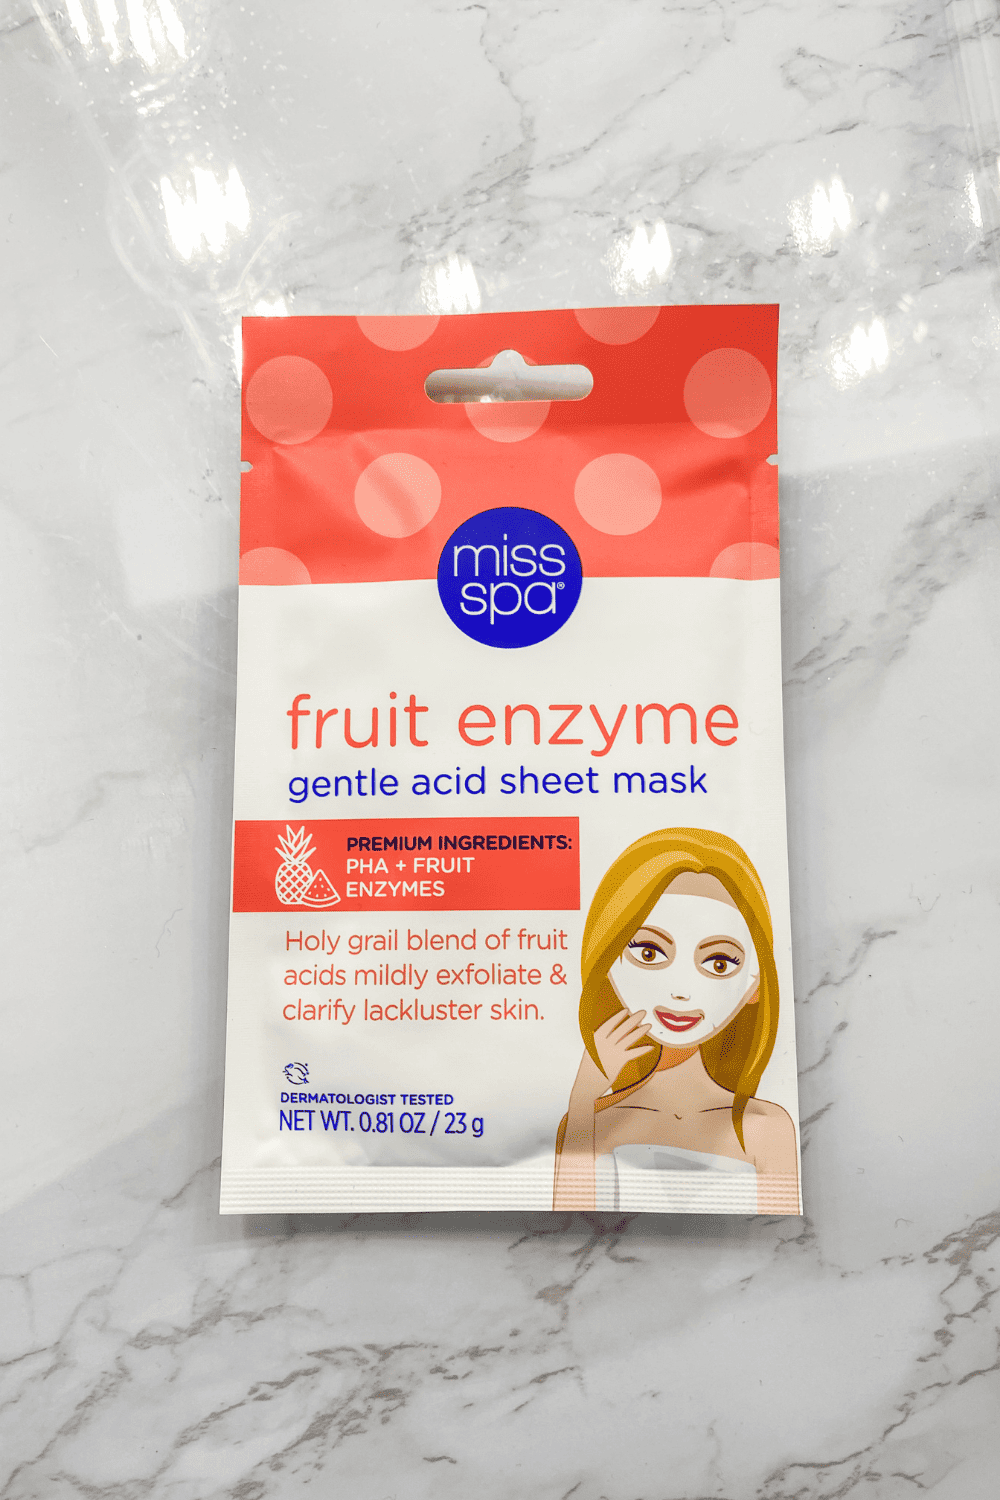
This is my favorite step. I love sheet masks. They are the fastest way of getting a facial done. And you can take a nap as well. That is exactly what I did after applying the Miss Spa Fruit Enzyme mask. You can use any mask depending on your skin type. As I was looking for brightness, I used this fruit enzyme mask, that gives you that added glow. Anytime you need a little glow, use a fruit enzyme mask. It works wonders
I just applied it and waited for 10 minutes and then went for a shower. If you are doing the same, make sure not to use face wash, because all the nutrients will wash off.
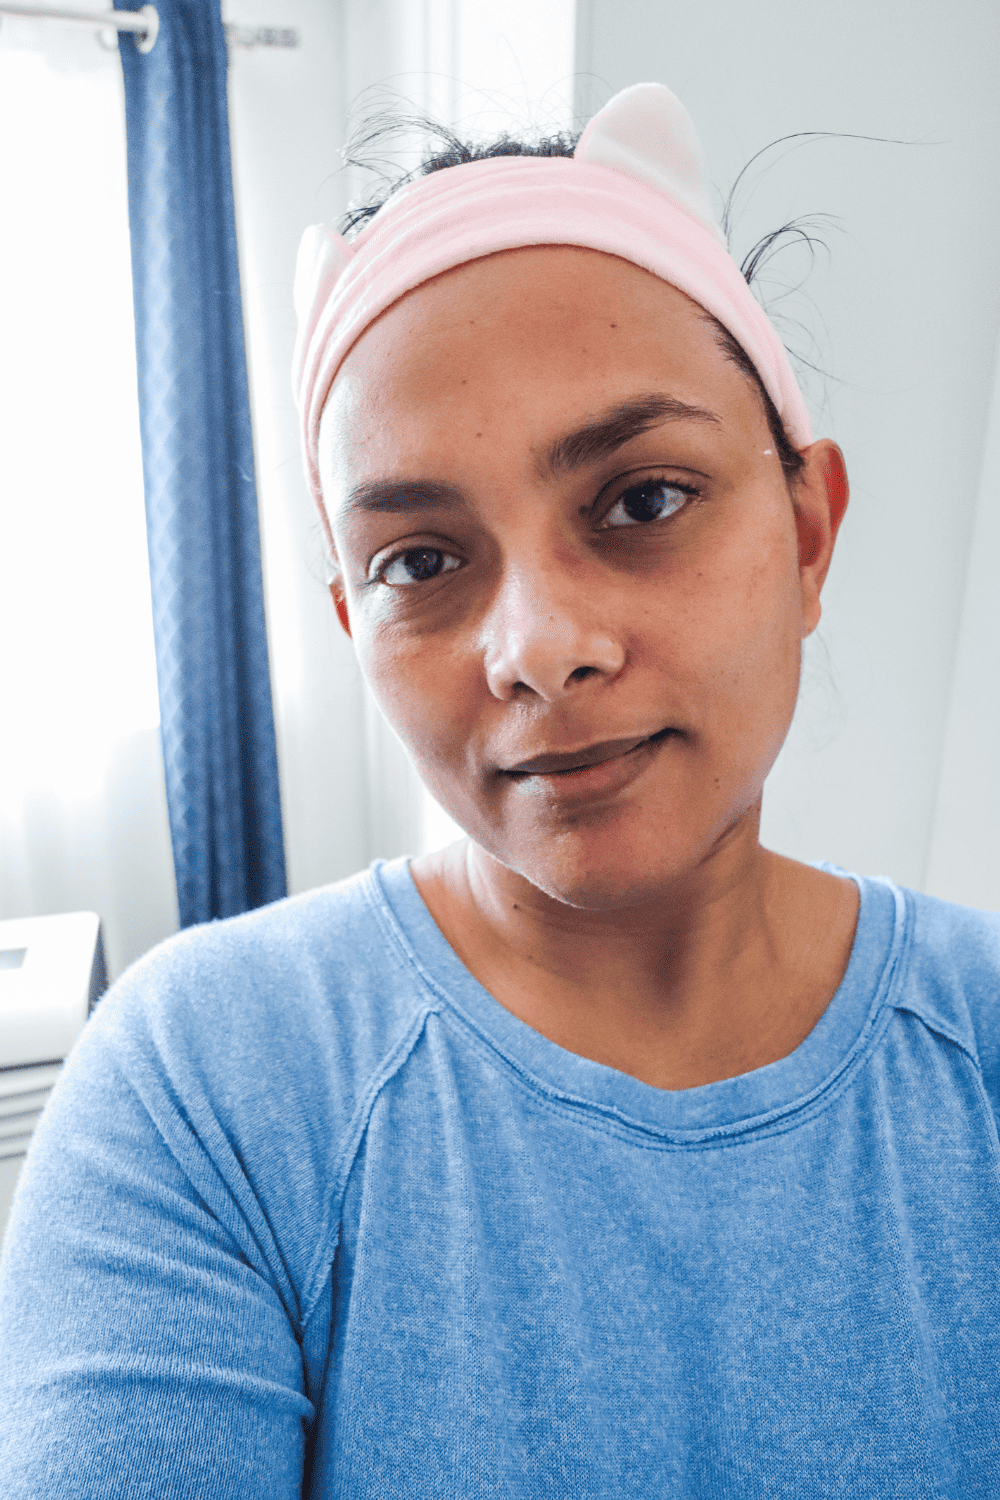
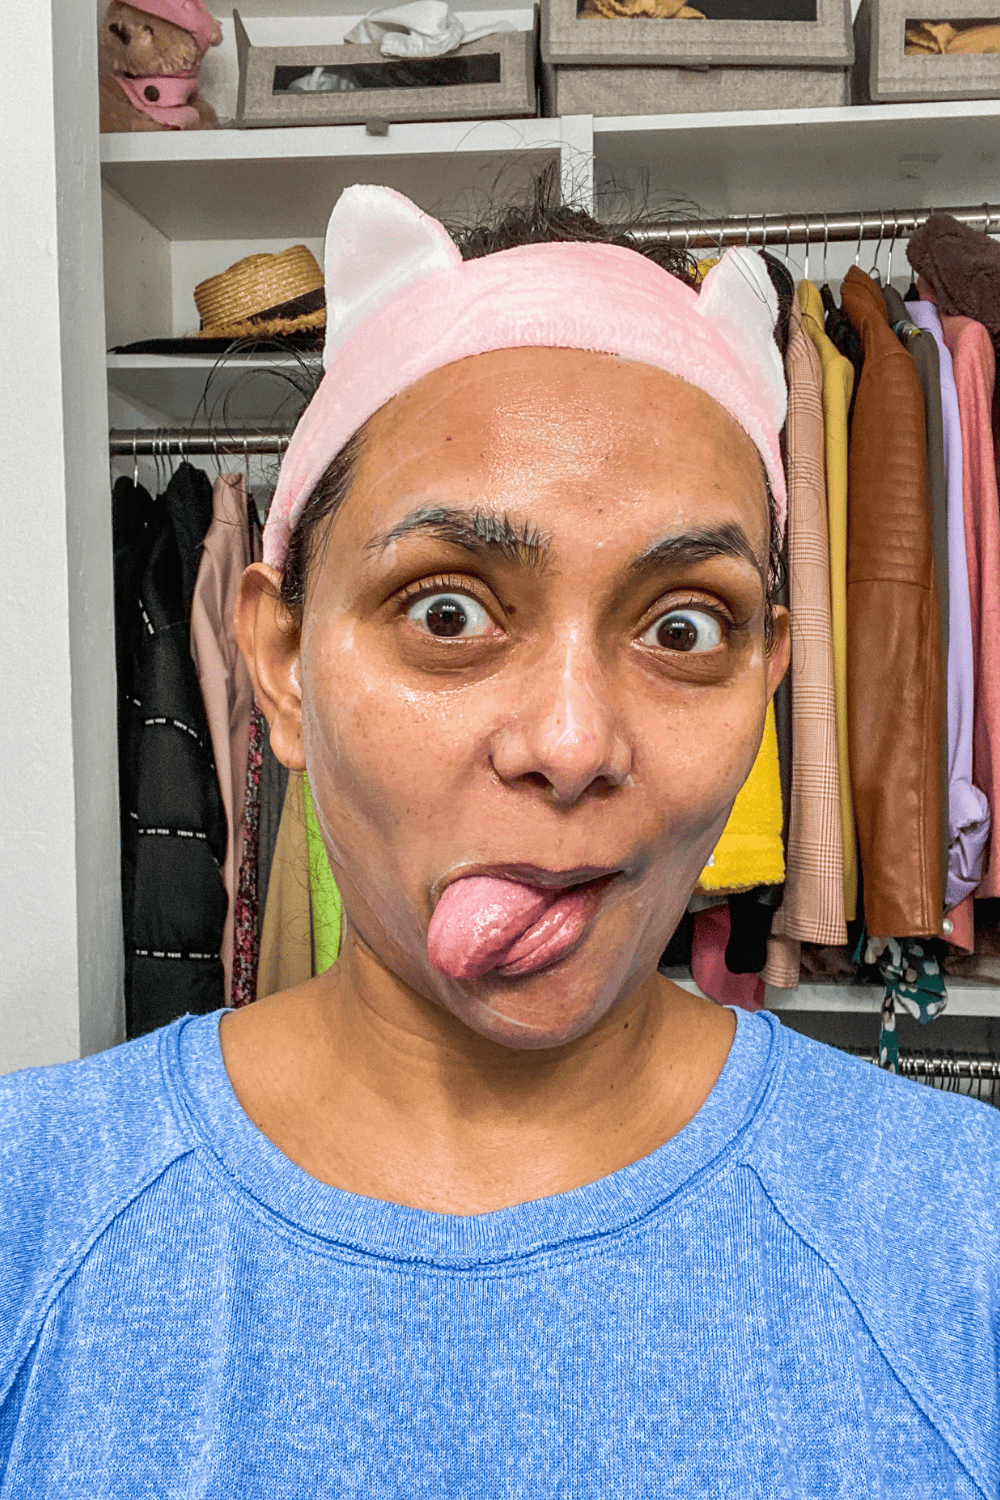
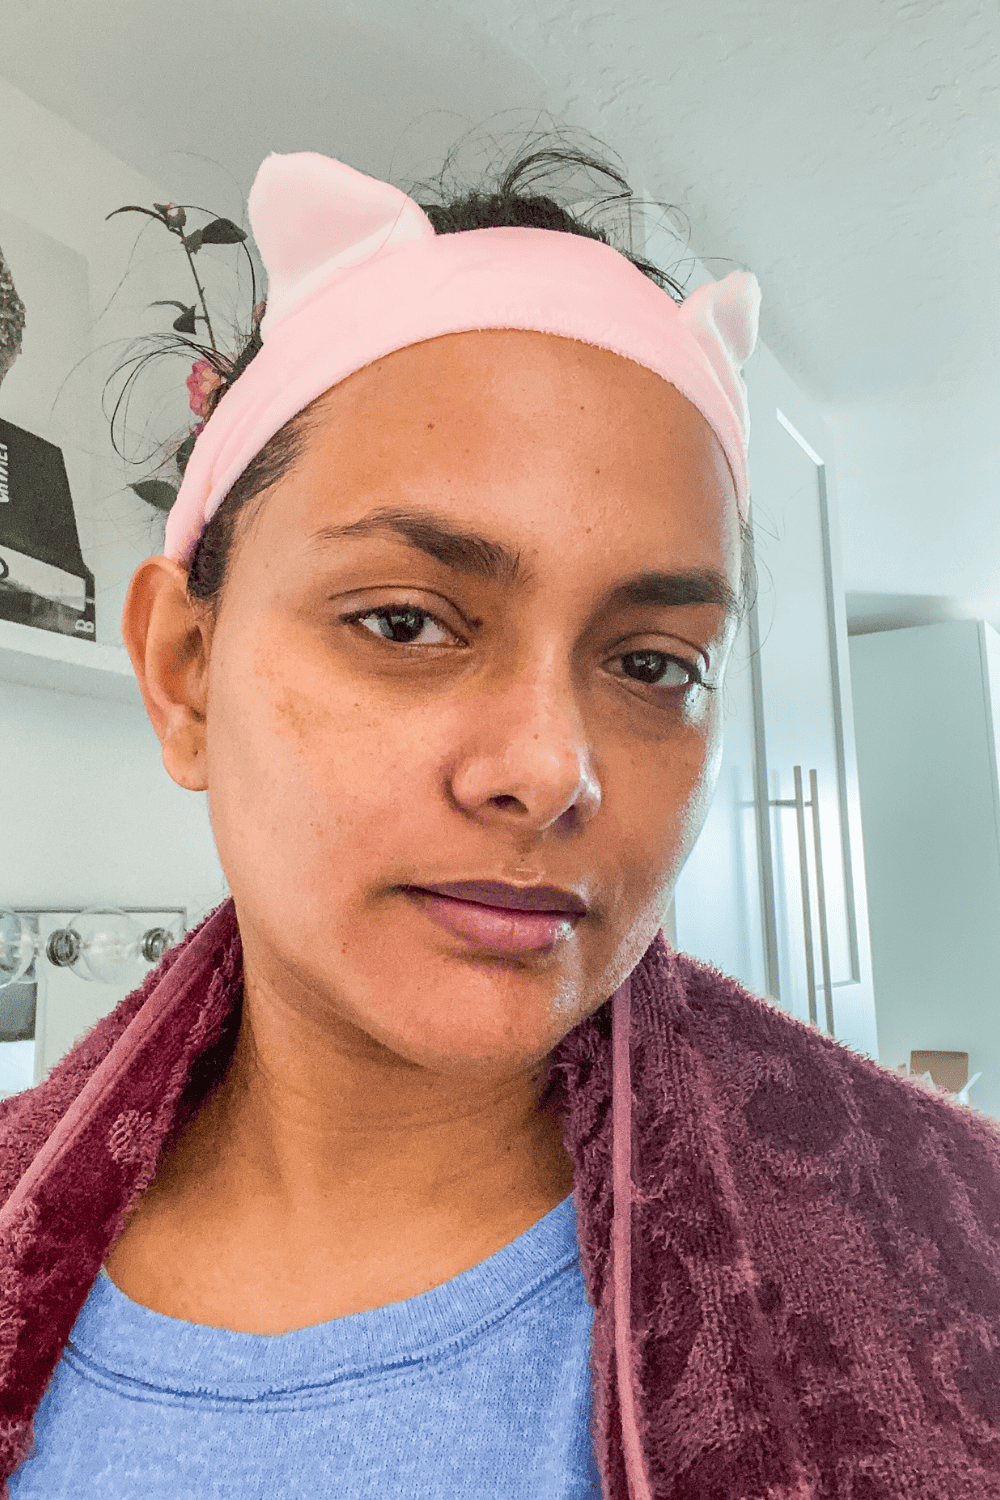
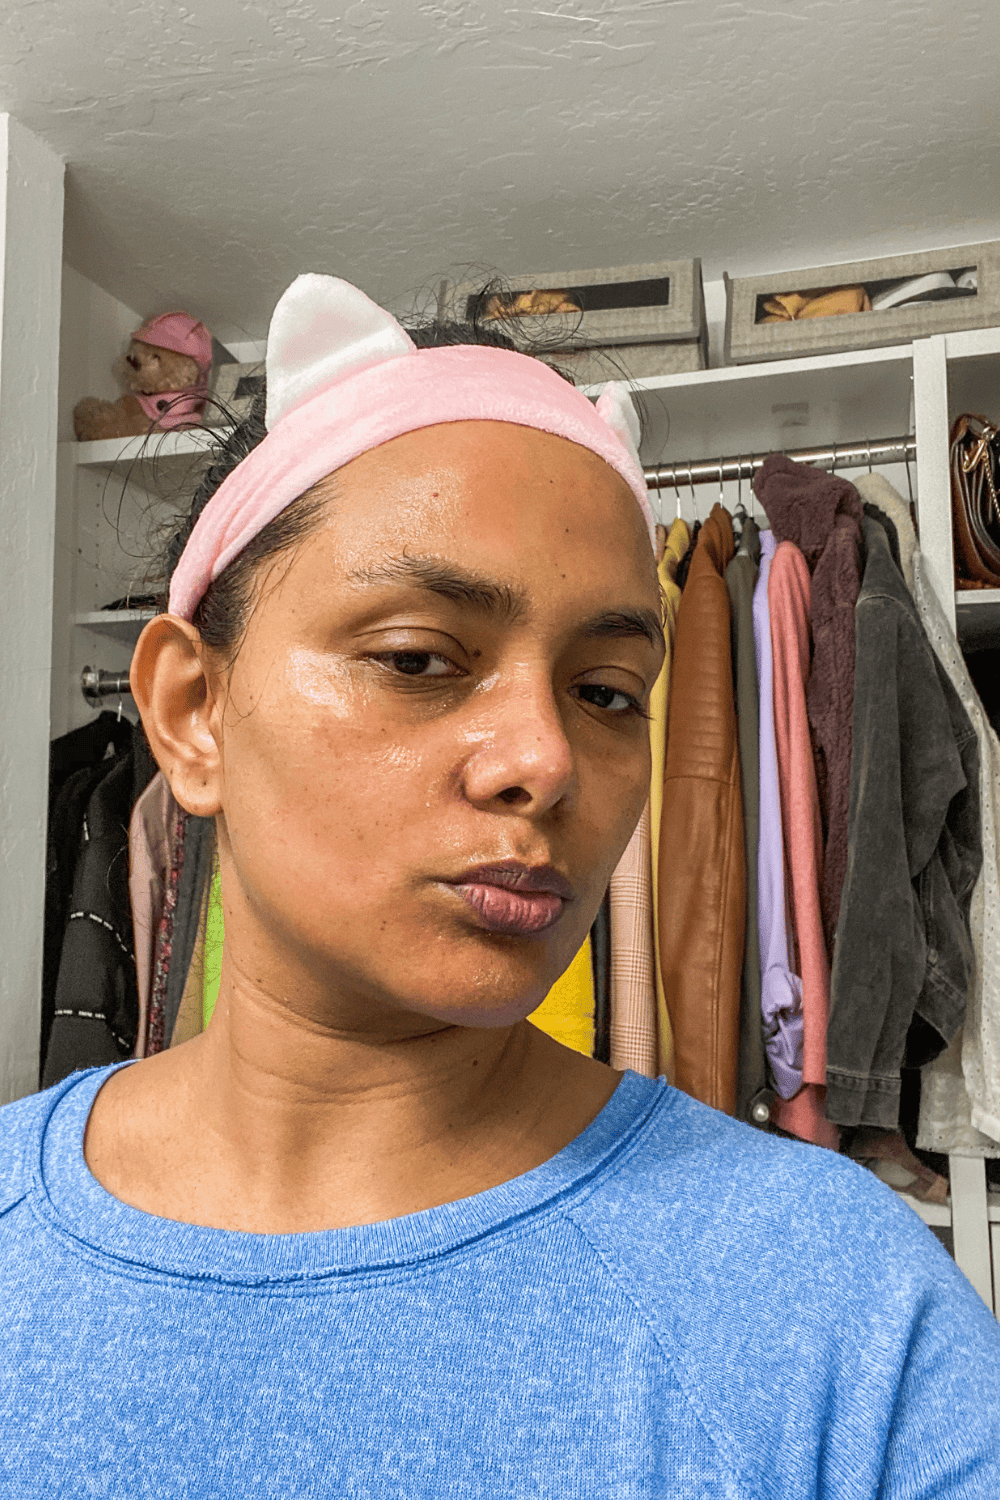
The shot on the left is right after the facial. And the one in the right is with better light. I felt really relaxed and more importantly my skin thanked me lot. I hadn’t gotten a facial for moths, so this pamper session was much needed. How do you get some Self Pamper done at home? Do you do mani pedi at home?
I have linked everything I used in this routine below.